- Lightroom Presets
- Best Sellers
- Mobile Presets
-
Photoshop
-
Learn
-
Support
-
Install
- Blog
I have a secret. Well, after this article, it won’t be a secret anymore. But I will feel better after sharing this with all of you. I know there will be some of you that can relate and some of you that will scratch your head and wonder how I could have been so uneducated.
I had a great Canon Rebel for a few years and used it to take photos of my kids that I would frame proudly. With this same Canon Rebel, I was asked to shoot a friend’s wedding and photograph several friends’ children. I started my business with this same Canon Rebel. I was taking great photos with it, so why not?

I was doing great when I first started. I had a steady stream of clients and was so happy with how my little business was doing. But then I started noticing that something was lacking in my work.
It had absolutely nothing to do with my camera body and everything to do with HOW I was shooting my images - I was taking photos in AUTO mode and was scared to death to learn MANUAL mode. I was scared I would forget what to do. I was afraid I would mess everything up since I was now in charge and was scared of failing. After all, I had gotten by for this long; why switch now? WHY?
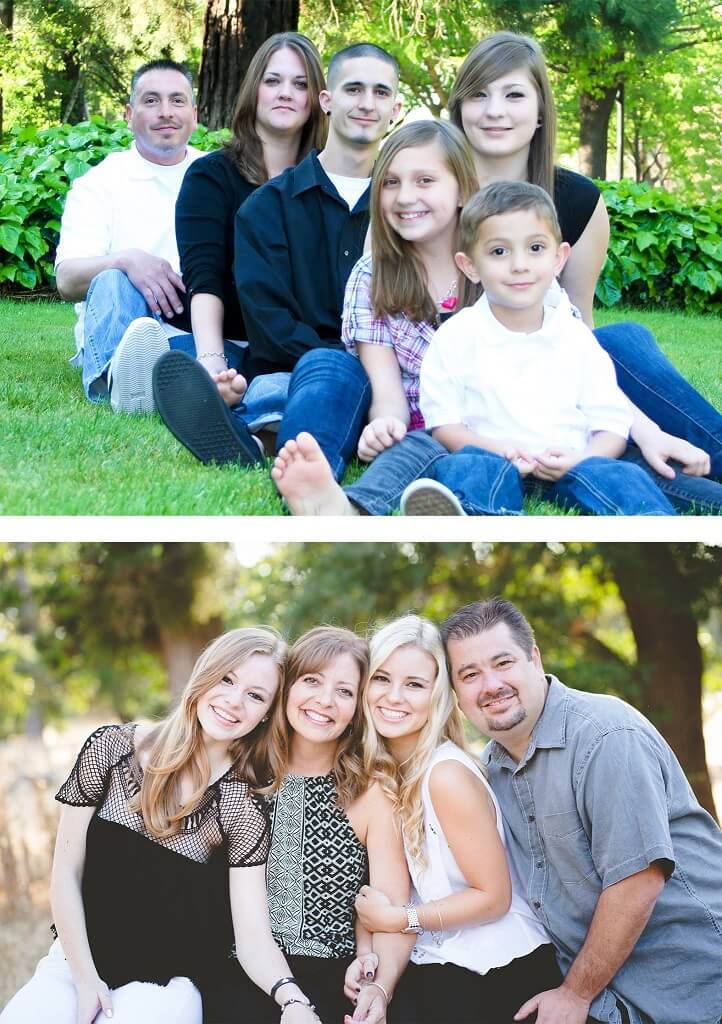
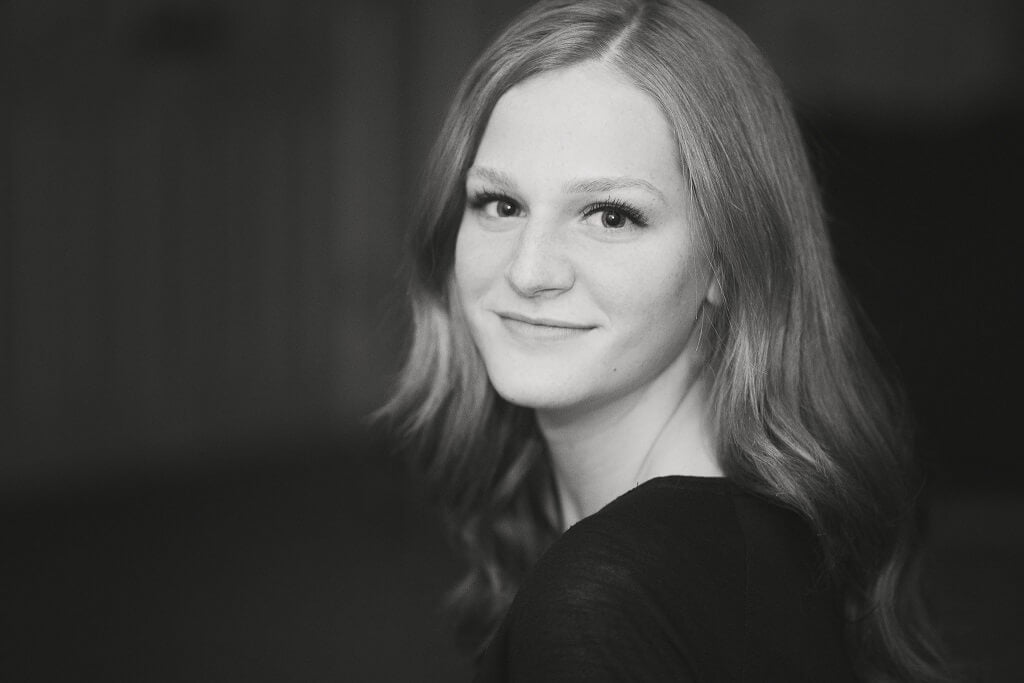
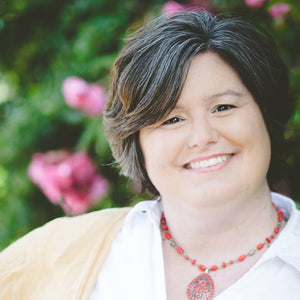
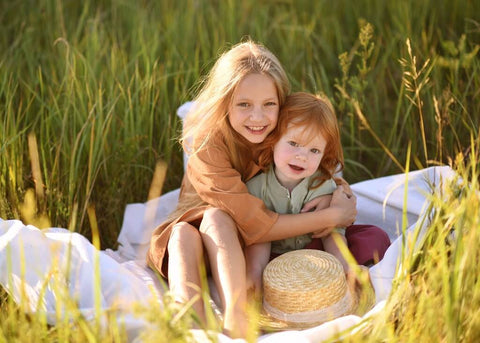
Top Image: One of my early photos before learning the exposure triangle. Bottom Image: My work now.
If you are not in control of your camera, you need to stop right now and learn to be. Only you and your creative eye should determine what your final image looks like. To do that, you need to start by setting up the shot in-camera using Manual Mode.
And to start shooting in Manual Mode, you must first learn some basics. By the way, I didn’t upgrade my Rebel camera until I mastered manual shooting. I knew it didn’t matter if I had a fancy camera or not if I didn’t know how to properly use it first.

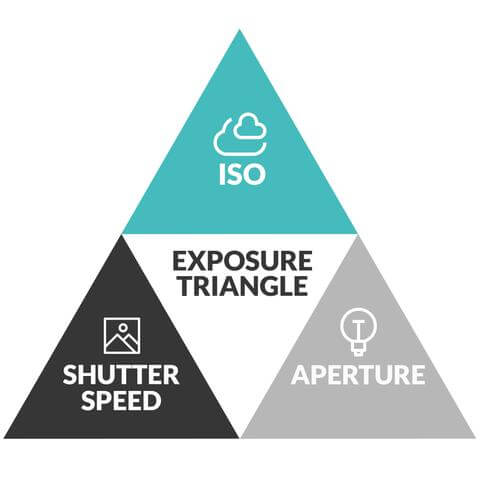
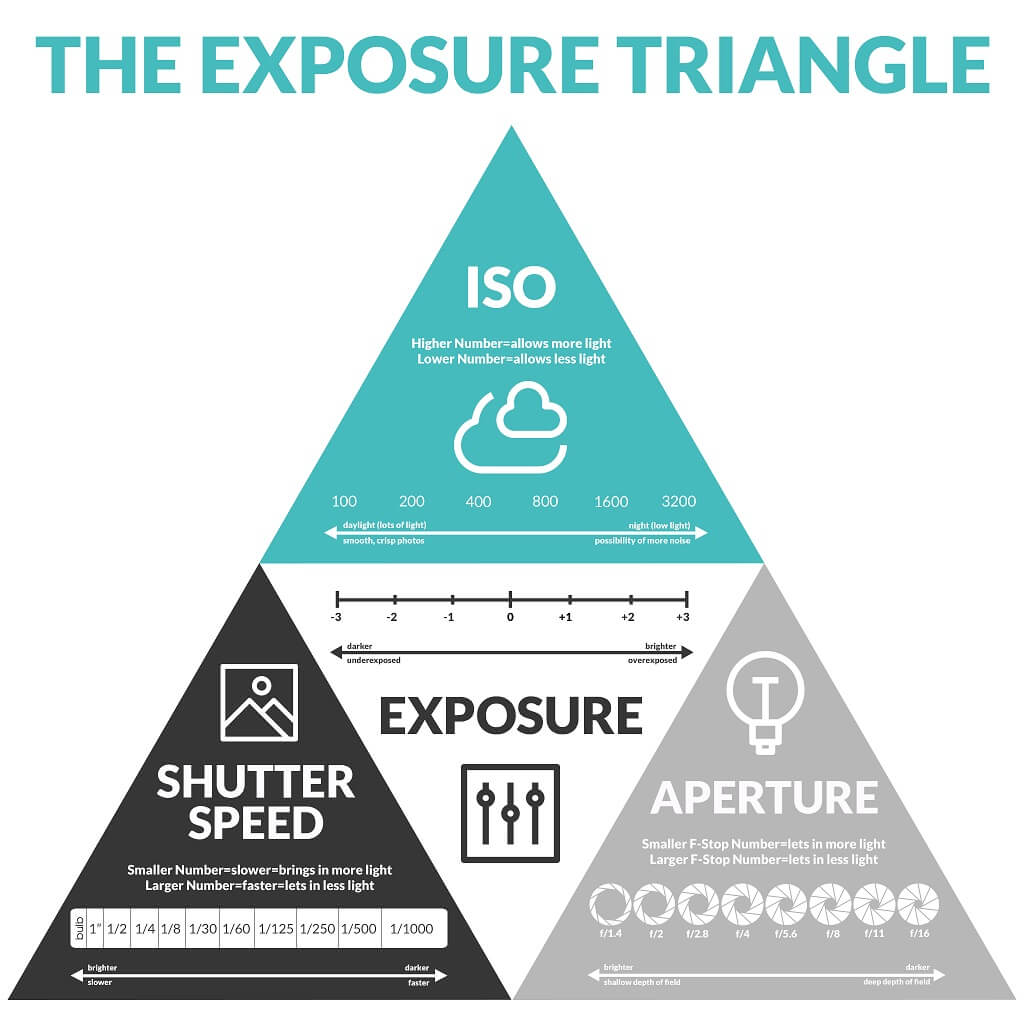
Three critical elements make up the exposure triangle and work together to produce a properly exposed photo. These are:
Now, let's look at each of these three exposure triangle elements individually to see how they can affect your images.
Aperture refers to the opening in the lens that lets light in. The amount of light let in is controlled by the f-stops on the lens that you are using.
Aperture is measured in f-stops…1.8 2.0, 2.2, 2.8, 3.2…. Photos taken with a smaller f-stop (how low it goes will depend on which lens you have) let in more light, allowing you to take pictures in situations where there is not much light (like indoors and at night).
A small aperture will also give you a shallow depth of field. A shallow depth of field is what creates that creamy, blurry background called bokeh. Depth of Field (DoF) is the distance between the closest objects in focus and the furthest point of focus. This distance can be increased or decreased by changing the lens's aperture.
For my Canon, I have a small dial on the back of my camera to control the aperture. Changing these f-stops helps you achieve the look you want. Quite often, you can only open your camera up to 3.5 with the standard lens that comes with your camera. I always suggest purchasing a 50mm 1.8 lens for your camera bag. It opens wider than a kit lens and is incredibly affordable (usually around $100.00 for both Nikon and Canon).

(Aperture for this photo was f/2.2. The subject is in focus, and the background has that creamy look I like)
Simple Tip: Keep your aperture set to the same number of people you are shooting. For example, if you are photographing four people, keep your f/stop at 4.0 or higher. If you are only shooting one person, I suggest only going as far down as 2.8 when starting. Just because your lens can go as wide open as 1.8 doesn’t mean you should shoot that wide open. With a 50mm 1.8 lens, 2.8 tends to be the sweet spot, meaning that’s the f-spot where you will find great clarity. If your lens only goes as low as 3.5, you can easily use that to photograph one person, but it won’t give you that same creamy background.
Shutter speed is how fast the camera records the picture or how long the shutter is open. You can also think about shutter speed as how long the light is allowed in.
There is usually a black dial on your camera to change your shutter speed. For my Canon, I have a small dial on the top of my camera for shutter speed. Turn the dial to the left for a slower shutter speed and to the right for a faster one.
When I am shooting portraits, I usually keep mine set to around 125. However, if I’m shooting toddlers, I increase it. Why? Because children move around a lot, and I need to be able to capture their movement. The more your subject moves, the higher your shutter speed will need to be.
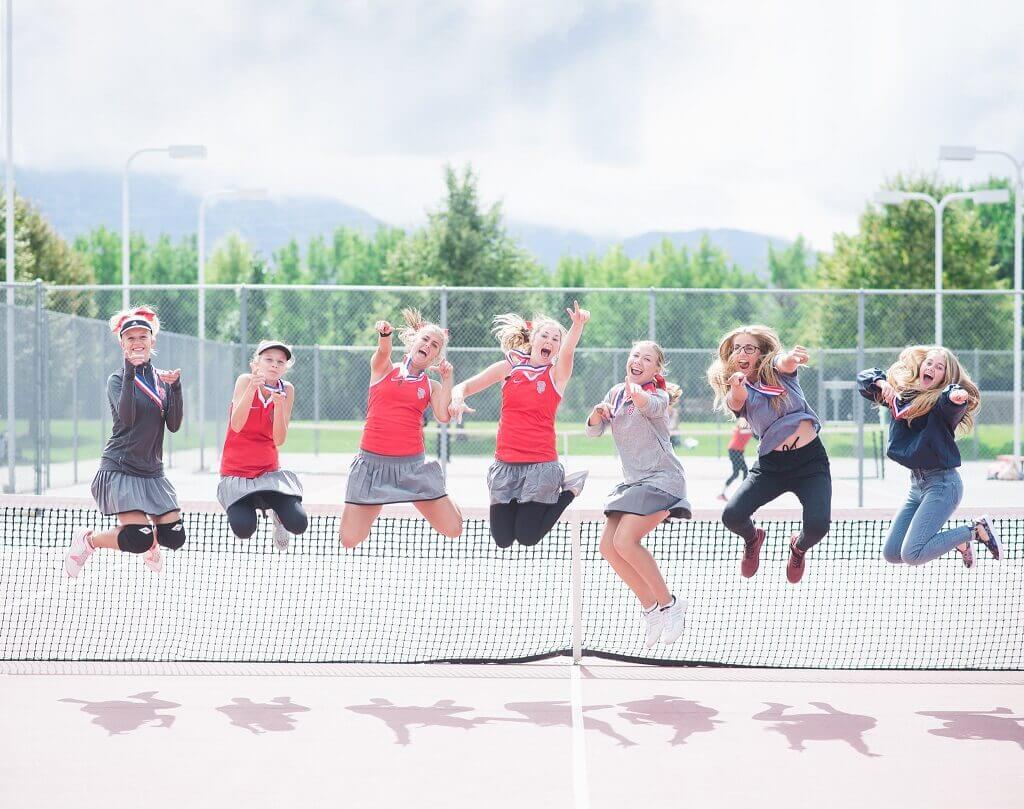
(Shutter Speed for this image: 1/800 - Not only did I need to increase the shutter speed because they were jumping, but they were also in the open sun)
Simple Tip: Always keep an eye on your shutter speed. A general rule of thumb is not to let your shutter speed go lower than twice the length of the lens on your camera, and that’s only if you have a steady hand. So if you have a 50 1.8 lens on your camera, your shutter speed shouldn’t go below 100. Remember to take a deep breath, tuck your elbows in and steady yourself on something like a door frame, wall, or railing before you shoot if you can.
ISO is also known as film speed. The ISO number indicates how quickly a camera sensor absorbs light.
A higher ISO means you can use a faster shutter speed, which is excellent for those times when there is little light, but if you are outside on a sunny day, you generally will have your ISO set to 100.
A lower ISO is always recommended for cleaner images and more detail. Once the ISO starts going up, you will find your pictures become grainy, and you lose the crispness in your photos that you would have otherwise had.
Make sure to increase your ISO when shooting indoors or when the light becomes less. I will always increase my ISO before sacrificing shutter speed because if you go too far down in shutter speed to bring in more light, your images will become blurry. And I would rather have a photo with some grain than a blurry image.
Sometimes it’s as easy as setting your aperture to 3.5, your shutter to 125, and your ISO to 100. Other times, you need to look at the light available and know how to bring more in to push your camera and achieve what you want. In this case, I couldn’t lower my aperture any more than I did and still have good focus. So I kept my settings as explained above and was happy with the results.
(Shot at an ISO of 2500 on a very cloudy day indoors)
The in-camera light meter is the tool that will help you balance all three elements of the exposure triangle together. The light meter lets you know exactly how much light enters your camera.
You can find the light meter through the viewfinder or on the back of the camera (if you have your camera set up to show info there).
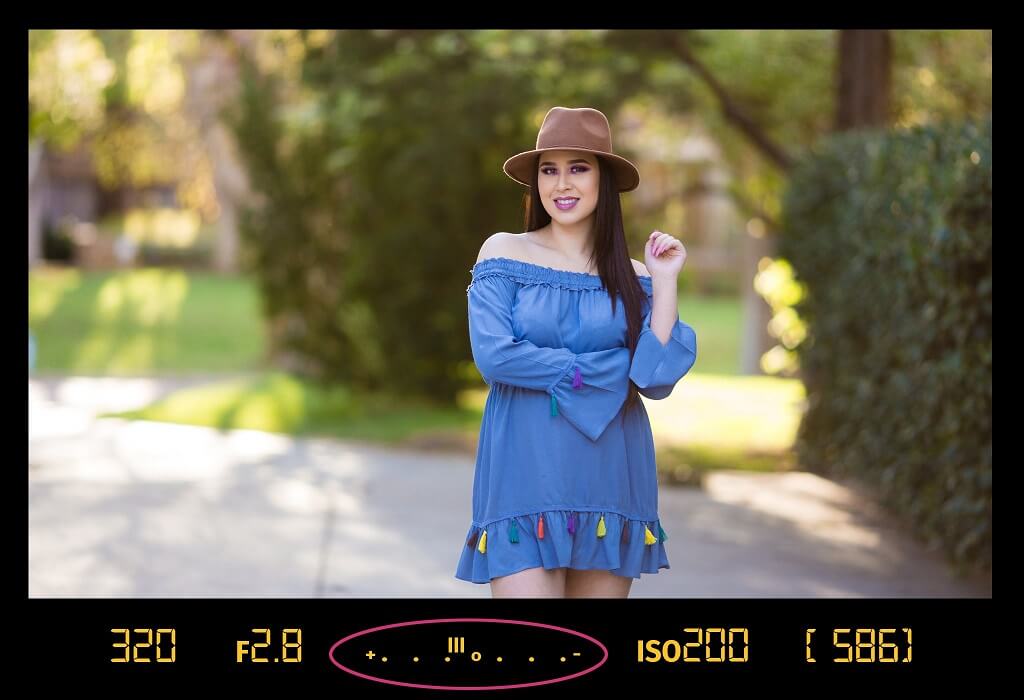
Let me give you an example of how I do this:
Let's say I am taking a portrait of my daughter outdoors in the evening light. I know I want a beautifully blurred background, so I set my aperture to f/2. There was still plenty of light, so I kept my ISO set to 100.
My shutter speed was still set to 1/60 from my last photo session, and right now, my light meter is showing several lines towards the plus side, which means that I have too much light coming into the camera. So, I needed to raise my shutter speed to better balance the exposure. A shutter speed of 1/250 is what I ended up choosing.
If you are wondering what a good exposure looks like, review the images in this post. Your skin tones should be bright but not overexposed.
Here is a great exposure triangle cheat sheet to help you remember these settings and how they each relate to getting more or less light into the shot for proper exposure. Feel free to print it out!
Do you have any questions or comments about the Exposure Triangle or how aperture, shutter speed and ISO work together? Leave us a comment below - we would LOVE to hear from you! And PLEASE SHARE our tutorial using the social sharing buttons (we really appreciate it)!


Comments