- Lightroom Presets
- Mobile Presets
-
Photoshop
-
Learn
-
Support
-
Install
- Best Sellers
- Blog

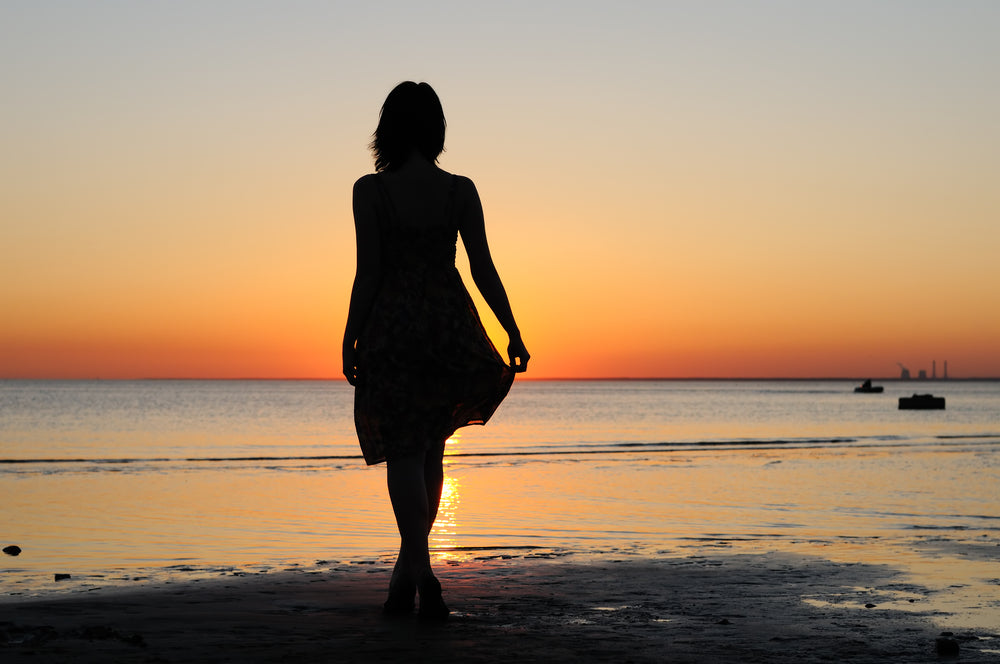
Silhouette Photography is an excellent way to add drama, mood and mystery to a photo. The dark mysterious shape/outline of a subject in front of a lighter background will convey a sense of unknown that can easily draw a viewer in and give them a deeper connection to your image.
I love shooting silhouettes and try to photograph them every chance I get! Luckily, taking silhouette photos is a fairly simple and straightforward technique and is really all about being in the right place at the right time with the right gear and knowledge of how to use it.

So, whether you are trying to get one last shot in before the evening light fades or you just want to learn how to convey the drama of a silhouette at any time of day, here are 7 easy tips to help you take an amazing silhouette photo:

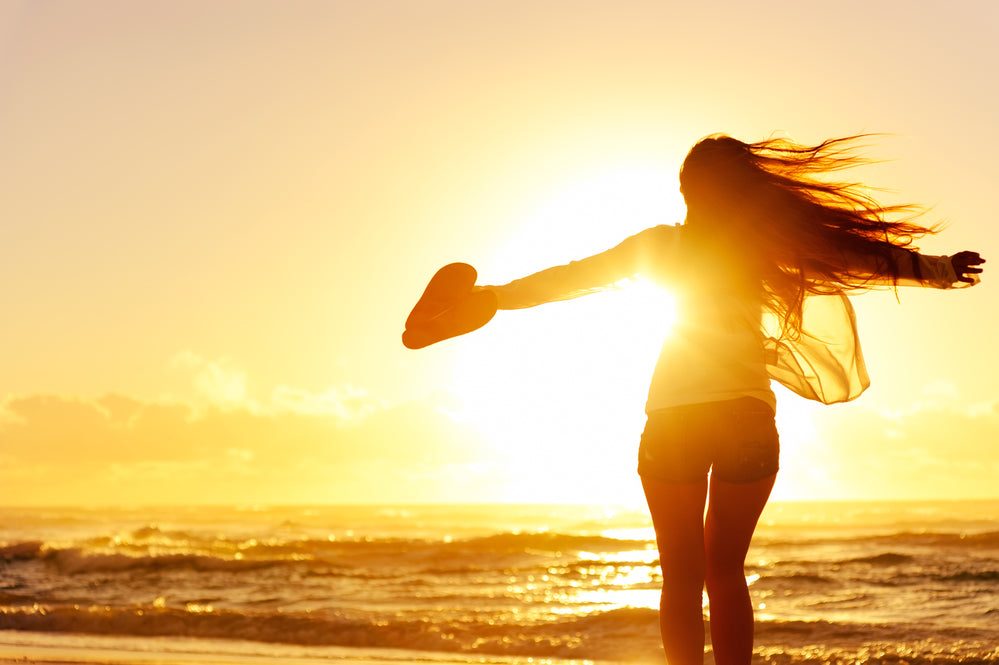
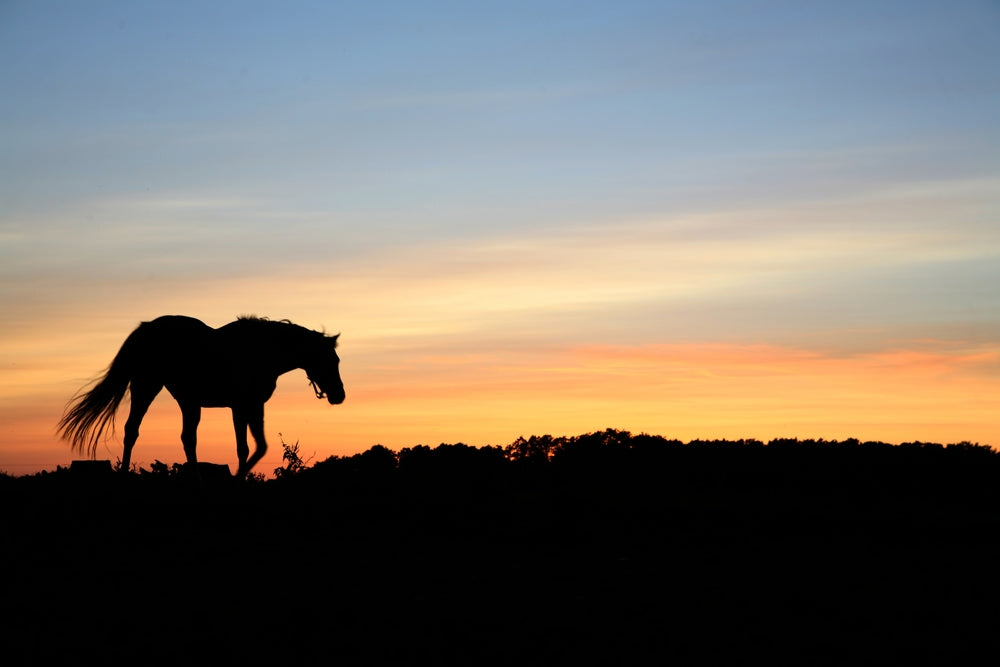
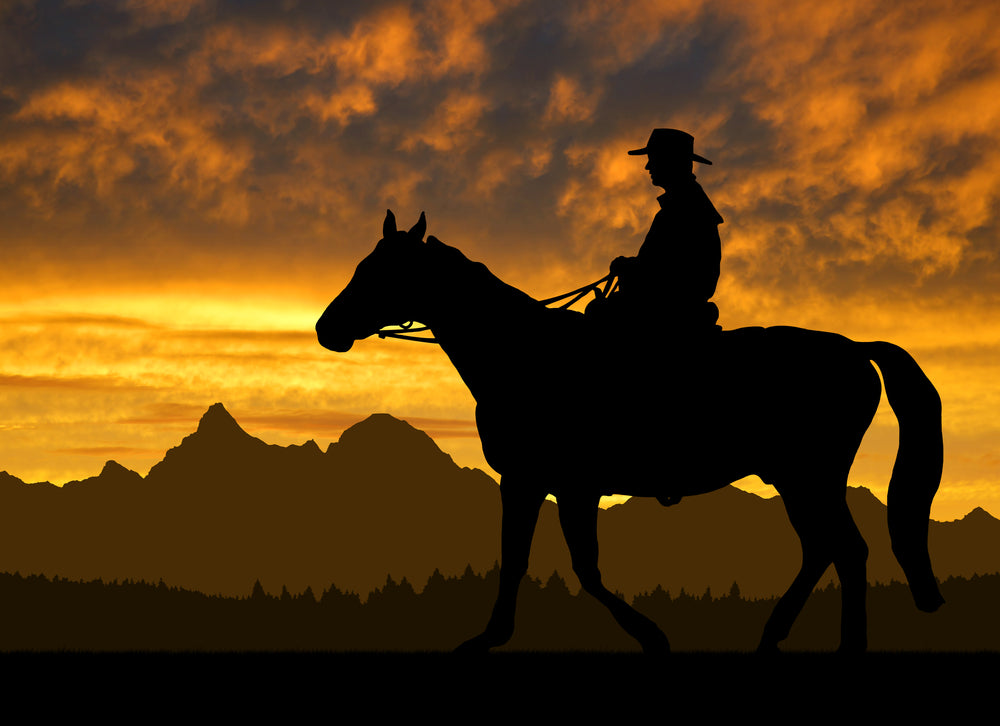
Anything can be made into a silhouette with the right lighting, but certain subjects will stand out more than others. Make sure your subject is distinct, with a recognizable shape that will be of interest to the viewer!
If you are photographing people in silhouette, make sure they are separate enough from each other and also from any other elements in the frame that they could “blend in” with.
For example, if you are photographing a family silhouette and they are all standing right next to each other, the silhouette will turn into an indistinct blob. For a nice silhouette, have them stand with enough space in-between to show each person's individual features. Positioning them for a side view is also a good idea, so viewers can recognize more of the subjects profile and facial features.
Try to look for simple compositions with wide open backgrounds, defined lines and minimal clutter, so that the silhouette will be the main focus of the image
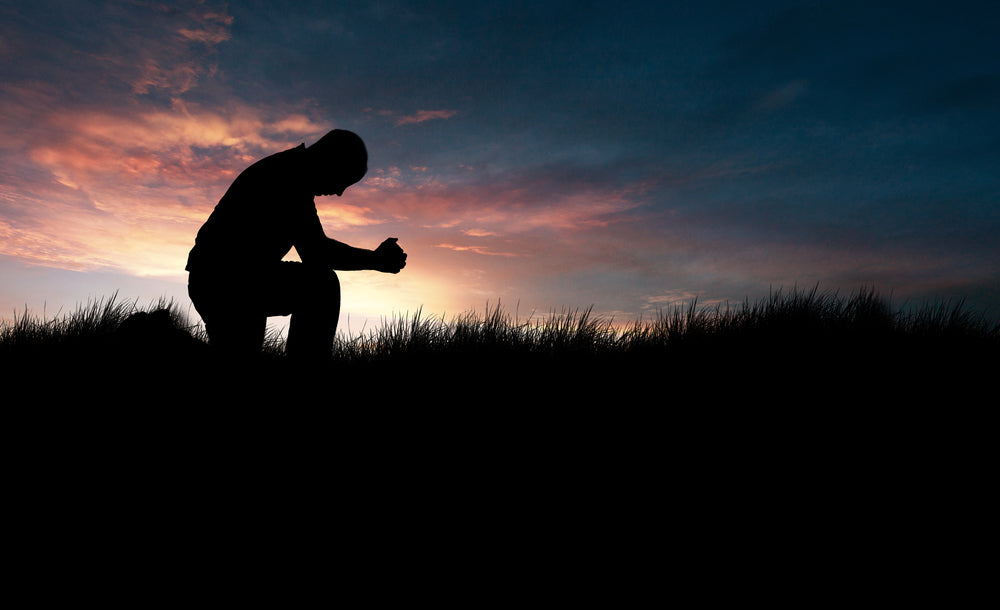
When it comes to lighting for a silhouette, you are going to have to forget most of what you already know about photography lighting! Instead of lighting your subject from the front, with silhouettes, it is now CRITICAL to have the lighting coming from the back or behind your subject.
The absolute best time of day to accomplish this is right before sunrise or sunset (the golden hour). The light at these times will create a situation where your subject can easily be backlit and there will be a nice contrast between the sky and your subject. You will want to make sure your subjects are positioned so that the brightest source of light is directly behind them.
If you are using automatic, make sure to turn OFF your flash. You will not want any added light in front of your subject!
Shooting in Manual mode is, by far, the best way to achieve a silhouette. When adjusting your settings, meter to perfectly expose the background light, not your subject. You may also find it helpful to slightly underexpose the shot slightly, as this will give your subject an even darker silhouette. Then, you can adjust the exposure of the background in post-processing if needed.
When possible, use a small aperture (high number) so that your subject and the majority of anything else showing in the image will be in focus. You want a large depth of field, but try not to go lower than f/8. If you are using a larger aperture, ensure that your subject is in focus - which is critical for silhouette shots. Start with your ISO low for the best quality and then increase as needed as the sun goes down and the light decreases.
If you are shooting in Auto mode, you will want to apply the same idea of light metering to get the correct exposure for the background.
This can be tricky with cameras in Auto mode because they are designed to perfectly meter the entire scene. However, you can trick your camera by pointing it at the brightest part of your background and pressing your shutter halfway down. Then, once the camera is metered for the bright area, move your camera back to frame your subject and press the shutter all the way down to finish taking the shot.

As I mentioned before, you will want your silhouette to be in sharp focus. If the silhouette is not in focus, the whole composition will sort of mesh together and look “soft” because the silhouette will not have defined edges, reducing the dynamic impact of the image.
Keep in mind that when you are metering with your camera, it will also autofocus your lens at the same time. If you are using a DSLR, you will probably want to set your camera to manual focus, get your subject in focus first, and then meter the background, so you don't lose the focus and defined edges of your silhouetted subject.
As mentioned earlier, its best to have a camera that can shoot manually so you can control your aperture, ISO, and shutter speed. You can capture a silhouette with just about any lens, but it is helpful to have a fixed low-light lens such as a 50mm f/1.2 or a 35mm f/1.4. These lenses will help capture light even when your eye can barely sees it.
A couple of optional, but handy tools in your arsenal are a tripod and a circular polarizing filter. Using a tripod will help prevent camera shake if you are working with extremely low background light. A circular polarizer (lens filter) can also be useful to create more contrast, depth, and saturation in your background.
It's usually best to get your shot right in-camera, but if you can't get it quite perfect or just want to enhance the silhouette you captured, you can make those adjustments fairly easily in post-processing. In Lightroom, you can do this by increasing the blacks, shadows, clarity and contrast to define your subject even more. You can also bump up the saturation and vibrance to add more detail to your background.
As with most things in photography, there is no absolute perfect way to take a silhouette photo. Each time you photograph a silhouette, your camera settings can and will vary depending on your subject and lighting conditions.
I would just encourage you to practice, experiment and take your camera with you everywhere so you can play around with your settings until you find what works best for YOU in various conditions!
Do you have any questions or comments about Silhouette Photography? Leave us a comment below - we would LOVE to hear from you! And PLEASE SHARE this post using the social sharing buttons (We really appreciate it)!


Comments