- Lightroom Presets
- Mobile Presets
-
Photoshop
-
Learn
-
Support
-
Install
- Best Sellers
- Blog
By Anna Gay on | No Comments

When it comes to digital camera lens filters, there are so many possibilities, and your choice of filter depends entirely on what you are photographing, and how you would like your photograph to look.
Here are a few examples of popular lens filters, going beyond the traditional UV filter. The descriptions will help you figure out what filters you may like to experiment with. Once you purchase your filter, doing additional research and learning the ins and outs of the filter you have chosen will really help you achieve the desired effect.
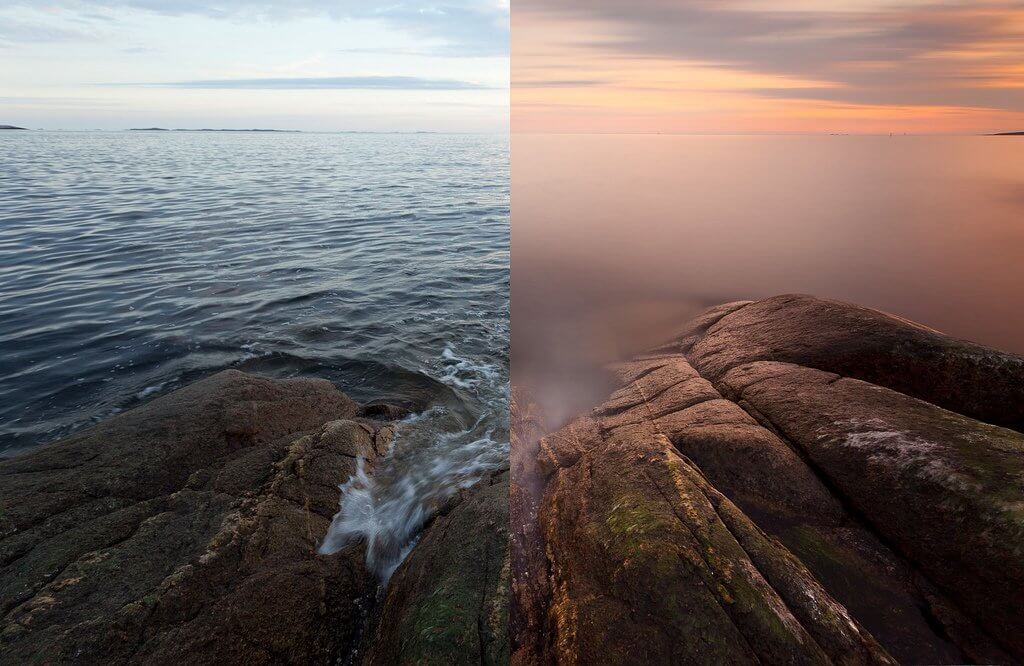
Neutral Density Filters serve several purposes, the most important being that they disperse color and light evenly throughout your photo. This type of filter is particularly common among landscape photographers, because the filters allow you to capture a wide range of shadows and highlights, without having too much contrast and losing detail.

https://www.flickr.com/photos/ramyoga/5985595003/
ND filters come in varying intensities, measured in “stops,” creating a variety of effects, and allow you to shoot at a high ISO or wide aperture in bright light. They also give you the ability to experiment with motion blur, as you can see in the image above, the water is completely smooth.
Neutral Density Filters also come in a “graduated” variety, with the top of the filter being darker than the bottom. This is helpful if you are happy with the exposure at the bottom of your frame, but you want the top of your frame to have more detail (again, this is popular among landscape photographers because the filter will enhance the sky without altering the color and exposure on the landscape).
Polarizing filters are a great accessory to have in your camera bag! They increase saturation and reduce glare on water, haze, glass, or any other reflective surface. You can adjust the intensity of the filter by rotating the filter from left to right on your lens. The photo below illustrates the polarizer at its highest and lowest intensities. Notice how, in the photo on the left, there is more detail and color in the sky, as well as the buildings. Circular Polarizing Filters are also extremely easy to use.

https://www.flickr.com/photos/gustaffo89/4489206505/
Warming and cooling filters are exactly what you would think – they adjust the color temperature within your camera. Now, this is something that can easily be corrected in post-processing, but if you prefer to get your shot as accurate as possible in-camera to speed up your workflow, you may want to consider one of these filters.
There are a wide variety of special-effect filters, a popular choice being the Star, or Starburst Filter. The effect is created by thin etches of lines on the filter that draw rays of light outwards from the central light source. Reflections on glass, or light from street lamps, can be turned into a star shape, and add a sparkle of light to your photos.
Star filters come in a variety of points, such as 4, 6, 8 and 12 points, depending on the number of lines that are etched into the filter.

https://www.flickr.com/photos/jonnyfixedgear/3876463076/
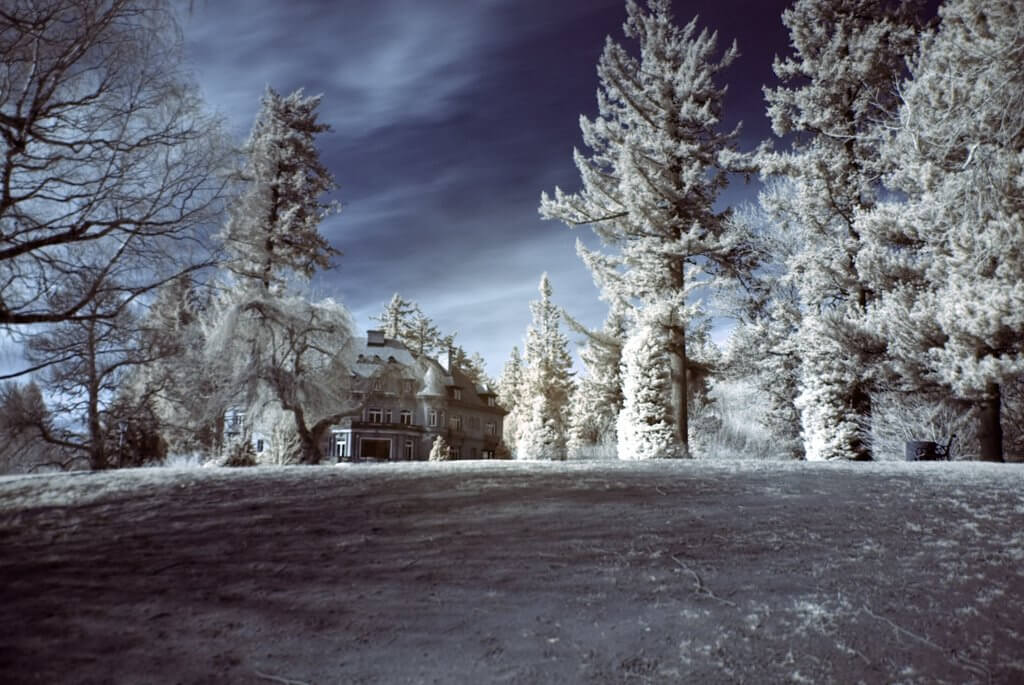
Infrared Filters can be tricky to use, but the results are both stylistic and surreal. They are extremely popular in black and white photography, but can also be used for color. Essentially, Infrared Filters only let IR light enter your DSLR camera, while all other wavelengths of light are blocked.
The result is especially visible on foliage because the chlorophyll in plants radiates a high amount of IR light, therefore, all the foliage in your photo will appear white. Again, this is a completely stylistic choice but can be very rewarding in terms of achieving a surreal quality in your photos.

https://www.flickr.com/photos/lizbyday/3285463581/
Beware, though: not all cameras process infrared light in the same way. For example, Olympus tends to process infrared light quite well, and you will see a wide range of colors from red, to orange, to purple. Canon, on the other hand, tends to lend itself more to reds and purples.
Finally, most infrared photos, unless converted to black and white, will need a great deal of post-processing if you want to display colors other than red. Using the Channel Mixer in Photoshop seems to work well for most people who shoot IR, so be sure to play around with the channels, as there is not a set method for a achieving a certain look.
Do you have any questions or comments about Camera Lens Filters? Leave us a comment below - we would LOVE to hear from you! And PLEASE SHARE this post using the social sharing buttons (we really appreciate it)!


Anna Gay is a portrait photographer based in Athens, GA and the author of the dPS ebook The Art of Self-Portraiture. She also designs actions and textures for Photoshop. When she is not shooting or writing, she enjoys spending time with her husband, and their two cats, Elphie and Fat Cat.

Comments