- Lightroom Presets
- Best Sellers
- Mobile Presets
-
Photoshop
-
Learn
-
Support
-
Install
- Blog
By Tammy Porter on | No Comments

You have asked the questions, watched the videos, attended the webinars, and finally turned your camera's dial to Manual! Congratulations!
But now what? You can get correct exposure many ways by adjusting your exposure triangle. How do you decide what component is the most important for your shooting situation? What do you set first, second, and what do you adjust most frequently throughout your shoot?
We'll answer these questions and more below.
The first thing I ask myself is, "Who is my subject?" Am I shooting a wiggly toddler, a sleeping baby, an active adult, or a pile of extremely cooperative fruit?
The second consideration is where are you shooting? Indoor with potential low light, outdoors in bright sun, or in all around optimal conditions?
If your answer is wiggly children indoors, combined with low light… you're in luck (thats my specialty). When shooting children indoors the most important setting for me is the shutter speed. I want, above all, a clear, crisp, in focus shot. I can’t get that with a shutter speed that is too low.

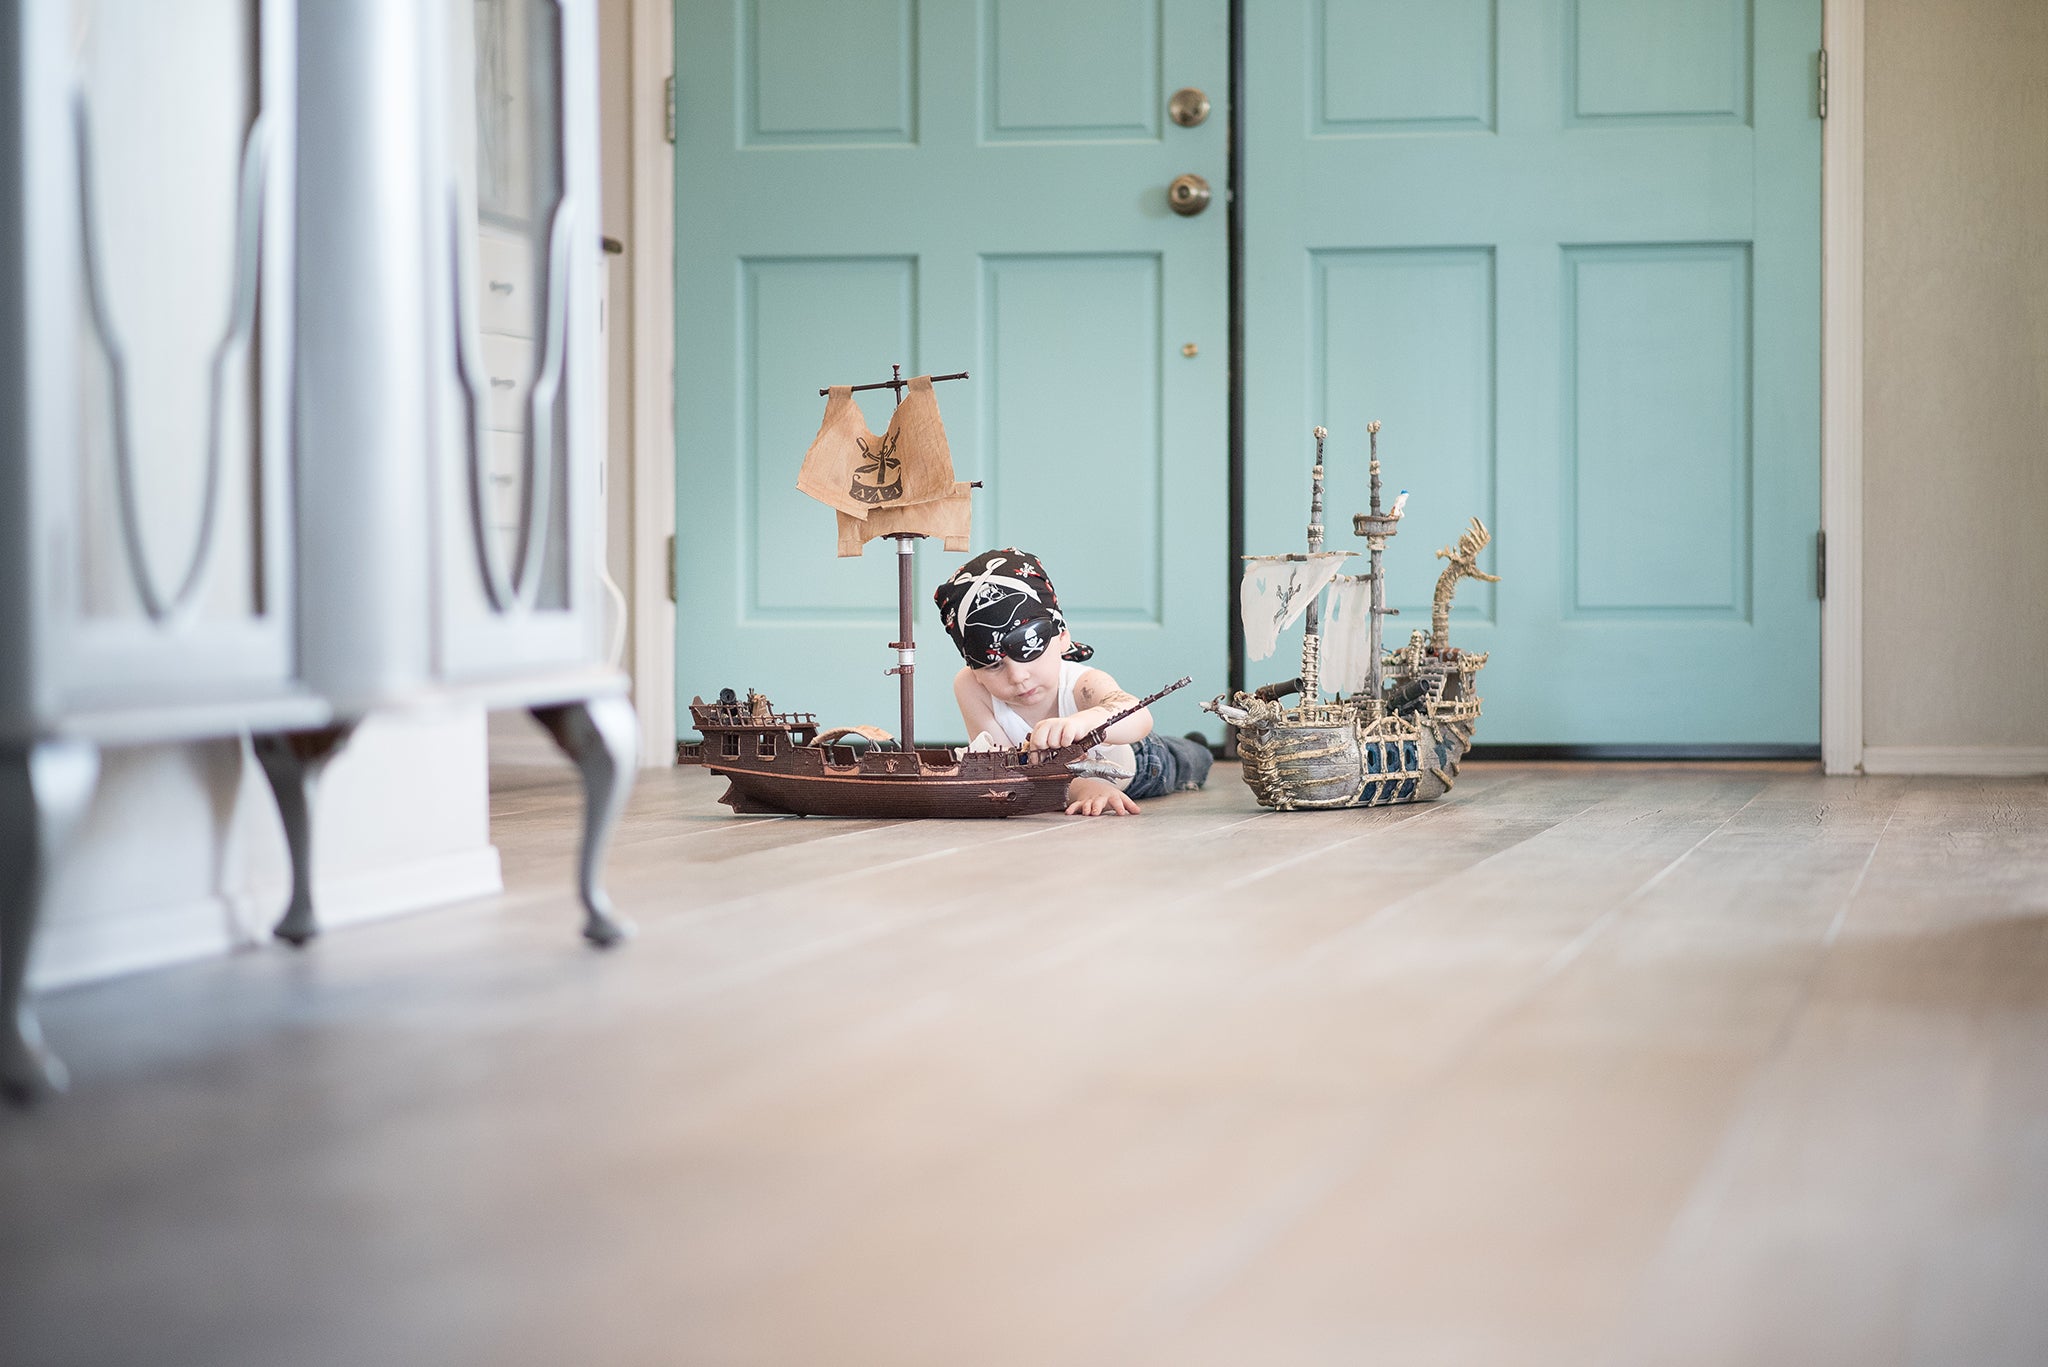
My typical settings are as follows when my subject is sitting still, perhaps watching tv or coloring, I start with a shutter speed of 160. I know that is the lowest I can go if my camera is handheld and my children are awake.
Next, I decide on my aperture. I like low, and if there is only one subject I will go to 1.4 or 1.6. With two subjects, I will start at 1.8 to 2.0 (unless they are on the same focal plane, then I stay at 1.4 to 1.6). My third adjustment will be my ISO, and I will go as high as I need to get the light meter near center. I change my ISO when I move to another area in the house, such as near a window, then you can turn your ISO down. If you go into a darker room, you may have to adjust it higher.
When my kids are not sitting still, but also not running or jumping, for example they're playing with cars or helping cook dinner, a different approach is required. I know their hands and feet will be moving, so I need those to keep nice and still in my shot. I will typically start with a shutter speed of 250, decide on aperture next (I like low, so 1.6 to 2.2) and lastly adjust the ISO to get the meter near center.

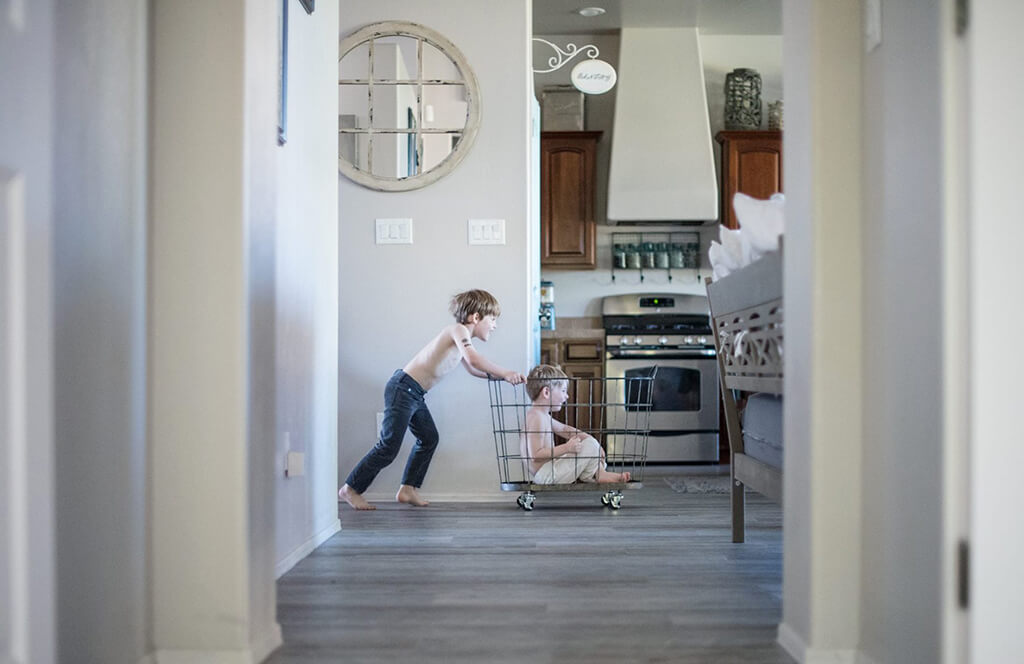
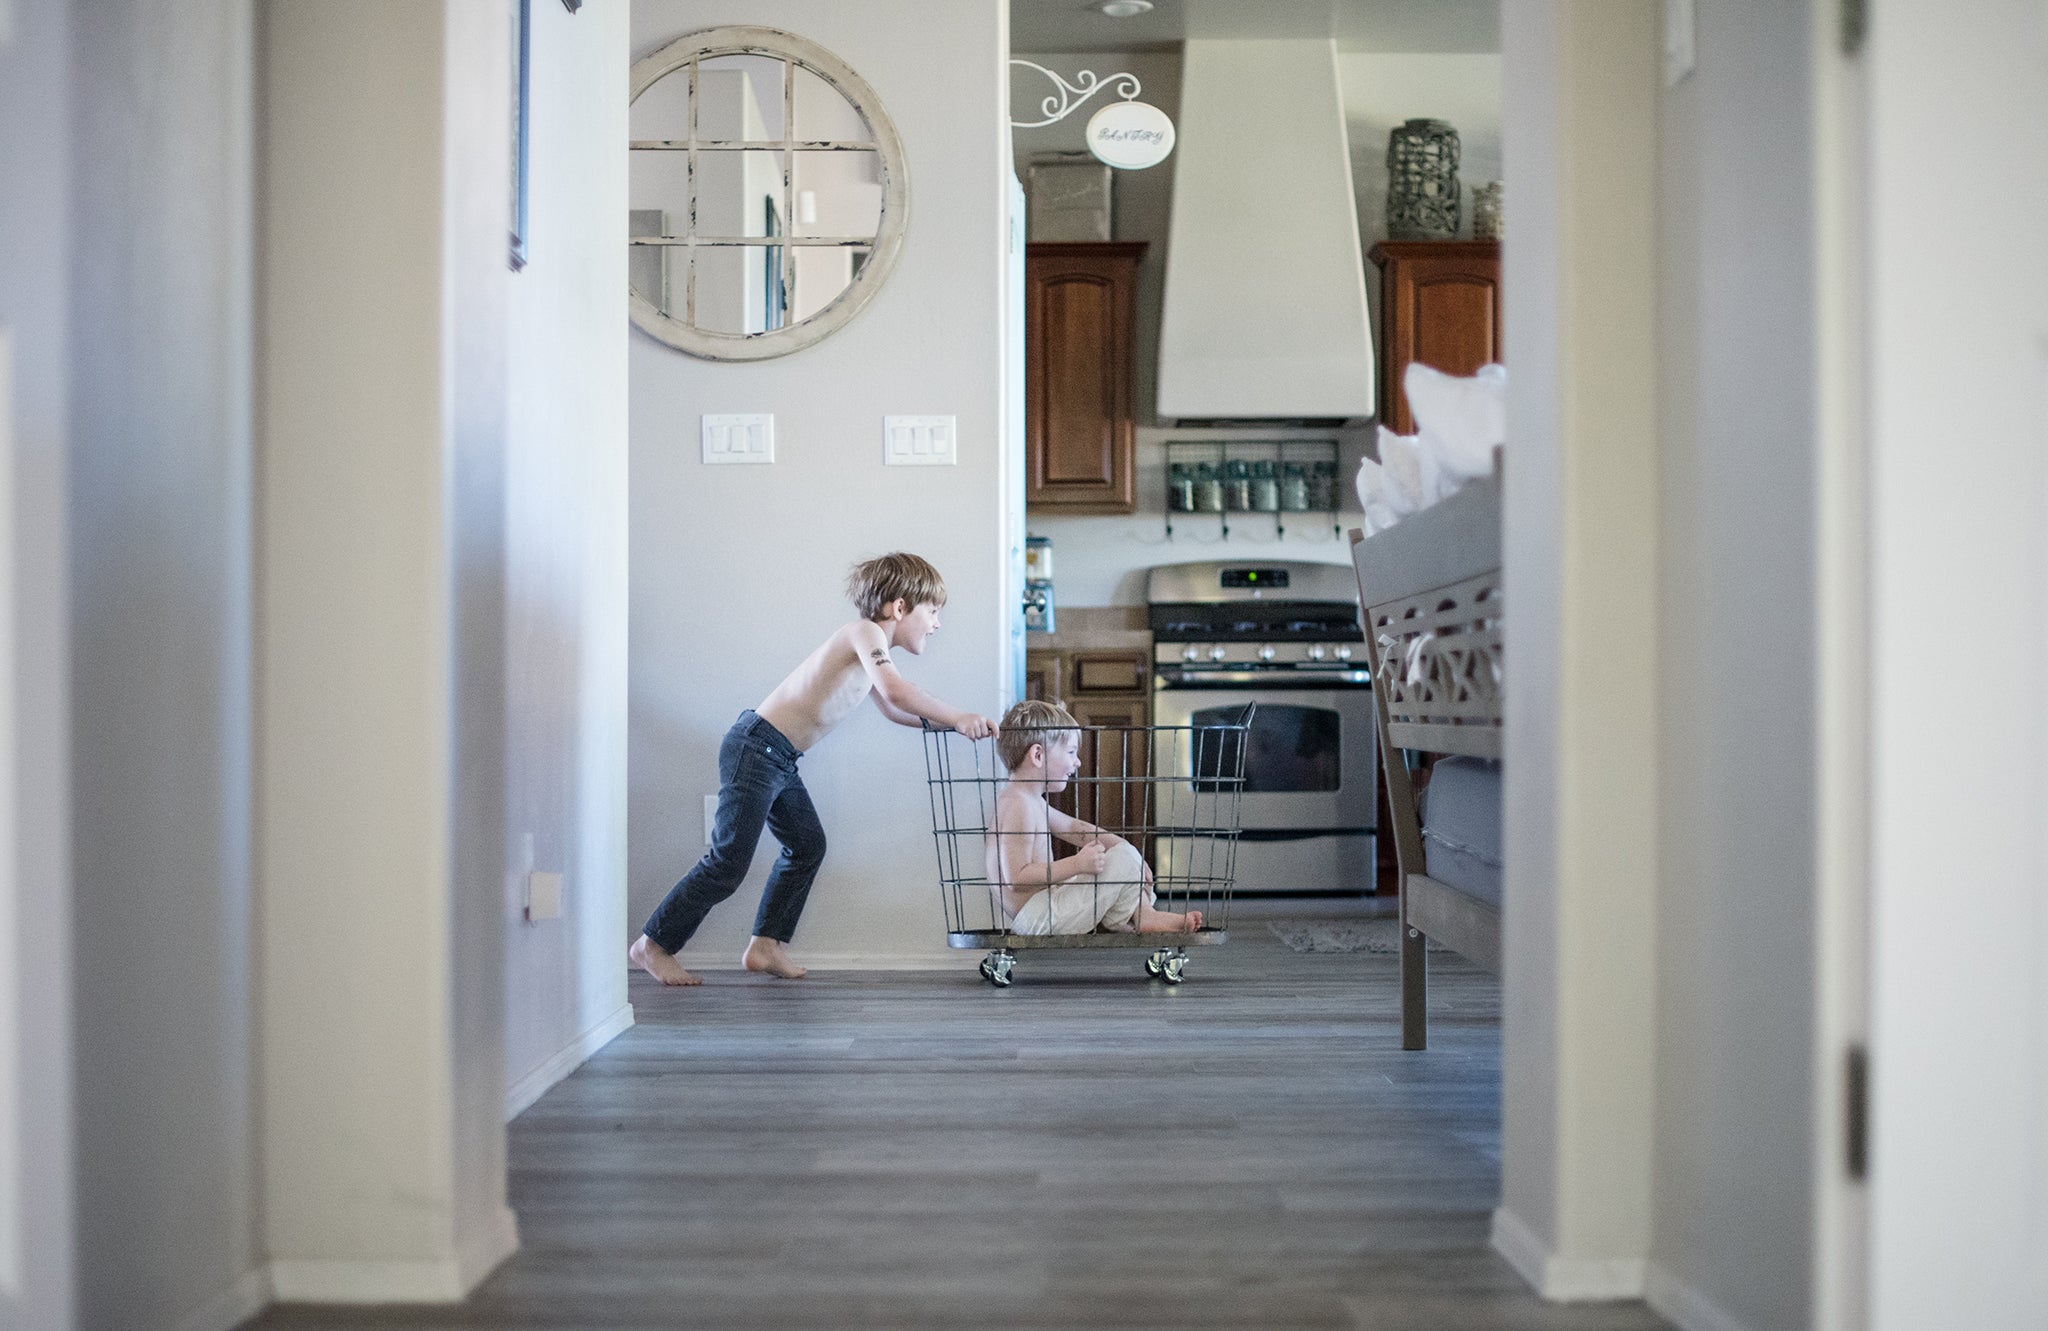
The third set of circumstance that occurs in my house are jumping or running shots. I am still going to place the most importance on my shutter speed. I don’t want blurry photos. I start at a SS of 320 to 400 minimum, then once again my aperture is second in importance and I still stay low as I can.
Lastly, set the ISO so your meter reads close to center. I am often shooting with an ISO in the 1000’s, I know some cameras handle high ISO better than others, and that is one of the reasons I chose the model I did. I set the ISO last because I want to use the lowest number possible, so I set the others first and then only adjust the ISO up until my meter reads center. I always think to myself, I can edit out some grain, I can’t edit out blurry or out of focus. So, 100% of the time, for me, the shutter speed will always win over ISO.
The next shooting scenario I want to talk about is outdoors when It is bright. I set my ISO first in this situation, and I set it low, like 100. I choose my aperture next, and in this situation it will purely be out of creativity.
Are you wanting a shallow depth of field in order to separate your subject from the background? If the answer is yes (as mine often is), then I go low, like 1.8 to 2.2. Lastly, I adjust my shutter speed until the light meter is near center.
When I am shooting outdoors with changing light, my shutter speed is constantly changing. To me the shutter speed is the easiest adjustment between shots, so my thumb is always ready to slightly adjust for each change in light or pose. Often outdoors in bright sun my shutter speed is in the 1000’s, especially if my aperture is low. If you're in extreme brightness and your ISO is already low, your SS is already maxed out in the 4000’s, so you may have to go up on your fstop until your meter reads center.

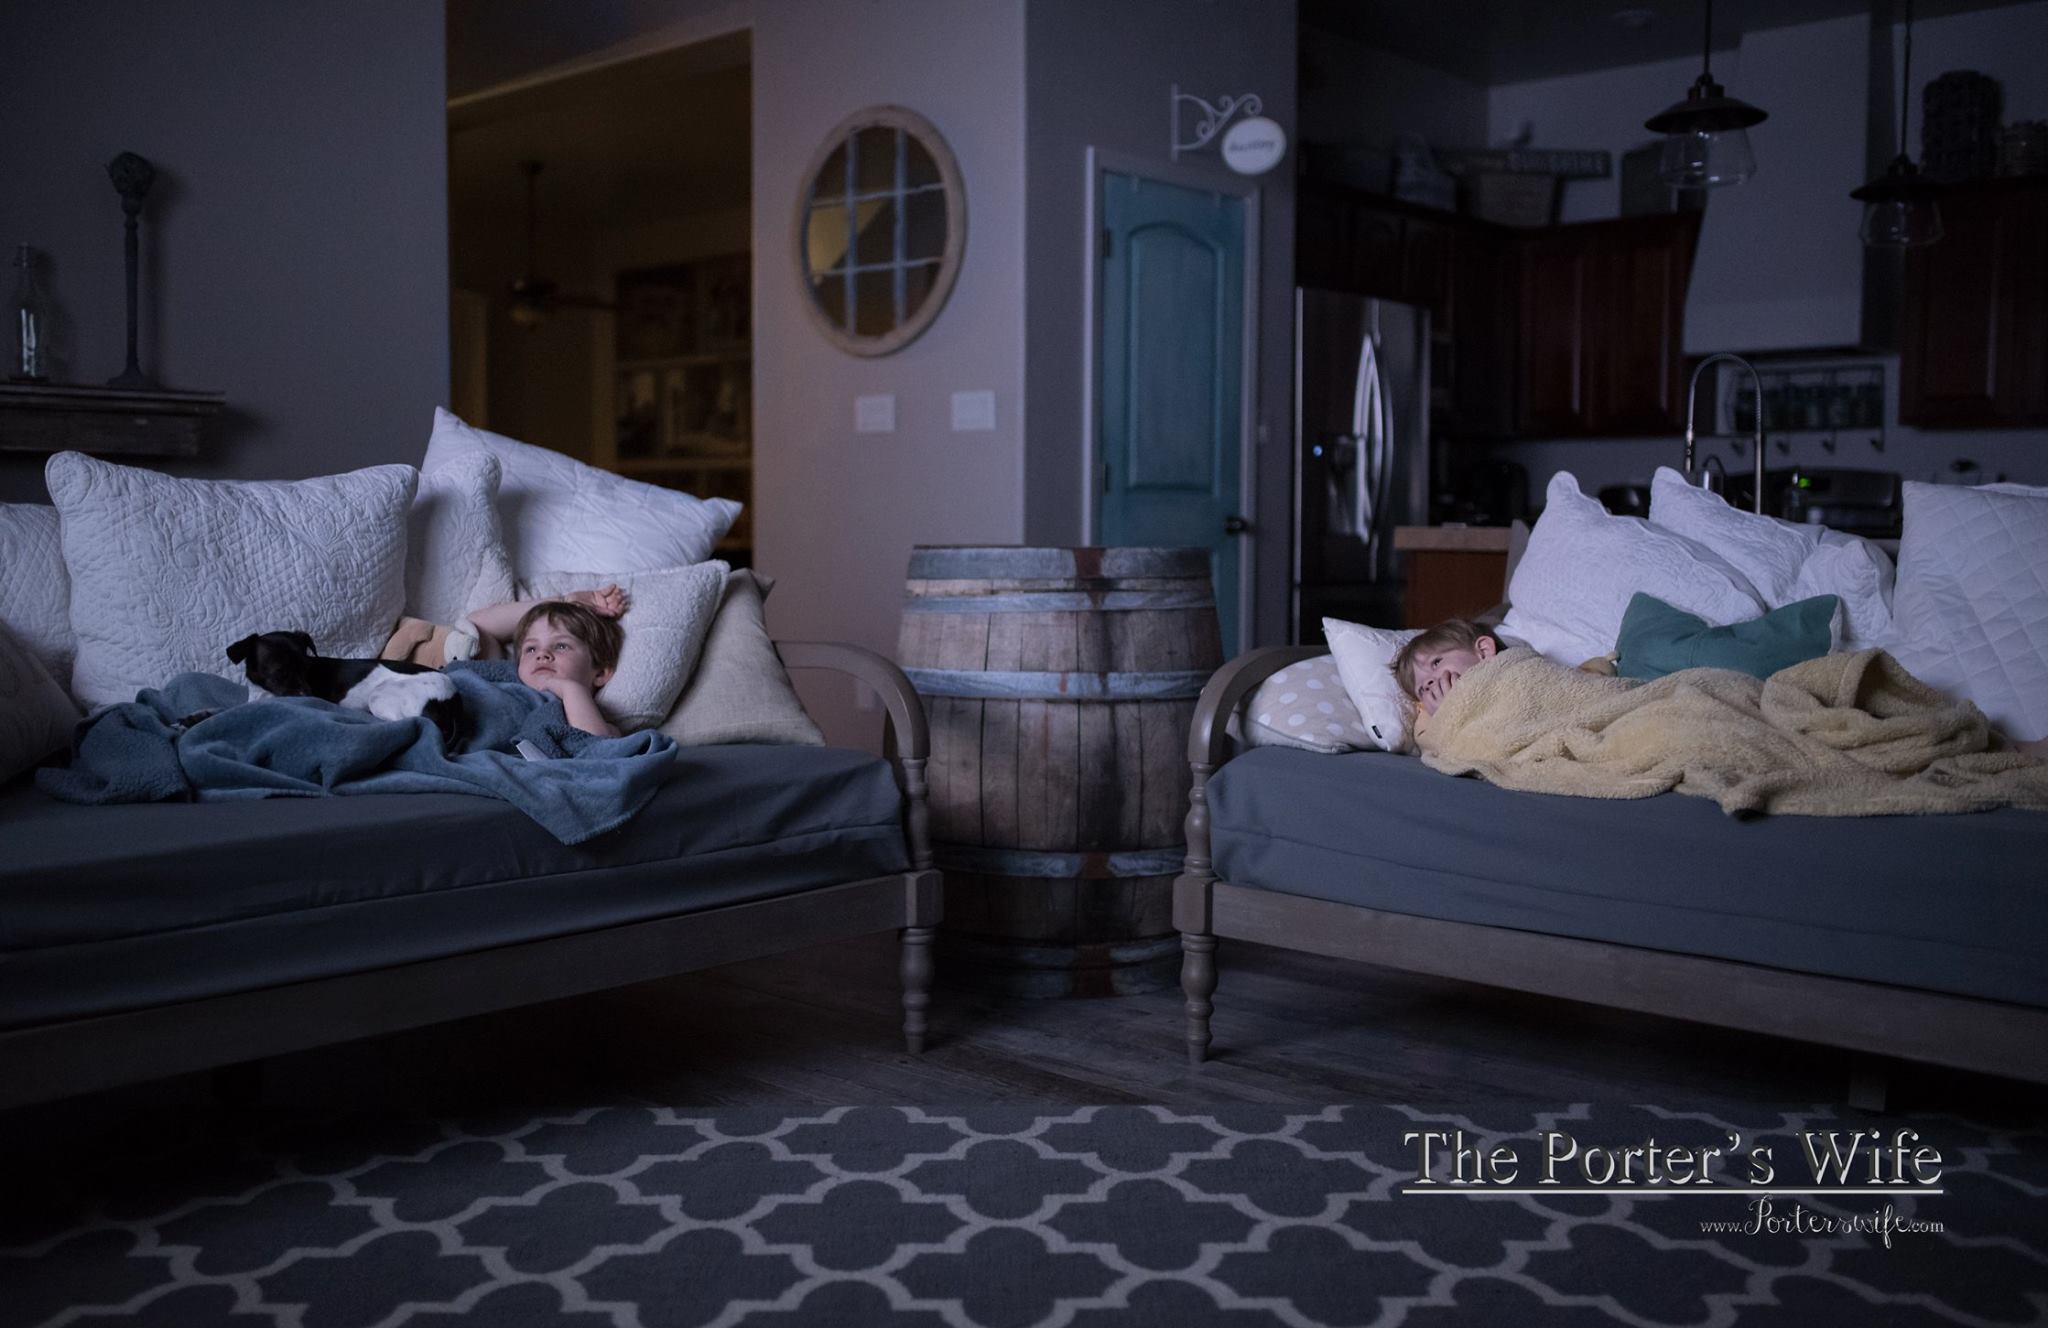
Last but not least, because there are literally hundreds of lighting and subject scenarios we could discuss, I am going to talk about shooting still objects or sleeping children in low light. Here is your chance to use a slow shutter speed. I still set it first for this scenario, and if you're going to shoot for less than 125, then you better grab a tripod, or sit on the ground, or at least steady yourself on a wall or counter to remain still enough to not induce blur.
Decide on a shutter speed that you can be comfortable with. I will go as low as 50 on a tripod or steadied on a piece of furniture. Aperture is next, completely your choice for creativity, you know my preference is low. Lastly adjust the ISO until you see center on the meter. If your camera does not perform well in low light, or has horrible grain at high ISO, this is the best thing for you to do.
Try to use a tripod or steady yourself so you can go low with your shutter speed, so your ISO can remain as low as possible (but if your subject is moving, this won’t work).
I hope that these tips have given you a little insight, or at least a few ideas on where to start with your next shoot. Like all things photography related, practice makes perfect! Keep shooting, reading, and joining in online discussions, because looking back in a few months, you will be glad you did.


Tammy is a child photographer based in the desert of Arizona. A mother of two, a wife, and a secret lover of interior design. She spends her days juggling a hair salon, a budding children's jewelry line, and her camera. Photography is the driving force behind her relentless need to create beautiful things. You can follow her on Facebook.

Comments