- Lightroom Presets
- Best Sellers
- Mobile Presets
-
Photoshop
-
Learn
-
Support
-
Install
- Blog
By Gayle Vehar on | No Comments
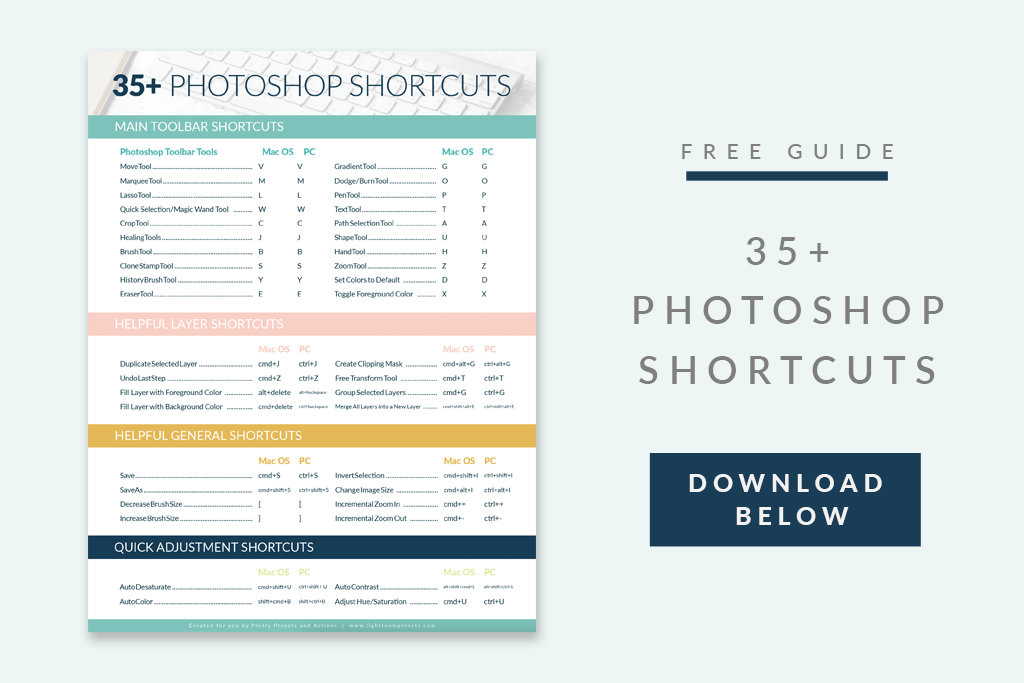
We love saving you time! This has been our primary goal at Pretty Presets & Actions since we started in 2010! Today's post will help you do just that - SAVE TIME!
Photoshop is a beast. Plain and simple. With so many buttons and options, we, as photographers, are always looking for ways to save time when editing in Photoshop. There are MANY Photoshop keyboard shortcuts to help you do this.
Instead of searching for specific tools or commands, you can use your keyboard and Photoshop hotkeys to achieve what you want to do QUICKLY.
We have put together our 35+ essential Photoshop shortcuts that are the most important ones you NEED TO KNOW in order to save the most time editing and working in Photoshop.
Press the "Space Bar" to temporarily switch your cursor to the Hand Tool, regardless of which tool is currently open. This temporary Hand Tool will help you move selections and shapes to the position you want without leaving your current tool. You can also press the "H" key to select the Hand Tool directly.
Tap "V" on your keyboard to select the Move Tool. The Move Tool is essential for moving layers around to new positions on your image.
Press "M" to select the Marquee Tool. This Marquee Tool helps make large rectangular or circular selections within your image.

Tap the "L" key to select the Lasso Tool. The Lasso Tool helps make selections in ANY SHAPE needed for your image.
Pressing the "W" key will automatically open the Quick Selection or Magic Wand Tool so you can “outline” or select specific parts of your image.
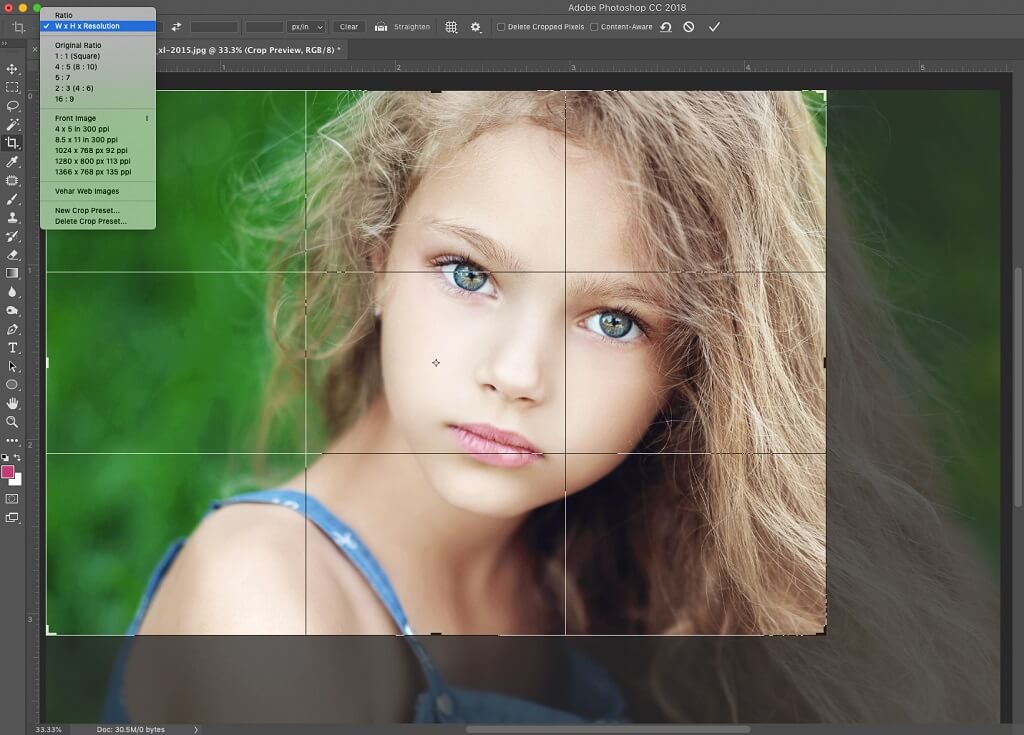
Tapping the "C" key selects the Crop Tool. This handy tool is used to crop images to a particular dimension or ratio.
Pressing "J" on your keyboard will open the Healing Tools. These handy tools can be used to correct facial blemishes or other distractions in your photo. If you need to be even more precise with your corrections, use the Clone Stamp Tool.
Tap the "B" key to select the Brush Tool. You will need the Brush Tool to brush or paint directly on your image or layer masks.
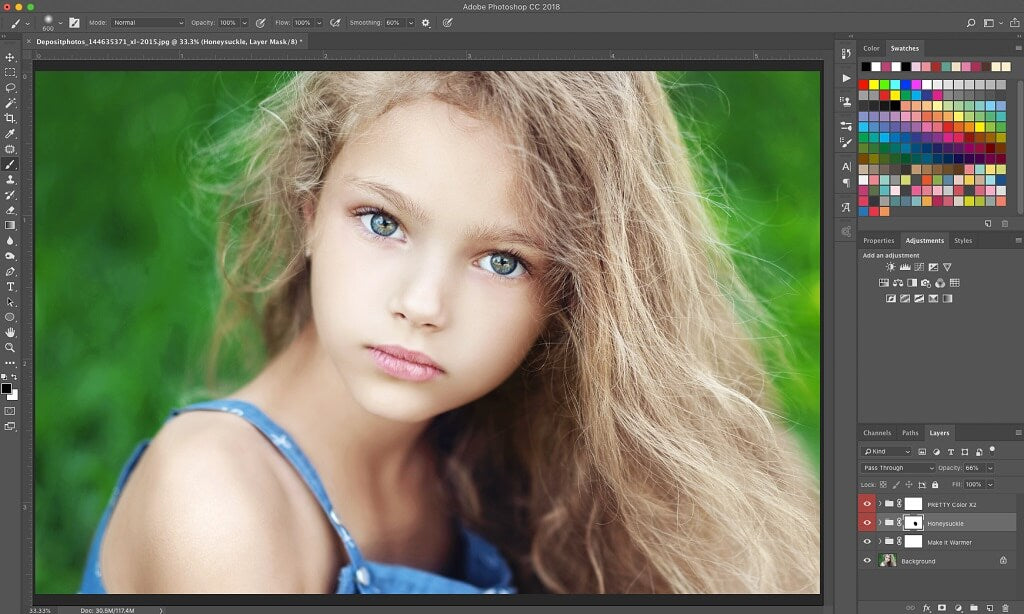
Tap the "S" key to activate the Clone Stamp Tool. This tool helps remove acne or other distractions from an image.
Pressing the "Y" key on your keyboard will select the History Brush. This tool can be used to revert certain areas of your image to a previous state in your history.
The "E" key will activate the Eraser Tool, which you can use to erase parts of an image or layer.
Press the "U" key to select the Shape Tool. This tool is handy for creating shapes to place on your images.

Press "D" to set the foreground and background colors back to their default colors. This shortcut comes in handy when working on a layer mask where you are using black and white brushes often.
Tap "X" to switch the foreground and background colors. This shortcut is handy when working with layer masks, and you need to switch between the black and white brush often.
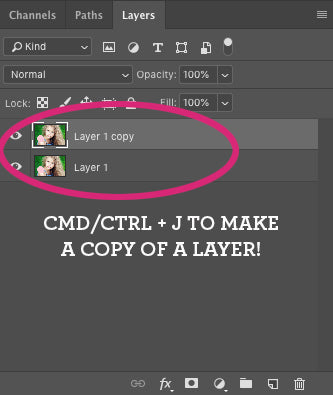
Pressing Ctrl and "J" (PC users) or Cmd and "J" (Mac users) is a helpful shortcut that will quickly duplicate (make a copy) of any layer you have selected.
Pressing Ctrl and "Z" (PC users) or Cmd and "Z" (Mac users) activates the “Undo” Tool allowing you to delete the last step you made. This works great when you make a mistake or aren’t satisfied with your previous action.
Tap Ctrl and "Backspace" (PC users) or Cmd and "Delete" (Mac users) to quickly fill your current layer with the background color you have set.
Tap Alt and "Backspace" (PC users) or Alt and "Delete" (Mac users) to quickly fill your current layer with the foreground color you have set.
When you want to combine a set of selected layers into a SINGLE LAYER quickly, press Ctrl and "G" (PC users) or Cmd and "G" (Mac users). This is a great way to keep your layers organized by keeping similar layers together or grouping layers for a particular part of your image into a folder.
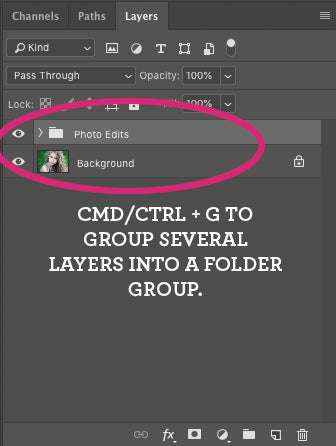
Tap Ctrl and Alt and "G" (PC users) or Cmd and Alt and "G" (Mac users) to create a clipping mask on the layer you have currently selected.
Press Ctrl and "T" (PC users) or Cmd and "T" (Mac users) to select the free transform tool. This tool allows you to change the shape or size of the layer you are currently working on.
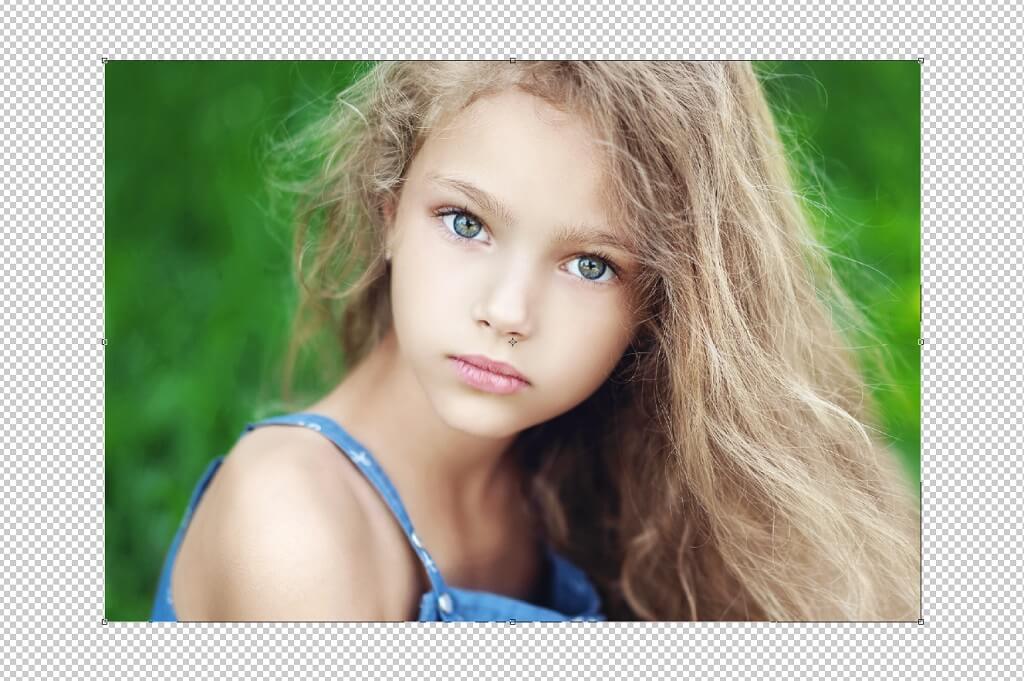
This shortcut uses a lot of keystrokes (4) all at once but allows you to merge all the layers for the image into a NEW LAYER. This makes it possible for you to merge your layers without flattening your image (flattening is a bit of a no-no in Photoshop). Press Ctrl and Shift and Alt and "E" (PC users) or Cmd and Shift and Alt and "E" (Mac users) to make this happen.
Tapping Ctrl and "S" (PC users) or Cmd and "S" (Mac users) will save your image. It is helpful to do this several times throughout your post-processing, especially with more in-depth edits. You never know when your computer may decide to crash and burn mid-work!
Press Ctrl and Shift and "S" (PC users) or Cmd and Shift and "S" (Mac users) to save your image to a NEW file. "Save As" is helpful when needing to save a NEW COPY of the same image.
When you want to invert a selection, tap Ctrl and Shift and "I" (PC users) or Cmd and Shift and "I" (Mac users). By inverting a selection, you will be selecting everything on the image EXCEPT the current selection. This shortcut is useful when working with layer masks you want to switch from black to white or vice versa. This also works well when you have selected a specific area and want to switch to the opposite of what is currently selected.

Press the "[" key to DECREASE the brush size when using the brush tool. This is very helpful when you need to get into tight spaces with the brush.
Pressing the "]" key does the opposite of the above shortcut - it INCREASES the brush size to make it larger.
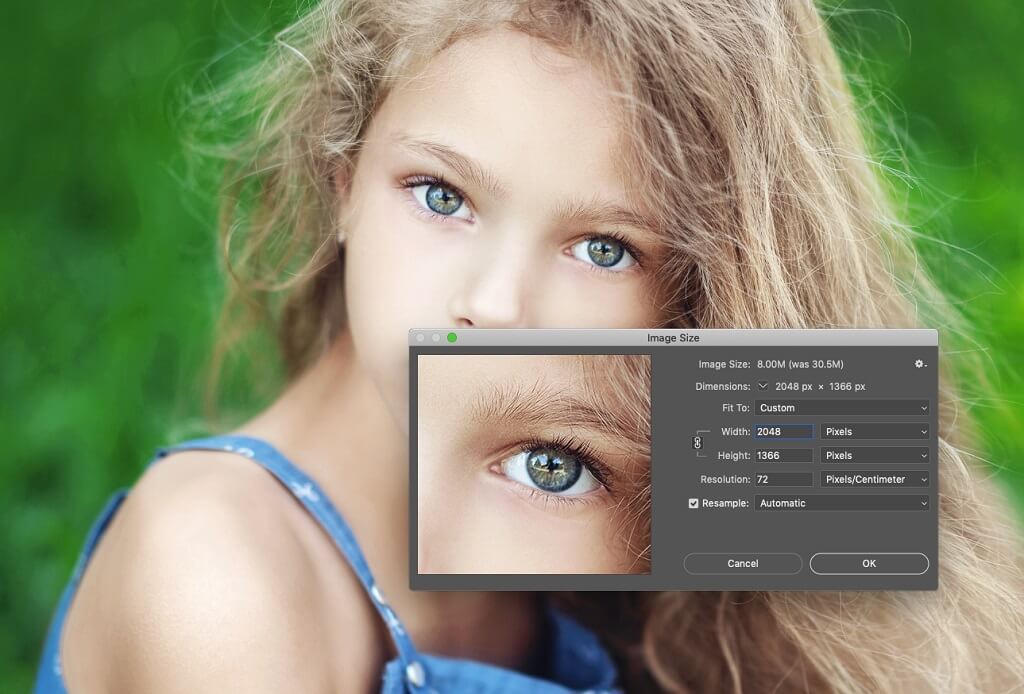
If you want to change the size of your image quickly, tap Ctrl and Alt and "I" (PC users) or Cmd and Alt and "I" (Mac users). You can set the size in pixels, inches, and other options. You can also change the image resolution.
Ctrl and "+" (PC users) or CMD and "+" (Mac users) is a super helpful shortcut that allows you to ZOOM IN incrementally on your image.
The Ctrl and "-" (PC users) or Cmd and "-" (Mac users) shortcut works hand-in-hand with the previous one and allows you to ZOOM OUT incrementally on your image.
Tap Ctrl and Alt and "N" (PC users) or Cmd and Alt and "N" (Mac users) to open a NEW layer in the layer panel.
Press the "F" key to quickly toggle between the different screen modes (standard screen, full screen, and full screen with menu bar) using one key.
Press Ctrl and Shift and "U" (PC users) or Cmd and Shift and "U" (Mac users) to automatically desaturate your image. This is a quick way to change your image to black and white.

Press Ctrl and "U" (PC users) or Cmd and "U" (Mac users) to open the Hue/Saturation tool.
This is another shortcut that uses four keystrokes all at once, but it allows you to adjust the contrast of your image quickly and automatically. Press Ctrl and Alt and Shift and "L" (PC users) or Cmd and Alt and Shift and "L" (Mac users) to make this happen.
Press Ctrl and Shift and "B" (PC users) or Cmd and Shift and "B" (Mac users) to automatically adjust colors.
Here is a great cheat sheet to help you remember all these essential Lightroom Shortcuts. Feel free to print or share it on your website (instructions below)!
We hope you find these Photoshop Keyboard Shortcuts to be as helpful as they are to us! Even if you don't use all these shortcuts, start by picking a few that you think will help you save time, based on how you edit in Photoshop!
Do you have any questions about our Photoshop Keyboard Shortcuts or one of your own that you use often? Leave us a comment below - we would LOVE to hear from you! And PLEASE SHARE our tutorial using the social sharing buttons (we really appreciate it)!


Hi!! I am Gayle. I am a wife to my handsome husband and mom to 4 beautiful kids. In my spare time, I am a photographer and blogger at Mom and Camera. I have a passion for sharing my love of photography with others. I teach local photography classes and regularly share photography tips and tricks on my blog. I hang out there a lot—I’d love you to stop by and visit!

Comments