- Lightroom Presets
- Best Sellers
- Mobile Presets
-
Photoshop
-
Learn
-
Support
-
Install
- Blog
By Amanda Glisson on | No Comments

Do you want to create your own beautiful Photoshop template to use as a Facebook timeline cover, blog template, Pinterest board, magazine layout, newsletter, and more?
In this step-by-step tutorial, I show you how simple and fun it is to create your own custom page layout in a Photoshop template that you can easily drag and drop images into and then use for print or web! The best part is that you can save your template to re-use over and over again!
Note: If you plan on using this tutorial to make social media templates, make sure to download and utilize our free social media image size cheat sheet here.
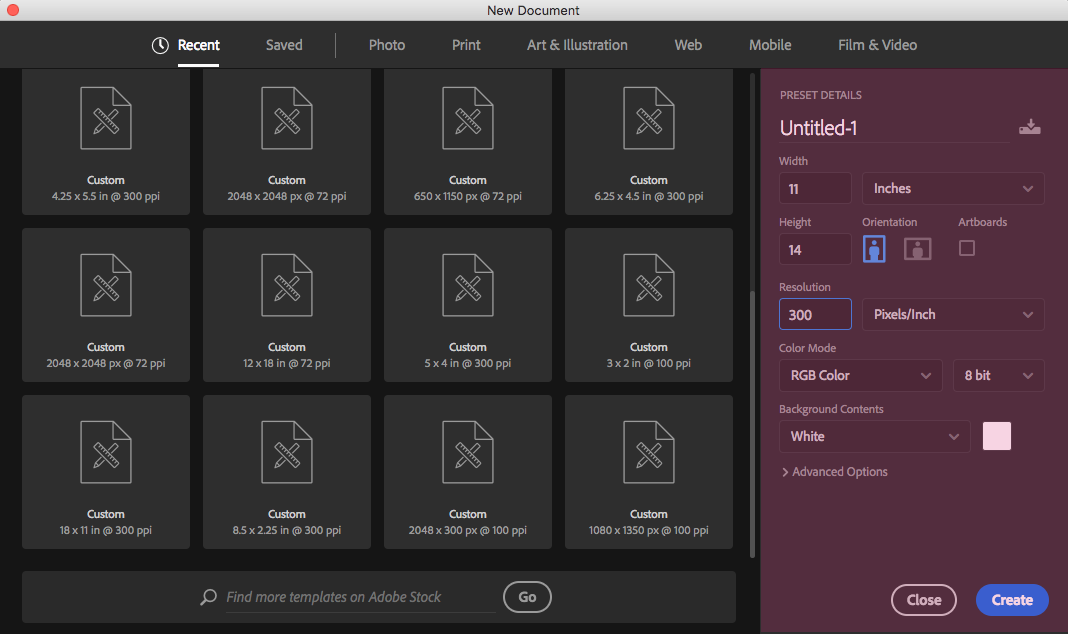
In this tutorial, we will be creating a document for print. However, you can also apply this to anything, whether print or web-based. First, with Photoshop open, go to the top menu bar and click on File>New to open a new document and name it - here, I will name mine "Pretty Template."
When creating documents for print, I have both the width and the height set for inches. I'm going to keep this particular document size at 11 inches for the width and 14 inches for the height. I would change that to pixels if I were working on a document for the web.
Keep in mind, regarding resolution, when you're creating something for print, ideally, you want to have 300 pixels per inch. If the template is for web use, between 72 and 150 pixels is acceptable. Background contents will be white. Press OK.
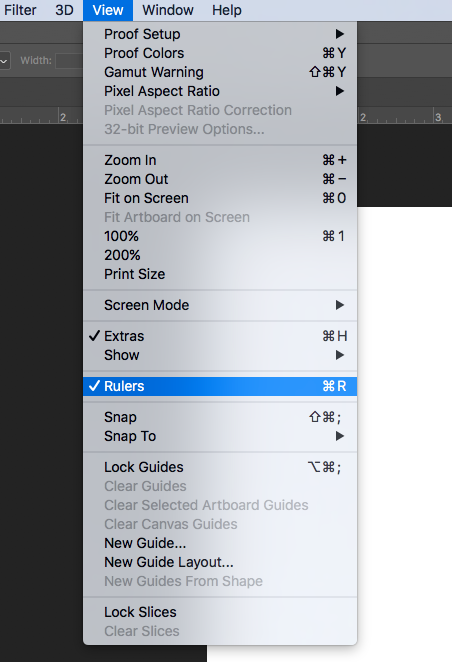
You will want to have the Photoshop Ruler feature turned on as it will help you create the shapes you need for the template. If you don't see the ruler showing in your Photoshop right now, go to the menu bar at the top of your screen and select View>Rulers. You should now see Photoshop rulers appear. Obviously, if you want to turn it off later, you can just click Rulers again in the menu to uncheck it.
Next, we need to create a layout of different shapes for our template, which we will use to drop images into later. In Photoshop, you want to work on separate layers for each shape you create. Here in my layers panel, I will go down to the bottom and click on the new layer icon. You will see it's a little square with a folded-up corner. You can also click on Layer>New>Layer in the top menu.

Our new layer is completely empty. What we have to do is create a shape on that layer. This will be the shape that we will place our image into later. Activate the marquee tool. It is the second tool from the top.

If you right-click on the marquee tool, you can select different shapes. I have my rectangular marquee tool selected. I am going to click and drag a shape about 5 inches in width and 5 inches tall - using my ruler to guide me.
Once you have created the shape, you will see the little marching ants (as I like to call them) going along the edges. Now we are going to fill in our shape. Go to the top menu bar, and select Edit>Fill. Make sure "Color" is selected in the top drop-down option. Any color will do. I am going to choose a nice pretty blue and press OK. Now we can either just click to make our selection go away or click on Select>Deselect in the menu bar.
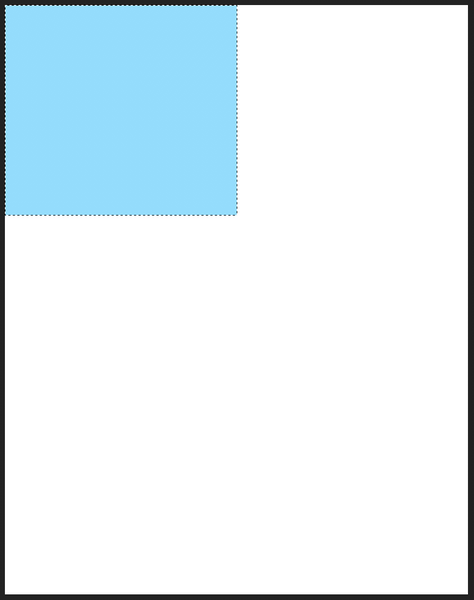
You will need to repeat these instructions (in step 3 only) for every shape you add to your template. Important: Make sure each shape is on a new layer.
If your shape is the wrong size or you want to adjust it later, just activate the Move tool (click "V" Photoshop keyboard shortcut) and select the layer for the shape you need to resize. Use the transform handles around the shape to adjust it. Hint: you can hold down the Shift key while resizing your image to keep the original ratio. Then tap Enter/Return to set the new shape size.
TIP: If you do not see the resizing handles, make sure "Show Transform Controls" is checked in the tool options near the top of Photoshop.
If you want two boxes of identical size and shape for your Photoshop layout, you can easily duplicate a layer by choosing Layer>Duplicate or click and drag the layer you want to copy to the new layer icon at the bottom of the Layers Panel, and it will automatically be duplicated.
One of the main reasons to create a Photoshop template is to have a reusable layout that you can place images into very quickly and easily.
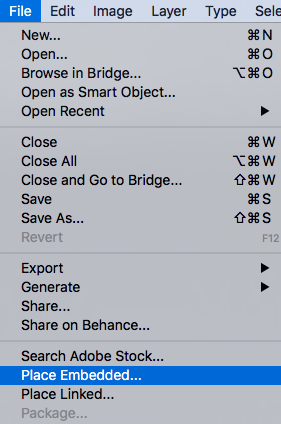
To add an image, you will first select the layer to which you want your image to be applied. So, if I want my image to appear in the top left shape, I will click on that particular layer. Next, I will go to File>Place or Place Embedded, depending on which version of Photoshop you are using.
Next, navigate to the image you want to apply to the template. Click on that image and press "Place." It may look a little weird at the beginning. That's okay. Just press Enter or Return.
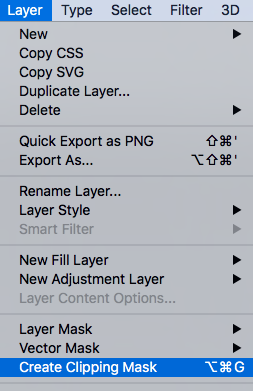
Now for the magic (using a clipping mask)! In the main menu, choose Layer>Create Clipping Mask, and your image will be clipped right into the shape!
Using the Photoshop Move Tool, you can now click and drag or resize your image to fit into the shape exactly the way you like.
Repeat the "Add Image" steps for each shape layer.
When you are finished, save the file as a PSD to ensure that all your layers are saved for the next time you want to use your template. If you wish to print this file, select File>Save As and save your work as a JPEG.
Go to this blog post for an awesome Photoshop grid template you download for FREE and use to drag and drop your own images into right away!
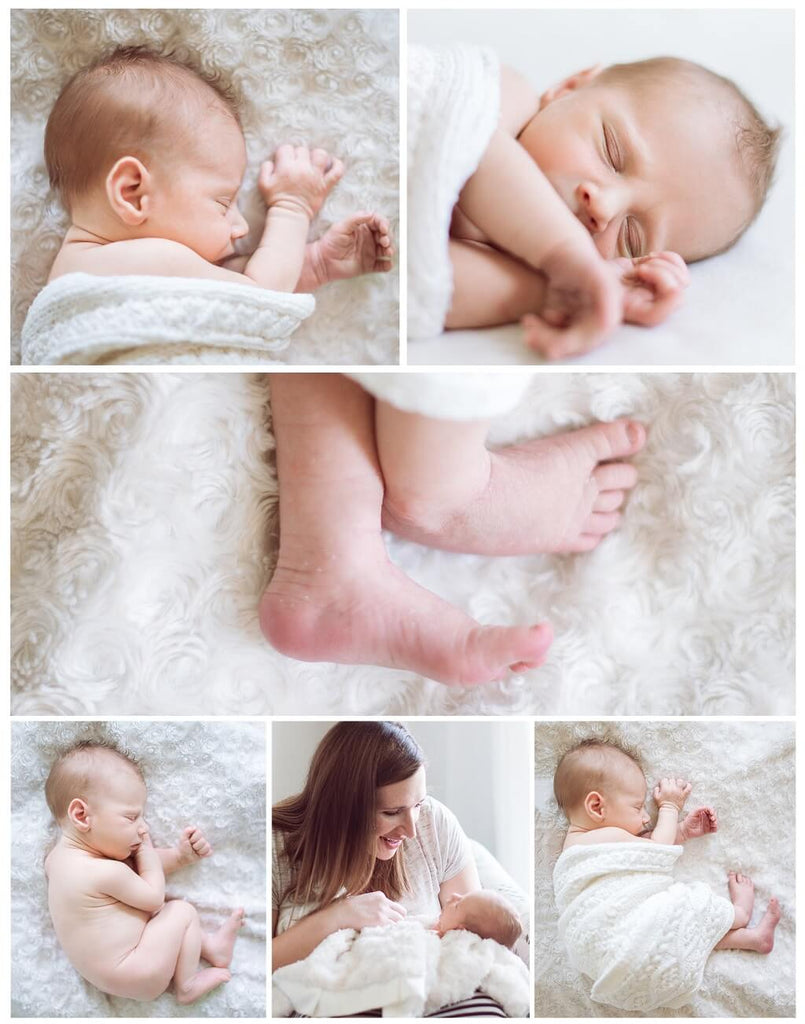
You can create unlimited custom templates for your images and reuse them as often as you want. This is super simple, and the sky is the limit on what you can create. I hope you enjoy making your own drag-and-drop templates in Photoshop.
Need more help understanding each of these steps? Watch the video below:
Do you have any questions about How to Make a Photoshop Template? Leave us a comment below - we would LOVE to hear from you! And PLEASE SHARE this tutorial using the social sharing buttons (we really appreciate it)!

I'm a momma of four who, like a lot of other moms, found my love of photography through photographing my own beautiful children. Since first picking up a camera over 9 years ago and having professionally photographed all sorts of subjects and venues, I have come to learn that I am most passionate in newborn and child photography and I am lucky enough to be able to specialize in this area!

Comments