- Lightroom Presets
- Mobile Presets
-
Photoshop
-
Learn
-
Support
-
Install
- Best Sellers
- Blog
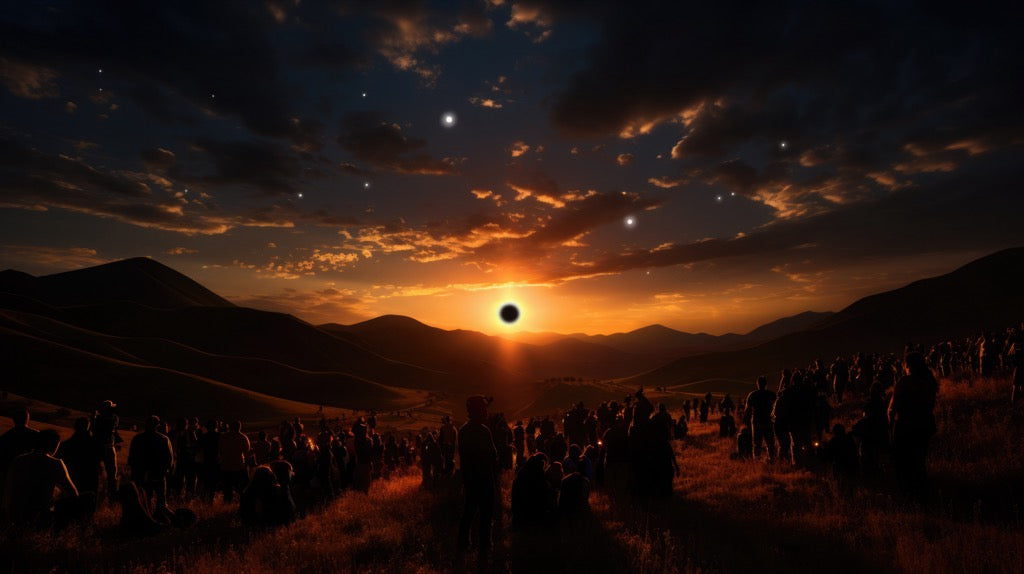
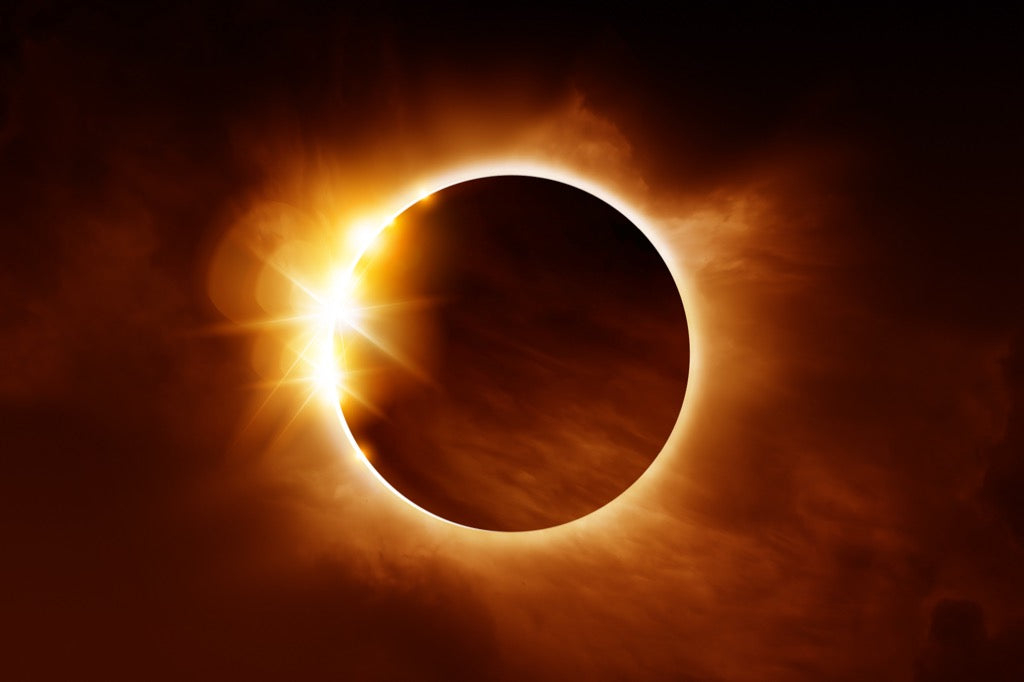
Witnessing a total solar eclipse is an awe-inspiring experience that transcends mere observation—it’s a celestial ballet, where the moon and the sun align perfectly, shrouding the day in an otherworldly twilight. This rare and mesmerizing event captivates not just astronomers, but anyone fortunate enough to stand in its shadow.
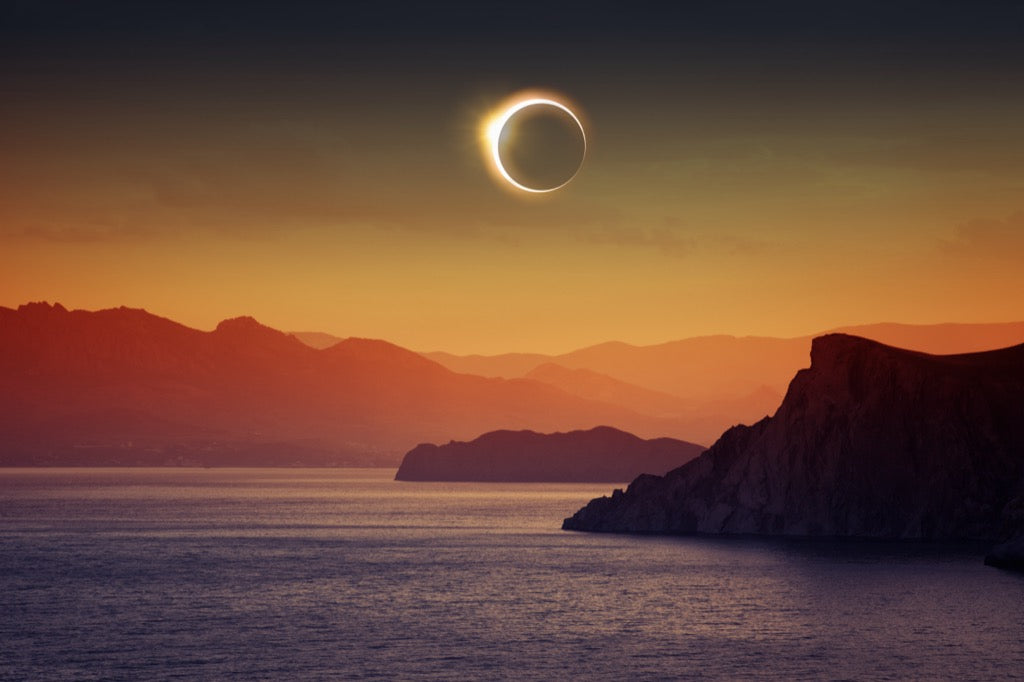
The next opportunity to be part of this cosmic spectacle unfolds on Monday, April 8, 2024, when the path of totality for the solar eclipse sweeps across North America, gracing skies from Mexico, through the United States, and into Canada.

A map illustrating the path of this 2024 total solar eclipse reveals a narrow band stretching from Texas to Maine. This path indicates where the totality will be visible, providing a once-in-a-lifetime experience for those situated along this corridor.
For the rest of the U.S. states, a partial eclipse will be observable, offering a unique spectacle of its own. For more detailed visual representations of the eclipse's path, NASA’s Scientific Visualization Studio offers downloadable maps and other resources.

For photographers, both amateur and professional, this event offers an unparalleled opportunity to capture the stunning beauty of one of nature's grandest displays. So gear up, mark your calendars, and get ready to join the many enthusiasts who are ready to capture this breathtaking journey across the North American sky.
To ensure you're fully equipped, I've put together this essential guide filled with tips and strategies for photographing the upcoming solar eclipse:
This cannot be overstated: NEVER observe a solar eclipse with the naked eye. Despite the moon obscuring part of the sun, the emanating light remains dangerously bright for unprotected eyes. It is crucial to safeguard your vision.
Eclipse glasses designed for this specific purpose are widely available for both adults and children. Please ENSURE you use them to protect your eyes during the eclipse!

Capturing the eclipse with a DSLR camera is entirely feasible, but you'll need to equip yourself with some specific gear:
Aim for a lens with a focal length of at least 400mm. This ensures you capture the eclipse with the desired detail and clarity. If you don’t have such a lens, consider renting one from a local camera store or an online outlet. Lenses shorter than 400mm won't deliver the resolution necessary for striking images.
Interestingly, having a crop sensor camera works to your advantage here, as its smaller size effectively brings you closer to the celestial event and enhances the effective reach of your lens.
A solar filter is essential for safeguarding your lens and camera sensor. It differs from UV or neutral density filters and is specifically designed to photograph solar phenomena. Check the lens cap of your chosen lens to determine the filter size you need; for instance, a Canon 100-400mm lens requires a 77mm solar filter.
Stability is critical, so ensure your tripod is robust enough to support the weight of your gear, especially if you’re renting a heavier lens than usual. Verify your tripod’s weight capacity and consider securing it with weights to prevent wind damage.
To eliminate camera shake and achieve the clearest possible image, use a remote shutter release or set a timer (such as a two-second delay). This minimizes vibration that could blur your photo, even on a stable tripod.

Capturing the nuanced details of a solar eclipse is similar to lunar photography. It requires specific attention to camera settings to ensure sharp and detailed images.
Switch your camera to Manual Mode to gain complete control over your exposure settings. The lighting conditions will change drastically during an eclipse, and manual mode allows you to adjust shutter speed, aperture, and ISO as needed.
Utilize your DSLR's live view mode for framing and focusing your shot. Zoom in with the camera's live view to manually fine-tune focus. Although autofocus may be tempting, manually checking focus ensures precision. Be swift if using autofocus to avoid missing your setup window, especially considering the varying light conditions throughout the eclipse.
For the greatest flexibility in post-processing, shoot in RAW format rather than JPEG. This captures the maximum data, allowing for better adjustments to white balance and exposure in software like Lightroom or Photoshop.
Due to the dynamic range from the brightest to the darkest parts of the eclipse, use exposure bracketing to capture multiple exposures that can be blended in post-processing for the best detail in both the corona and darker areas.
While reviewing photos on your camera's screen can be helpful, limit this activity during the eclipse to avoid missing the brief window of totality. Focus on capturing the event; there will be time to review and admire your images afterward.
Get comfortable with your camera and settings by practicing BEFORE the eclipse day. Knowing how to swiftly adjust manual controls will help you capture the event smoothly and effectively.
Capturing the perfect shot of a solar eclipse requires more than just technical skill—it demands meticulous preparation and planning:
Look for a spot with an unobstructed view of the eclipse. Utilize national maps to determine the visibility in your area, then research local sites and scout for the best vantage point.
Joining local photography groups or clubs on platforms like Facebook can lead to meetup opportunities, making the shooting experience more enjoyable alongside fellow enthusiasts.
Before the solar eclipse day, familiarize yourself with these settings and practice on the sun (with a solar filter). Given the unpredictable nature of eclipse lighting, knowing how to quickly adjust your settings in changing light conditions is essential for success!
As we gear up for the awe-inspiring celestial event of the 2024 solar eclipse, the opportunity to capture this rare moment through the lens of a camera is an exhilarating challenge for photographers of all skill levels.
From the essential preparation of your equipment and the meticulous planning of your location to the precise execution of capturing the eclipse itself, every step is a journey towards creating a unique piece of art that freezes a moment of astronomical wonder!
Do you have any questions or comments about How to Photograph a Solar Eclipse? Leave us a comment below - I would love to hear from you! And PLEASE SHARE this post using the social sharing buttons (we really appreciate it)!


Comments