- Lightroom Presets
- Mobile Presets
-
Photoshop
-
Learn
-
Support
-
Install
- Best Sellers
- Blog

Studio photography wasn't always a strong area of photography for me. It was scary and I felt quite intimidated at first (totally normal by the way). It took a lot of work and practice to figure out exactly how to do it (the size flooring and backdrops I liked, the lens that worked best for my space, how to use studio lights and how to utilize my natural indoor light). And finally, I learned how to edit my studio photos to get the exact look I was trying to achieve.
Once I figured out all these areas, I saw a substantial improvement in my studio images and my photography business.
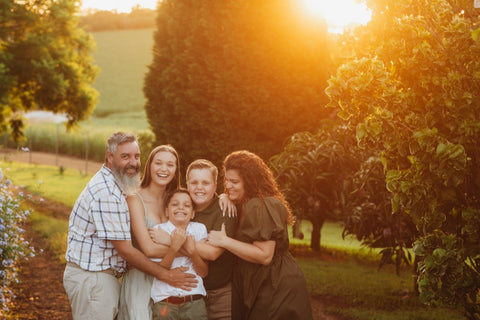
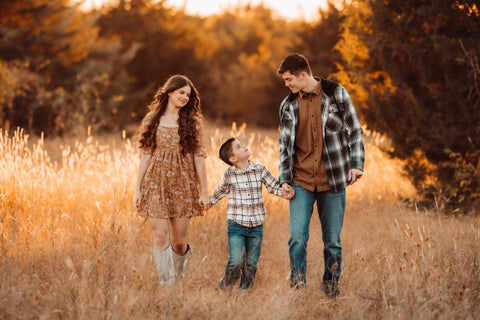
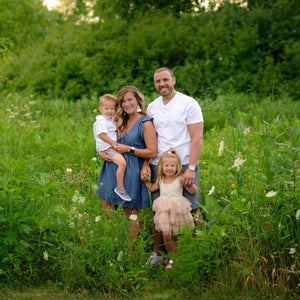
Now, I LOVE studio photography! I can offer my clients so many different themes and so much variety, even in a single session. The options are endless and it's so fun to bring my imagination to life. So whether my client wants to keep it simple and sweet or kick it up a notch with something more elaborate, I can find something for everyone when offering studio photography!
Below, I will show you how I edit my studio photos in Lightroom. You may find that your workflow is slightly different, but I have found this works best for me and the look I try to achieve. Give it a try!

Once I have my studio image opened in Lightroom, I usually start off by cropping and straightening the photo to how I see it looks best.

Once that is done, I apply a preset. Not every preset looks good on every photo. Your preset choice will depend on your subject, lighting and the look you are trying to achieve among other things. The preset that was used on this photo was Crystal Springs from Pretty Presets Clean & Colorful Collection.

Next, I move on to the "LIGHT" section in Lightroom. When using the Crystal Springs preset, I always up my exposure. There isn't an exact number that I stick with. I just increase the exposure slider until I like how it looks.
Since increasing exposure will brighten the photo, I will usually lower my highlights and whites quite a bit. I also play around with the shadows which I tend to adjust to around +25.
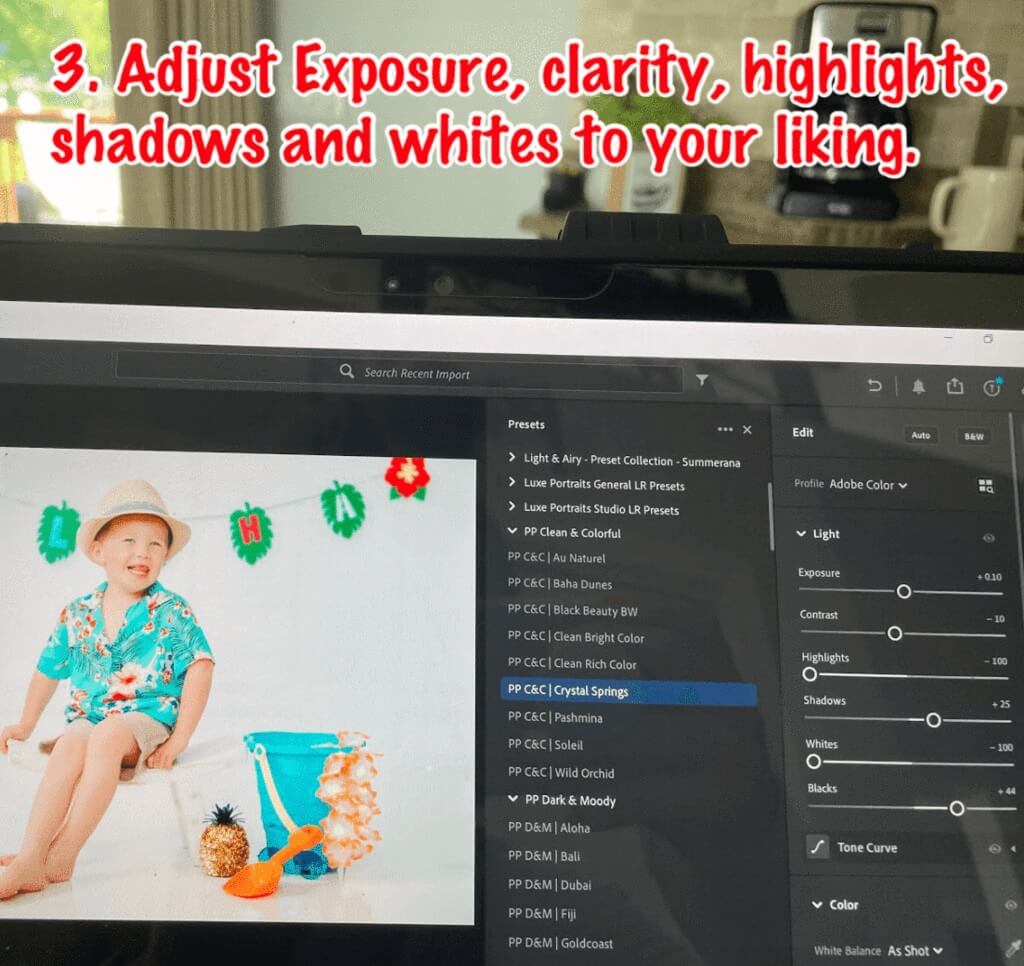
Next, I move on to temperature and vibrance. The Crystal Springs preset ALWAYS brings out an orange tone. The temperature of my photos is usually around 5000 after I apply the preset. I like to increase the temperature to around 5500 and also increase the vibrance. These adjustments will make the photo even MORE orange, but I will correct for that in the next step!

Now, to correct for the orange, I lower the "ORANGE" saturation slider to between -10 and -30 as well as lower the luminance slider to roughly 0. Once again, there is no exact way to do it. This is just my personal preference and what I think looks best for my images.

Once I have the color corrected, I move onto the "EFFECTS" section of Lightroom. The only sliders that I play around with here are clarity and dehaze. I usually just make some small adjustments, generally keeping the sliders around 15 for Clarity and 5 for Dehaze. I think it gives my photos just a little extra "OOMF."

The last section that I use is the "DETAIL" section. I always sharpen my photos a bit and utilize the noise reduction slider too.

As a final step, I always add a radial gradient to my subjects face. I either increase or decrease the exposure of that gradient depending on the look I'm trying to achieve and I always sharpen it a bit more too. This is personal preference but it's what has worked very well for me over the years.

I absolutely LOVE photographing kids. What I've found to be super helpful when taking photos of children is to find a themed photo shoot idea that gets the kids excited while at the same time allows them to be themselves and have fun!
This is important because it can be really difficult to get kids to want to sit and cooperate when it's not something they are interested in.
Here is a guide for shooting and editing Hot Cocoa mini-sessions that I put together this past Christmas - my clients and their children LOVED them!
For the images I used in this blog post, I chose a Hawaiian theme because it was fun, engaging, and my subject was able to be a little goofy and just be himself. He was even able to pick out some of the props he wanted to use for the shoot.
Needless to say, he LOVED every second of it and I was able to get some of the best smiles and I was able to capture his true personality shining through.

I do most of my editing in Lightroom because I find it to be so much more user friendly. I do use Photoshop from time to time, but usually only for a few different types of edits that are difficult to do or can't be done in Lightroom, like adding a sky overlay or fairy wings.
When starting out in Lightroom, I encourage you to play around and become familiar with all the different sections and sliders. Once you have a general understanding of what each slider does, you'll be able to tie all the different components together to figure out what editing style works best for YOU!
Once I figured out my editing style, I'm able to apply my presets and bring my photos to life with only a few adjustments!

Most of us start out knowing very little about photography and editing. When I began my photography journey, I had NO experience, NO idea how to use a camera or how to edit. NONE AT ALL.
I joined several photography communities on Facebook like the Pretty Presets group, read lots of blog articles and taught myself. After a while, I began having more confidence and saw where this journey could take which made me push myself even more.
Whatever you do, don't be afraid to ask for help. There is always room for improvement and growth. I'm still learning and improving my photography skills and hope to continue for years to come.
Most importantly, ALWAYS BELIEVE IN YOURSELF and DON'T GIVE UP! With a little bit of faith, trust and ambition, you will succeed at whatever you set out to achieve!

Brittany's Must-have Pretty Presets & Actions collections: the Clean & Colorful Millennium Collection and the AI Portrait Pro Collection.
Do you have any questions or comments about How to Edit Studio Photos in Lightroom? Leave us a comment below - we would love to hear from you! And PLEASE SHARE this post using the social sharing buttons (We really appreciate it)!


Comments