- Lightroom Presets
- Best Sellers
- Mobile Presets
-
Photoshop
-
Learn
-
Support
-
Install
- Blog
By Amanda Padgett on | No Comments

The world of studio lighting can be an exciting aspect of photography for some people, while others are intimidated by what seems to be a never-ending stream of equipment and technical information. If you are someone who is curious about studio lighting, but are not sure where to start, this information should help you decide what type of studio lighting and equipment will work best for you.
Keep in mind, that the items recommended here are geared towards portrait photographers. If you shoot product or fashion photography, you may want to look into more advanced set-ups, depending on what your client needs. These suggestions are tailored to portrait photographers who are new to studio lights.
Your DSLR has a component on top, called a hot shoe, where you can attach a flash that is purchased separately from your camera. While most DSLRs have an on camera flash that can work well in some situations, it is always great to have a separate flash.
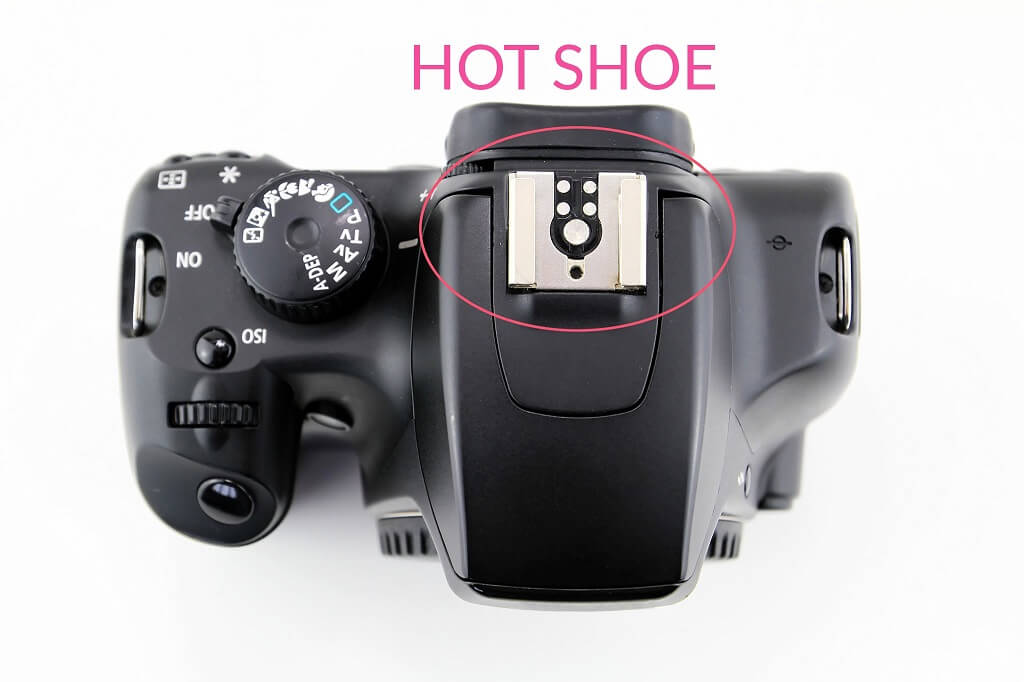
With a separate flash, you not only have the luxury of a more powerful flash with a better quality of light, you also have the option of attaching diffusers to your flash, and even using your flash off-camera (we will get to that in a bit). A flash unit comes in particularly handy when you are photographing weddings or any type of group event.
Now, the flash that you purchase will most likely come with a small, white, plastic diffuser to attach to the top of your flash. This can work very well to diffuse the light, minimizing shadows and red-eye. You can also turn your flash so that it isn’t pointing straight at your subject, and bounce the light off a ceiling or nearby wall to make the light even more diffused.
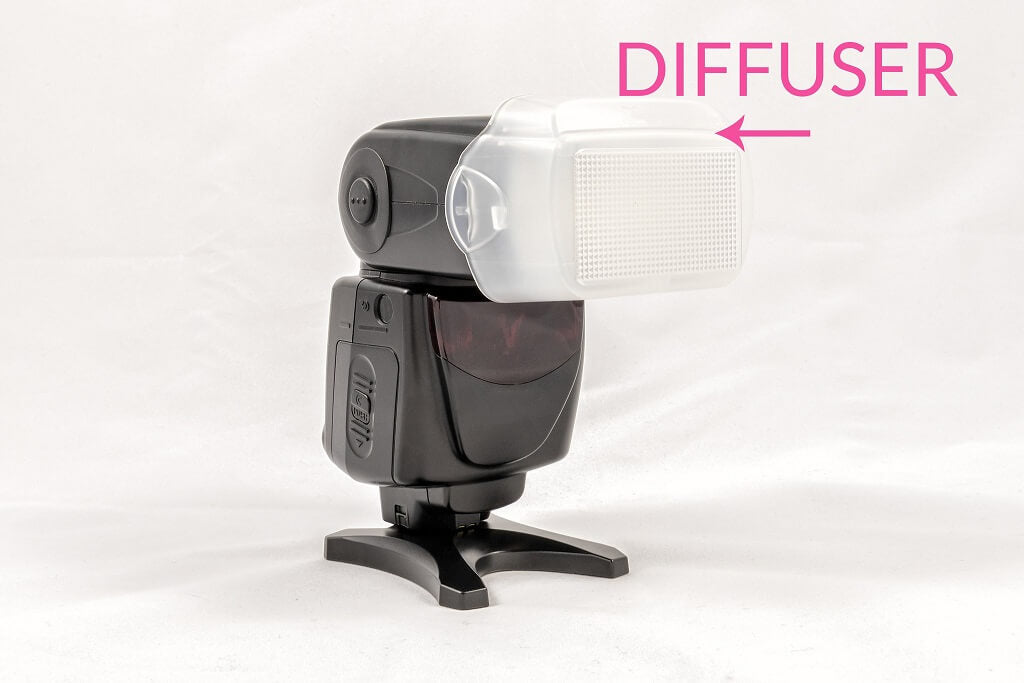
There are a number of flash diffusers that range in price from just a few dollars to a couple of hundred dollars. When you are purchasing a diffuser, just keep in mind:
A great option is the Lightsphere Dome, by Gary Fong. The Lightsphere Dome is lightweight, and it has never fallen off of my flash (as some diffusers have a tendency to do!) and it fits both my Nikon and Canon flashes. It is just a great, multi-purpose diffuser. You can view all of Gary Fong's flash accessories here.
If you are a natural light lover like me, a reflector will be one of your favorite pieces of equipment. They come in various shapes, sizes, and colors, but the silver, circular reflector seems to be the most popular.
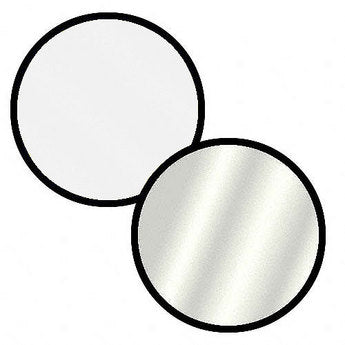
You can purchase stands to hold your reflector, or, if you have another person on-hand, you can have them assist you in holding and positioning the reflector. You will be amazed and how much they will increase the light on your subject by reflecting the available light. They also work extremely well to fill in the light behind your subject, or, if you are shooting outside and your subject is back-lit, positioning the reflector to face directly on your subject will bring out more detail on their face, without creating harsh, unnatural lighting.
There are many to choose from, but B&H has a great selection of sizes, colors and prices here.
Now, if you are feeling comfortable enough to experiment with off-camera lighting, you will be surprised that it is a lot easier than you might think. You can either purchase separate lights, or you can trigger your flash off camera.
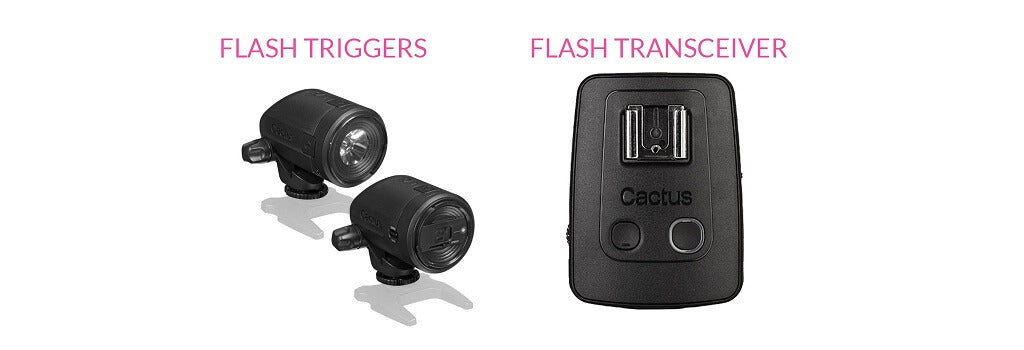
If you are using your flash, you will most likely need to invest in triggers. Some DSLRs can trigger a flash off-camera through an infrared sensor that is built-in to the camera, but triggers are a bit more reliable.
Basically, there are two components involved with triggers – a transmitter that attaches to your camera, and a transceiver that is attached to your flash. The transmitter communicates with the receiver, allowing you to place your flash off camera on a light stand, and use various umbrellas and softboxes to diffuse the light.
Cactus Triggers are widely popular, and more affordable than a lot of the other triggers on the market, but as always, shop around, read reviews and find what system will work best for you!
Once you have decided how you want to trigger your flash, be sure to look at various umbrellas and softboxes. Umbrellas tend to create a more direct pool of light, while softboxes will create a more even light source.
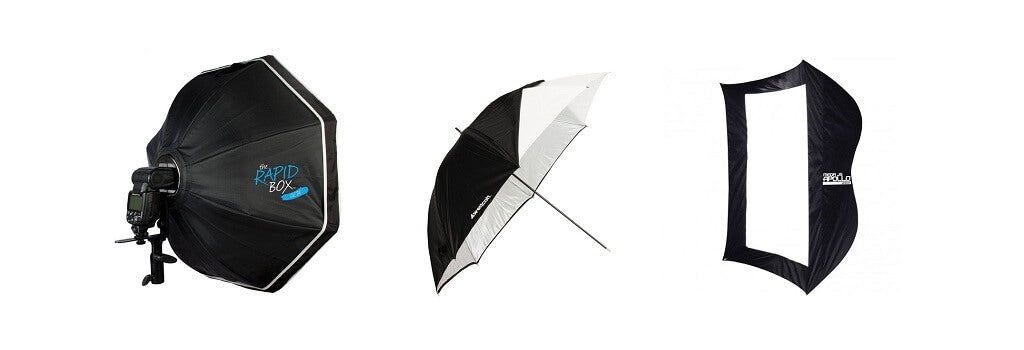
And, don’t forget your light stand! You will need a stand that will hold your flash, and your diffuser. You can purchase kits that come with a light stand, a mount for your flash and umbrella, as well as basic reflector umbrellas. If you are new to off-camera lighting, you may want to first purchase a kit that will familiarize you with the components of the setup, then, when you’re ready to upgrade, you’ll know exactly what you need. Click here for a basic kit.
In short, if you are using your flash off-camera, here is what you will need:
Triggering your flash off-camera is a lightweight, portable method of achieving studio-like lighting. If you are shooting in your home or a studio, you may be interested in larger flashes such as Alien Bees. Alien Bees also makes a portable power pack, so if you do decide to take your lights outdoors for a shoot, you can. There are other popular brands as well.
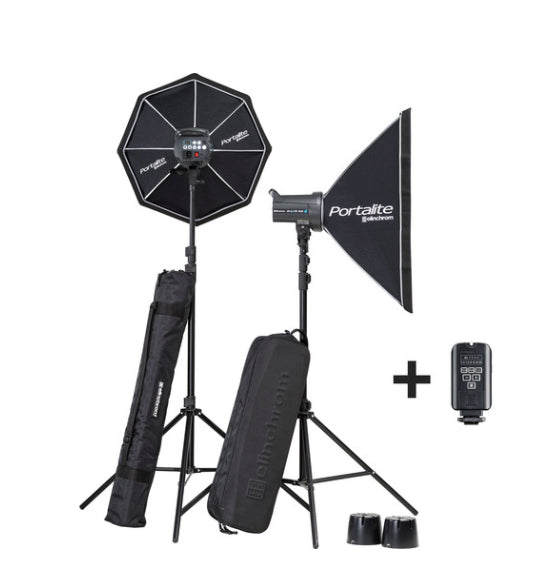
These are just a few methods for lighting that will help you get started with studio lights, and thinking about what you need for your own lighting set-up. Just remember to do your research, and don’t be afraid to ask questions either here, or on the various forums dedicated to lighting.
Do you have any questions or comments about Photography Studio Lighting? Leave us a comment below - we would LOVE to hear from you! And PLEASE SHARE this post using the social sharing buttons (We really appreciate it)!


Hi! I'm Amanda, a homeschooling mom of four, from South Carolina. I am passionate about photography, photo editing, and helping others learn to love their camera and editing programs.

Comments