- Lightroom Presets
- Best Sellers
- Mobile Presets
-
Photoshop
-
Learn
-
Support
-
Install
- Blog
One question that I get asked quite often from Lightroom preset users is "How can I adjust a preset, when its effect is too much?" or "Is there a way to lower the opacity of a preset?"
Today, I thought I would address this question in a blog post because there are several different ways to adjust your presets in Lightroom and the way you choose to adjust them may be different depending on the preset you apply.
Important Note: It is really hard to adjust a preset if you know very little about how Lightroom works. This post will give you some tips, but if you are new to Lightroom, spend a little time playing around and get a feel for it, so that when you need to adjust a preset you aren’t completely at a loss for where to turn or how to do it. (All those links in this paragraph are links to resources here on our site that will help you get started with this process of learning and mastering Lightroom!)

Sometimes a preset isn’t really too much - it just didn’t apply to your photo exactly the way you want it. For instance, maybe it made your whole photo darker than you wanted it to be. Or maybe it made your photo a little too cool or warm for your liking.
The Basic Panel is your first resource for correcting these issues. Preset effects are generally created on perfectly exposed photos. If your photo is slightly underexposed, a preset isn’t likely going to fix that - in fact, it might even make it worse.
Use the Exposure slider in the Basic Panel to brighten your photo if the preset you applied made it darker.
If the preset added a little too much coolness or warmth to your image, you can adjust the Temp slider in the Basic Panel to customize the color temperature of your photo.
Use the basic panel as your first stop as you try to adjust the effect of a preset on your photo.
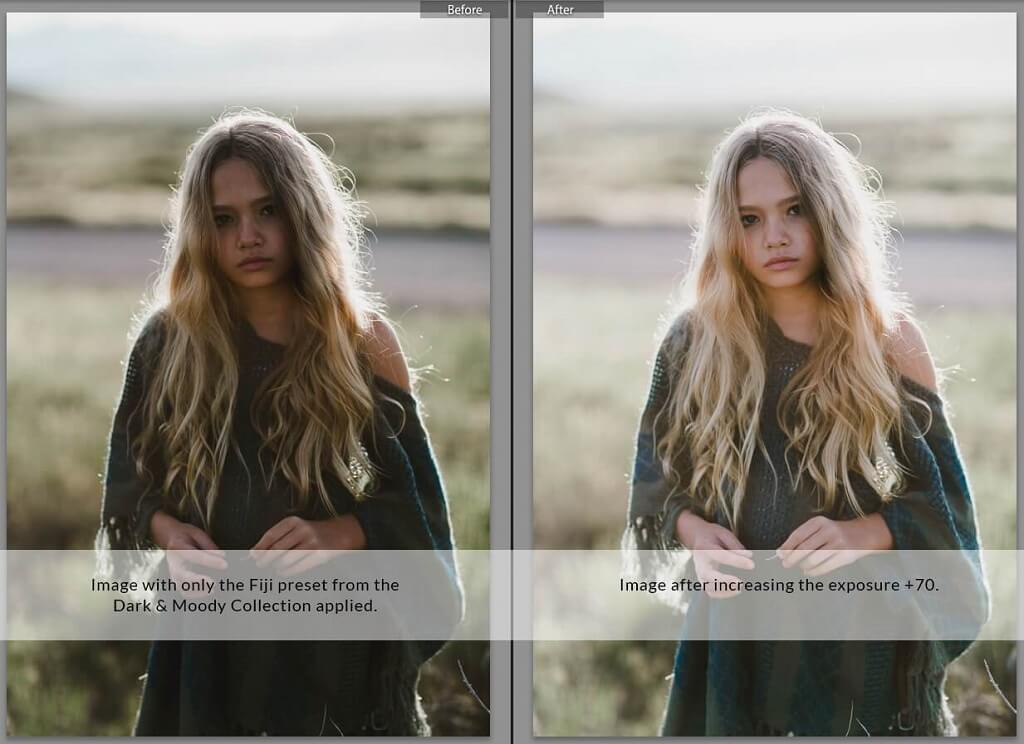
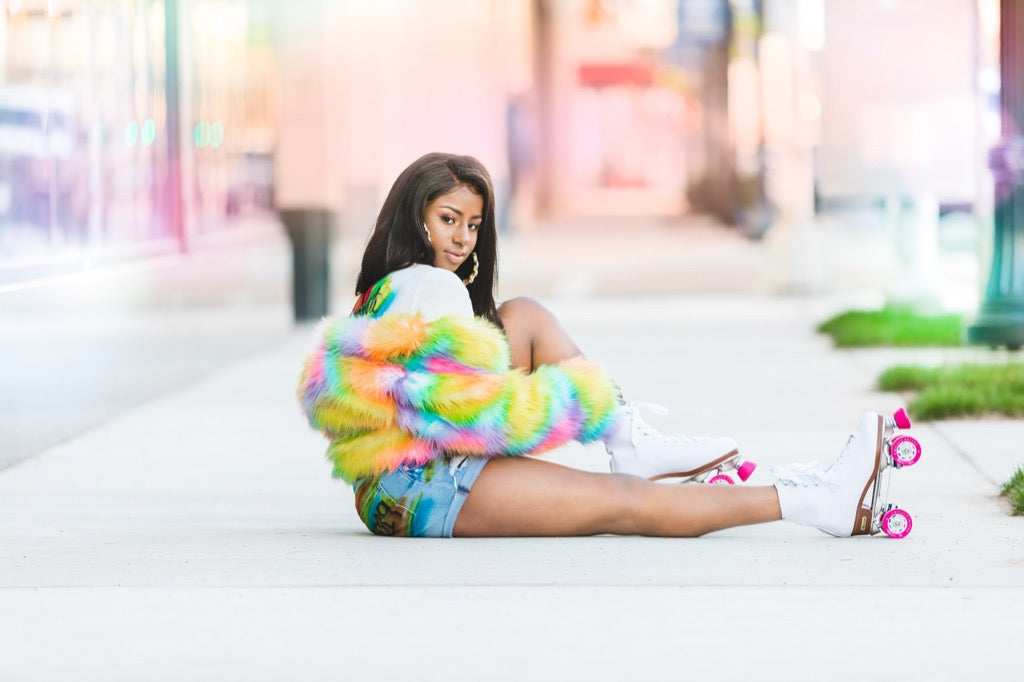
Dark & Moody Millenium Preset Collection
The Tone Curve panel is used in presets to add more contrast and to add a matte effect to a photo. If you find the matte effect a preset adds to be a little too much, then move to the Tone Curve to adjust it.

The easiest way to make adjustments to a curve created by a preset is to click on the Point Curve. To do that, click on the little box in the lower left of this panel. The same curve you saw before will appear, but there will be small circles all along the curve.
The Matte effect is typically created in the shadows of an image. So pulling down the few circles on the left-side of the curve is what will best help you decrease this effect.
The Tone Curve is also used to add contrast to an image. A softer “S” curve is less contrast than a stronger “S” curve. You can adjust the curve by clicking directly on the curve and pulling it down or up.
You can also use the targeted adjustment tool (the small dot on the left upper-left of the tone curve) to click and drag on your image.
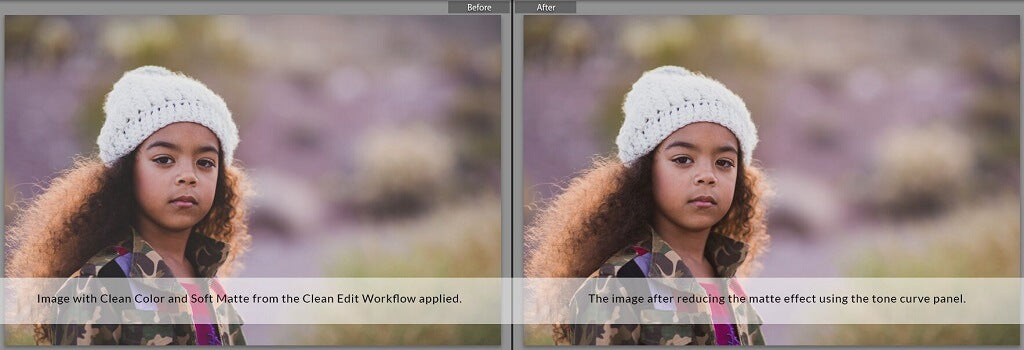
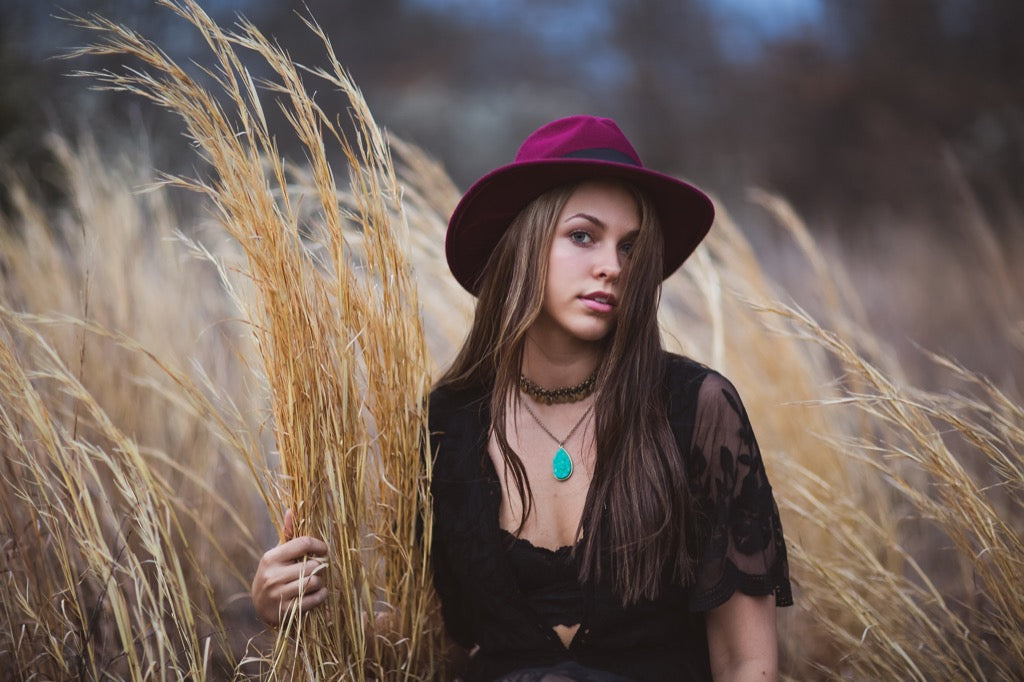
Clean Edit Portrait Preset Collection
The Color Grading Panel is the new name for the upgraded Split Toning Panel which is generally used to add tones and color to an image.
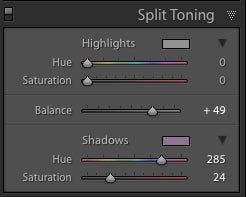
If you think that the color added to the photo is a little more than you want, adjust the highlights, shadows, and midtones saturation sliders down a little and see if that helps. And if you want the color to show more do the opposite - increase the saturation sliders.
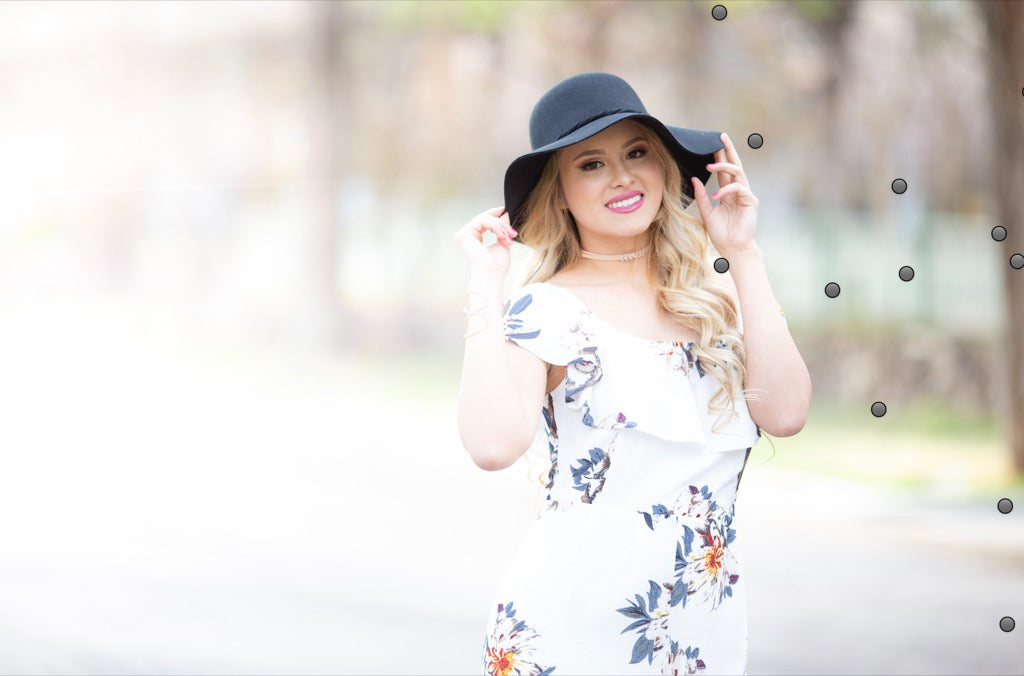
The Brush Masking Tool is the easiest way to adjust smaller areas of the photo when the effect looks good almost everywhere, but not in a specific spot.
You can find a wide array of amazing brushes for Lightroom here. I use the Perfect Portrait Retouch and Makeup Brushes on nearly all of my edits.
Dark & Moody Millenium Preset Collection
Some Lightroom presets use filters to add contrast, color, exposure changes, sunrays, snow and many other changes to images. You can find out if a radial gradient mask or linear gradient mask is being utilized in a preset by clicking on the masking icon (the circle with a dotted outline). If any of these masks are being used you'll see layer masks appear in the Masks panel and pins appear on the image.

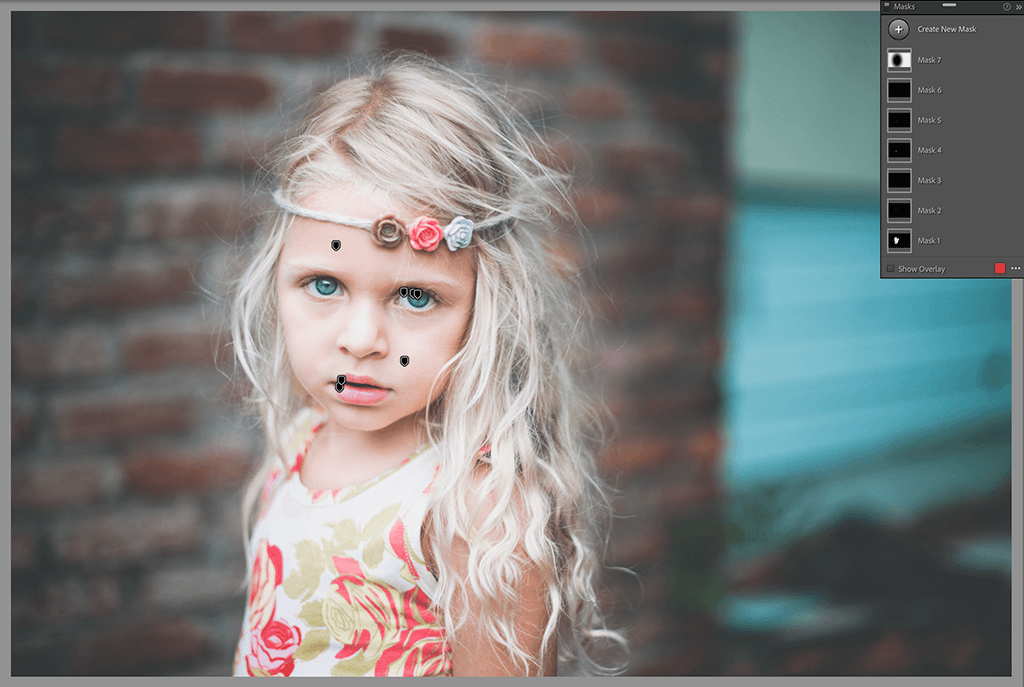
If you find the mask changes to be too much for the image they are applied to, click on the filter to select it and then make changes to it using the Masks panel.
You can also move the mask around on your image to adjust where the changes are being made by selecting the mask and then clicking and dragging it to the location that better suits your image.
If you're a more visual learner, watch the video below where I show you how you can adjust Lightroom presets using these 5 different options.
Do you have any questions or comments about Customizing Lightroom Presets? Leave us a comment below - we would LOVE to hear from you! And PLEASE SHARE this post using the social sharing buttons (we really appreciate it)!


Comments