- Lightroom Presets
- Best Sellers
- Mobile Presets
-
Photoshop
-
Learn
-
Support
-
Install
- Blog

Discover a simple, efficient Lightroom workflow to speed up your photo editing, stay consistent, and develop a signature photography style you love.

Discover the art of editing Night Sky photos in Lightroom with our step-by-step tutorial. Learn how to enhance your Milky Way shots using exposure correction, masking, color adjustments, & AI tools like dehaze and denoise. Perfect for amateurs and pros alike, our guide will help you create stunning astrophotography.
Learn how to make your RAW photos come to life with these 5 simple Lightroom techniques! Plus, find out about time-saving presets that will add extra "POP" to your photos.

Discover these 4 essential tips for editing bird photos in Lightroom. Learn how to enhance your images with subtle adjustments, remove distractions, and more to bring your feathered subjects to life!

Learn how to edit beach photos in Lightroom and transform your beach pictures into stunning masterpieces with these expert tips and techniques!

Learn how to use keywords to tag your photos in Lightroom and why keywording should be an important part of your Lightroom editing workflow!
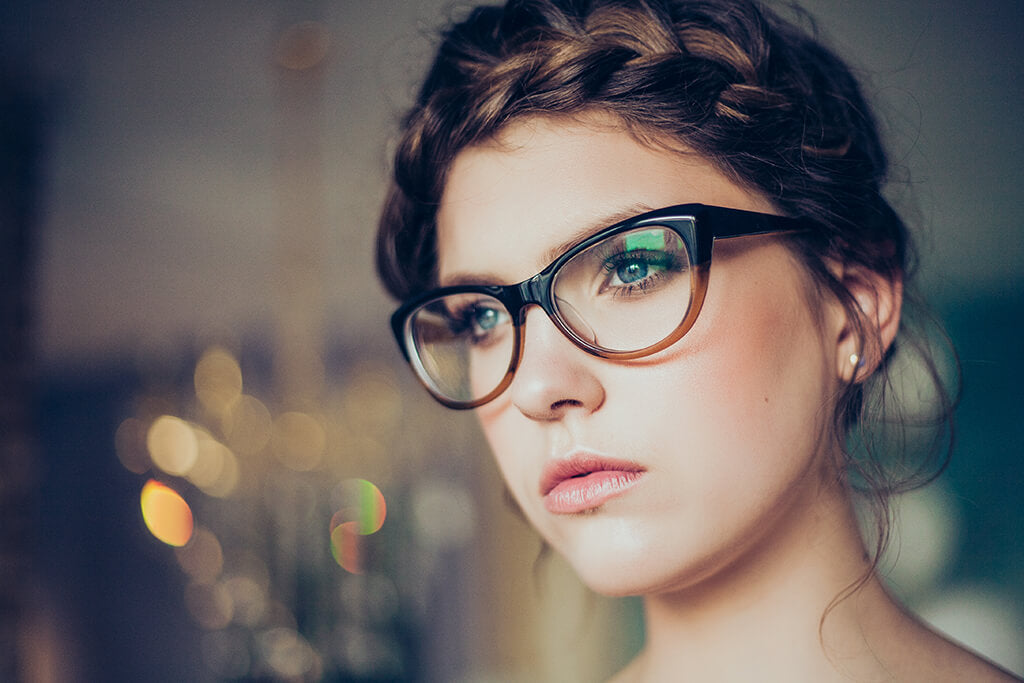
Learn how to Whiten Teeth and Eyes using Lightroom Portrait Brushes so your portrait subjects look their very best!

Learn how to export photos from Lightroom Mobile including custom export settings and how to export MULTIPLE photos from the free mobile app.
Learn how to quickly smooth and soften your subject's skin using Lightroom Brushes, an essential skill when it comes to editing portraits in Lightroom.
Have you heard all the buzz about the Color Grading in Lightroom but are unsure what it is or how to use it? Don’t worry! This tutorial will explain what color grading is and show you how to use the NEW Color Gradi...
Learn how to quickly add copyright metadata information to your digital photos in Lightroom - so you can prevent images from being stolen or reproduced without permission.

Learn how to edit your digital images to look like actual film photos using Lightroom Mobile and avoid the additional expense of film and additional camera gear.
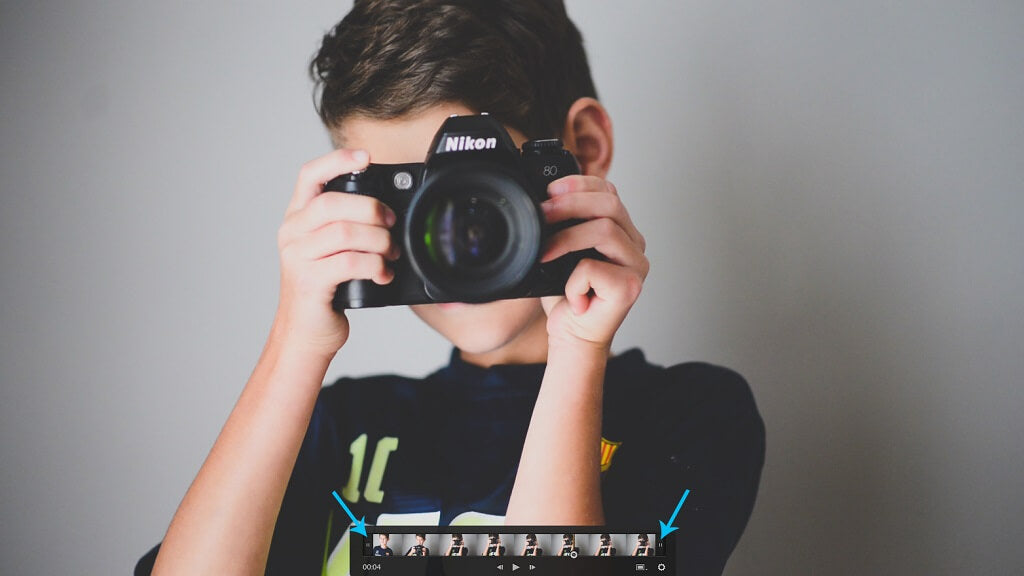
Learn how to edit video in Lightroom: How to make basic adjustments, capture a still frame, & how to apply Presets to a video allowing you to change color & tones for a custom look.

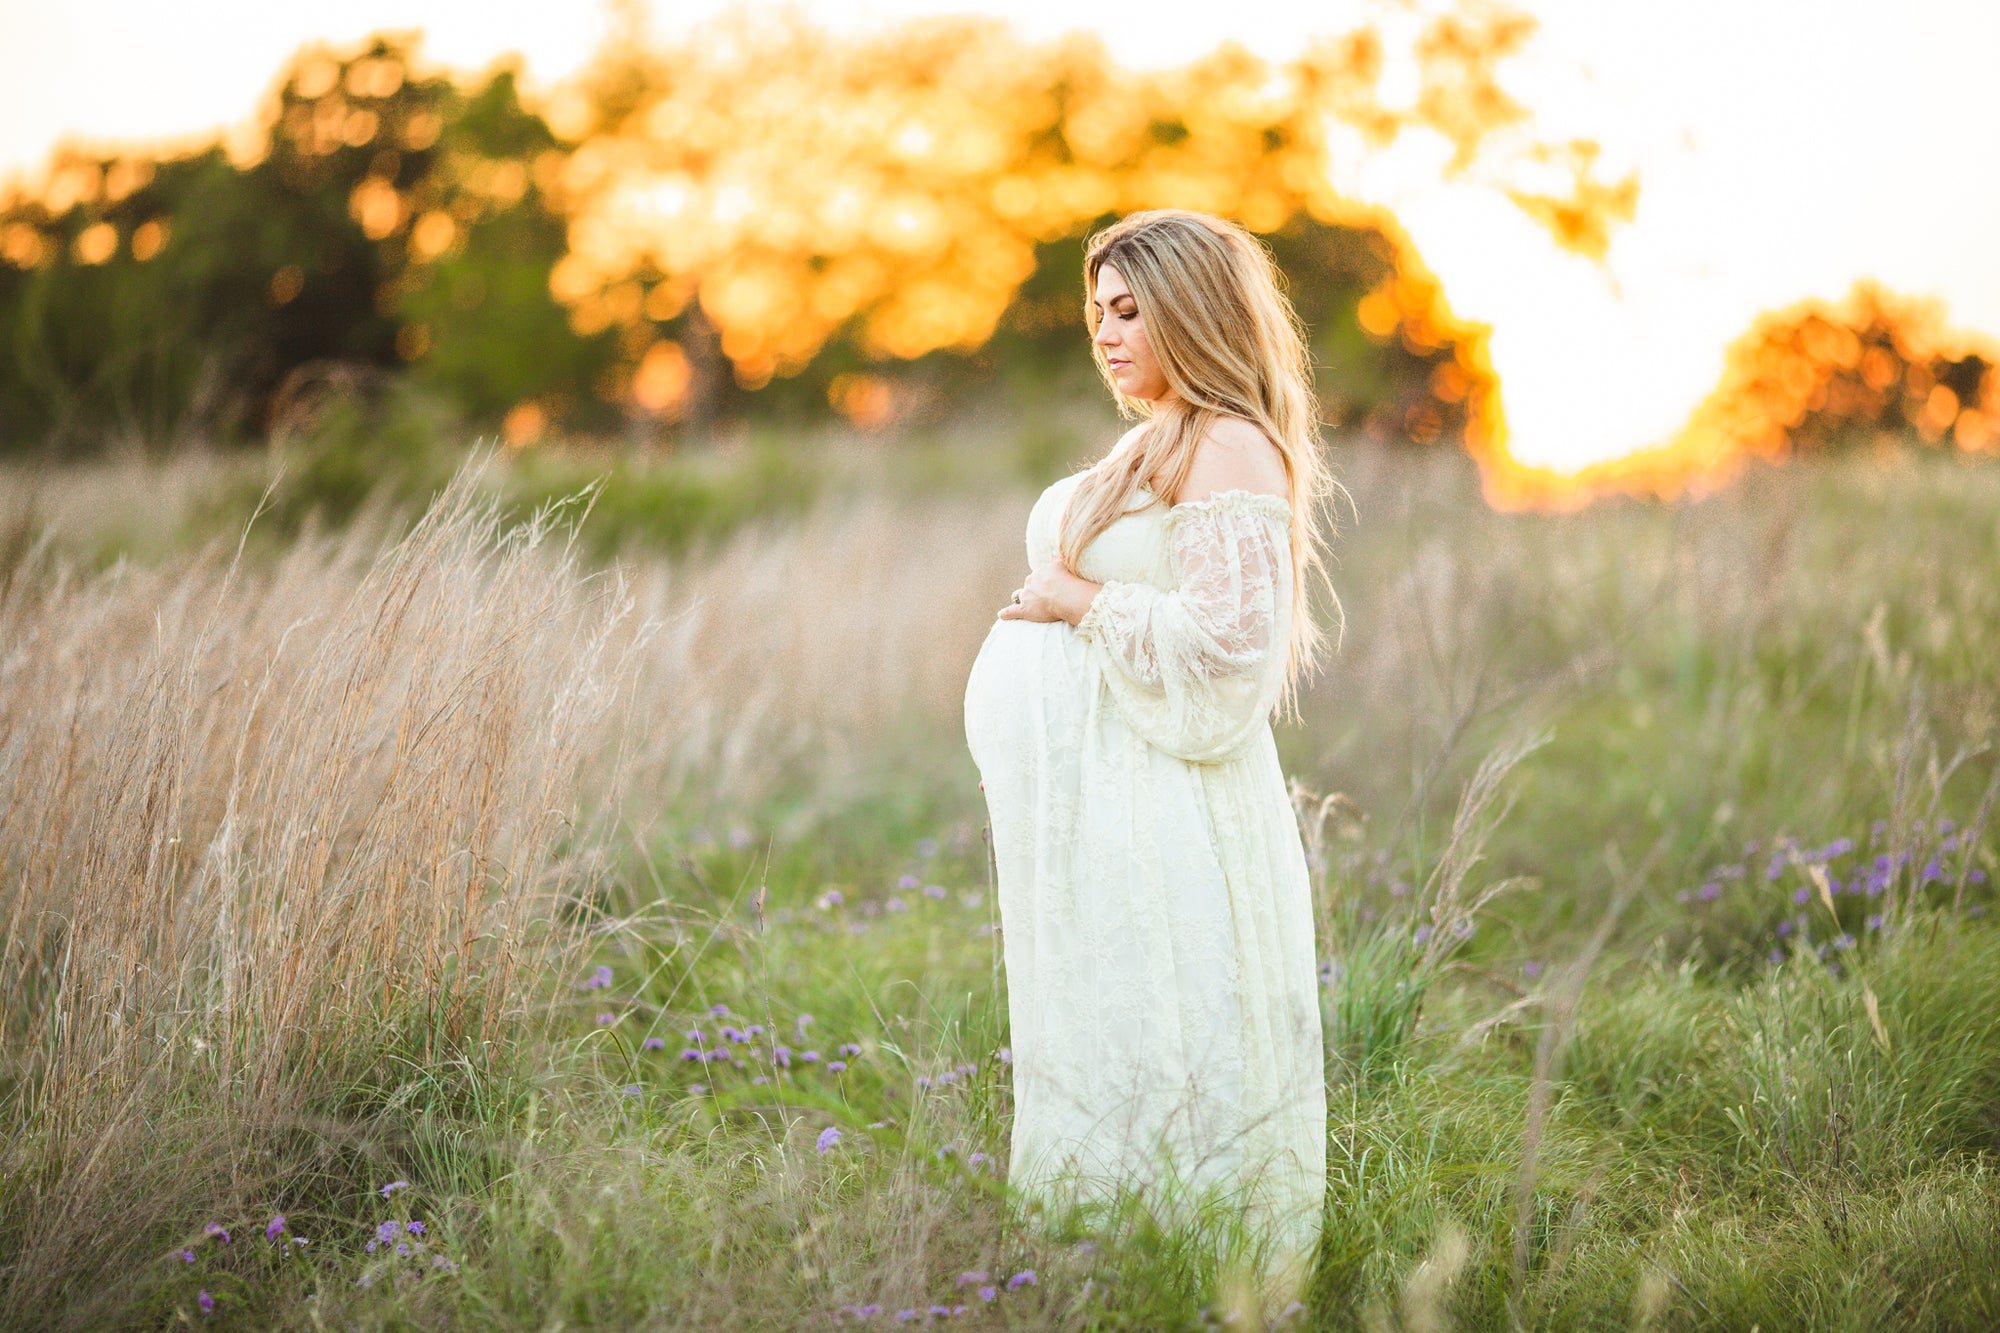
Learn how to Edit Maternity Photos in Lightroom and turn those lackluster images into gorgeous Instagrammable moments your clients will LOVE!
How to Use the Powerful New Masking Tools in Lightroom In October 2021, Lightroom released one of the BIGGEST UPDATES TO LIGHTROOM CLASSIC EVER! I am not being overly dramatic here -- this update is GAME CHANGING and...

Editing Pet Photos in Lightroom Edit Like a Pro Series (Part 4) I love taking photos of pets - dogs, cats, horses... you name it. I also specialize in elopement and engagement photography and many times my clients w...

How to Use Lightroom's New Multi-Batch Export Feature In Lightroom, there isn't a "save" feature like there is in Photoshop. Instead, photos are "exported". When you export photos you create new files that include ...
Editing RAW Images in Lightroom If you are new to shooting RAW files, one of the first things you will notice is that, when you import your RAW files from your camera into Lightroom, after the image preview has been ...


