- Lightroom Presets
- Best Sellers
- Mobile Presets
-
Photoshop
-
Learn
-
Support
-
Install
- Blog

If you shoot in RAW, I'm sure you know that RAW files come out of the camera a little flat and lackluster. Adding a little bit of "PUNCH" or "POP" to your photos is something that almost all RAW images need.
Here are the top 5 ways to get your images looking bright and lovely in just a few clicks!

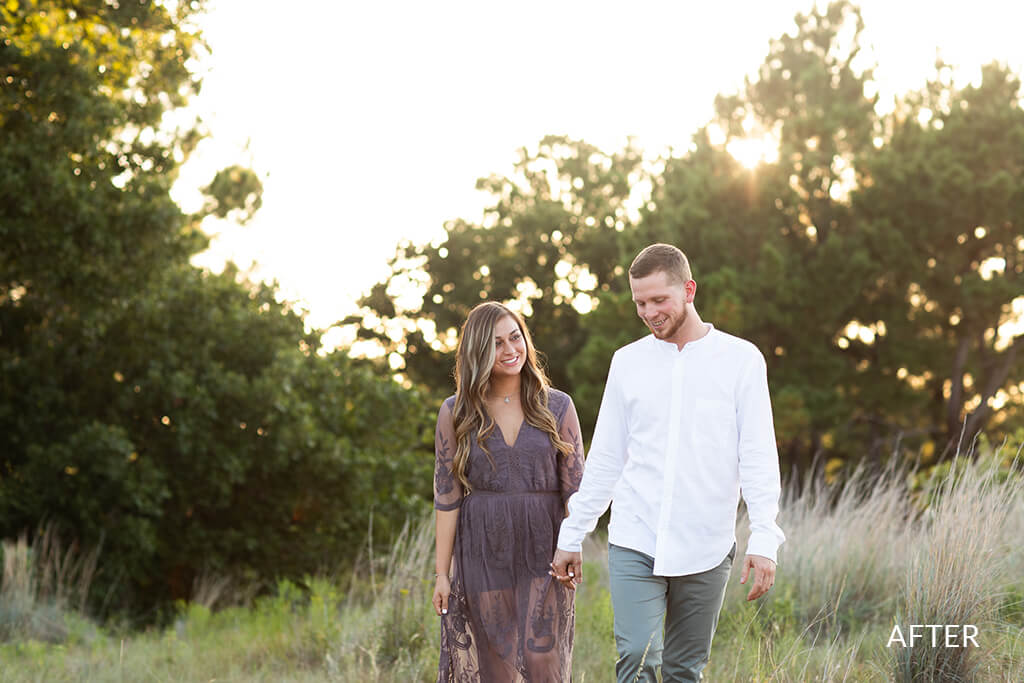
Increasing the contrast is one of the easiest ways to add more life to your photo. Most RAW files have very little contrast, so an increase in contrast is in order.
The Contrast slider can be found in the Basic Panel just below the Exposure slider. In the example below, I increased the contrast to +48. The amount you choose will depend on your image.

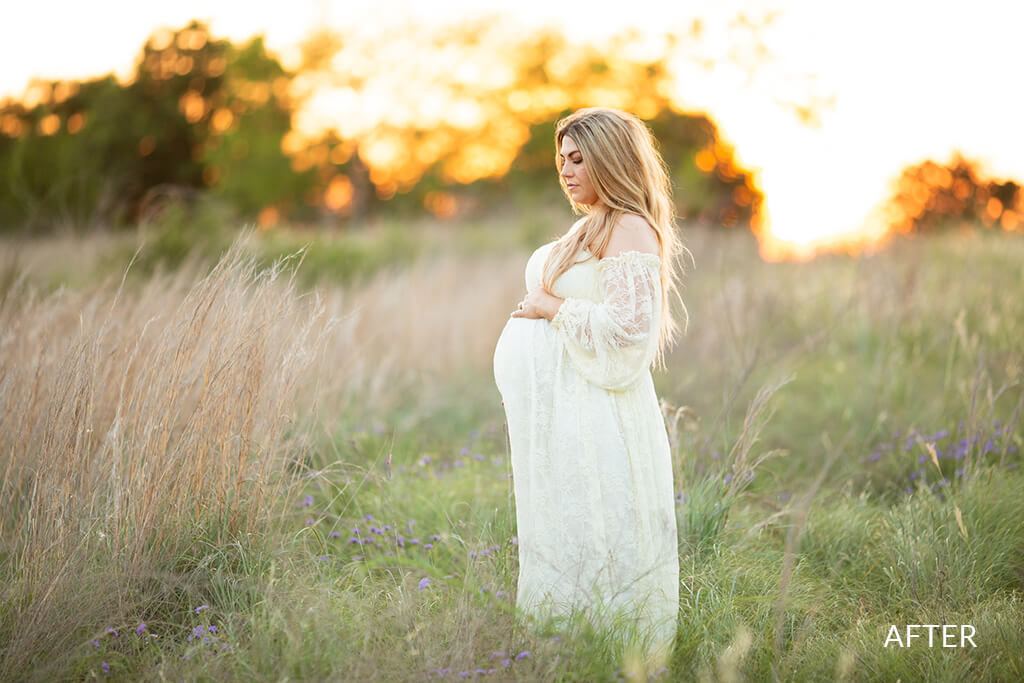
Most RAW photos have low color saturation straight out of the camera, so a little boost to the Vibrance in Lightroom can liven up your image in one little click!
The Vibrance Slider is also found in the Basic Panel near the bottom between Clarity and Saturation. In the image below, I bumped the Vibrance slider up to +49.


Adjusting the black and white points, a concept often used in Photoshop, is also a reliable technique to give your image more "POP" in Lightroom. It requires a few extra slider moves but is still a simple adjustment.
The Blacks and Whites sliders are located in the Basic Panel's middle section below Highlights and Shadows.
In the image below, I moved the Whites slider to the right +43 and the Blacks slider to the left -32. The amounts you choose will depend on your photo!


Using the Lightroom Tone Curve is a simple way to add some punch and contrast to your images. Most people are afraid to adjust the Tone Curve, but with this trick, you won't need to touch the actual "curve" at all.
Just below the curve, you should see the words "Point Curve." By default, the word Linear is selected. If you click on the word Linear, you will see some other options pop up. I like to change it to Medium Contrast or Strong Contrast to help quickly and easily increase the "POP" in my photos.
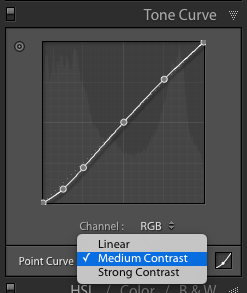
I changed the tone curve setting for the image below from Linear to Strong Contrast.

Another way to add more interest and pop to your images is to use a couple of radial gradients and/or graduated filters. What you use will depend on your vision, but I generally like adding a little color and darkness to the background and some brightness to my subject.
In this example, I will use two radial gradients. I use the Radial Gradient, which is part of the Masking tools located above the Basic Panel (the circle with the dotted outline icon). I choose one of my brush/filter presets and draw a circle around my subject. If you want the adjustment to apply OUTSIDE the circle, make sure to Invert the mask in the Masks layer.


I often combine a couple of these methods to get just the right amount of punch to my images!
The more you play with these methods, the more likely you will find your favorites and understand how they affect your image, which will make choosing which method to use in the future quicker and easier!
While most of these steps are straightforward, we are all about saving you EVEN MORE time in Lightroom. Several presets will add a beautiful POP to your images with just one click. I've listed my favorites below:
Do you have any questions or comments about How to Make Photos Pop in Lightroom? Leave us a comment below - we would LOVE to hear from you! And PLEASE SHARE this post using the social sharing buttons (we really appreciate it)!


Comments