- Lightroom Presets
- Best Sellers
- Mobile Presets
-
Photoshop
-
Learn
-
Support
-
Install
- Blog
By Gayle Vehar on | No Comments

Lightroom added some new features in it's recent update to Adobe Lightroom Classic CC and the Adobe Lightroom CC app. These updates include some simple changes and some big changes. Let's dig in.
This one sweet, little feature has made the update worth it for me so I placed it at #1. Ever since Lightroom has had presets, you could hover over the preset and see a preview of the preset in the small Navigator Panel above the Presets Panel. The problem with that was the Navigator Panel was pretty small. In order to see how the preset would look in the main image window, you actually had to click to apply the preset.
NOT ANYMORE!
Now as you scroll over your presets, a preview of what the preset will look like will appear in the main image window. No need to apply it to see how things will look or put your nose close to the screen to see it in the small Navigator Panel. This even works if you are in the Before/After mode!
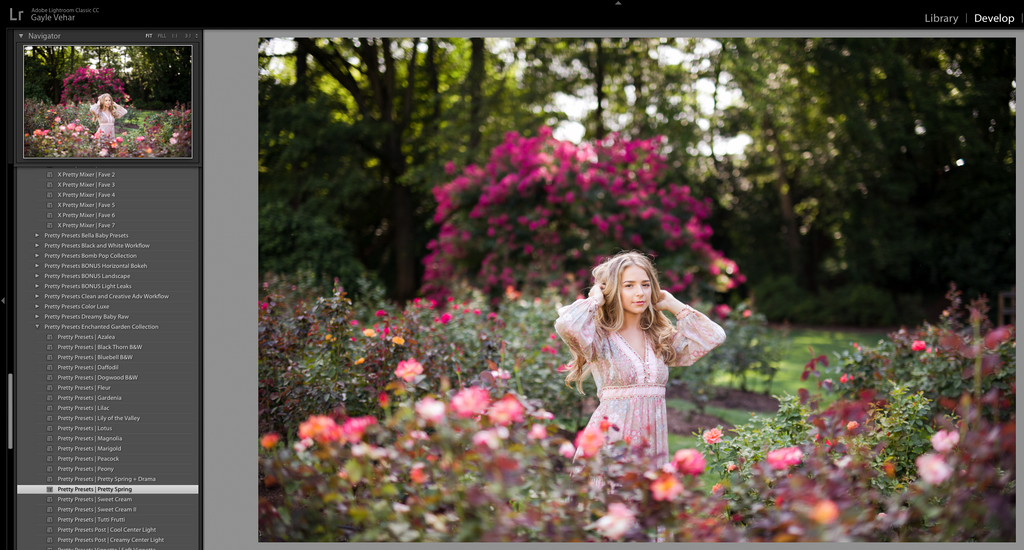
The Dehaze slider has been buried in the Effects Panel since it was introduced. Even though it was hard to find, many were using it on a regular basis! With this new update, the Dehaze slider is now front and center in the Basics Panel and I couldn't be more happy to see it get the recognition it deserves!
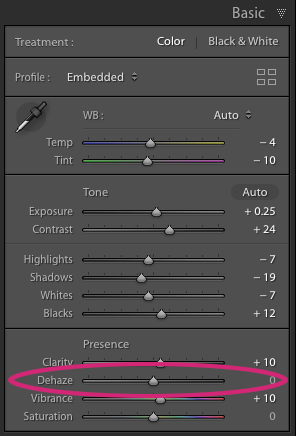
I actually think this is the biggest and most impressive part of this update. Lightroom has had Camera Profiles since I can remember. They were meant to be used as a starting point for RAW files. Adobe had developed several of it's own profiles and several profiles that were specific to your camera manufacturer also appeared here as well.
However, for most people, the power of using camera profiles has never been fully utilized because this tool was buried in the last panel at the bottom of the Develop Module (the Calibration Panel) - a panel that was almost never opened. Powerful tools should be obvious and right in front of your eyes, right?
Well, now the camera profiles are right in front. In this update, when you open the Basic Panel, this tool is at the top. This placement is a reminder to use it first before moving on to other edits. Clicking on this new tool will open a new panel with thumbnail previews of each of the profiles. Hovering over the thumbnails will also give you a preview of the profile in the main image window. If the image you are editing is a RAW file, you will see Adobe's new RAW profiles as well as all the profiles specific to your camera.
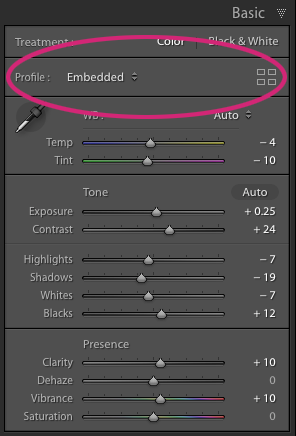
In addition to these basic profiles, Adobe has also introduced some creative profile options as well. To me, this is the exciting part of this new feature. You'll find 4 folders of creative profiles, including one dedicated to BW.
Any time you click on one of these creative profiles, you'll see an Amount Slider appear at the top of the panel. This Amount Slider will allow you to decide how much of the effect you want to be applied to your image. In my mind, this will open up many new possibilities for getting creative with your images in Lightroom.
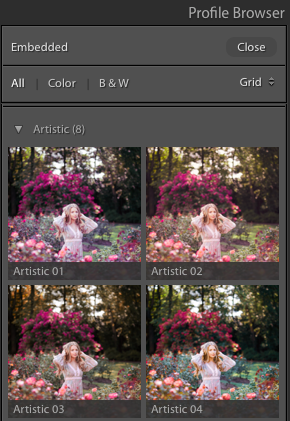
For more information on Lightroom's new Opacity/Amount Slider, check out these posts:
I think you'll love the new Lightroom update. It offers some small, but needed updates that I think you'll appreciate having as tools in your workflow as well as some major changes that will likely impact how we edit images in Lightroom going forward!
Do you have any questions or comments about these new updates to Lightroom? Leave us a comment below - we would love to hear from you! And please share this post using the social sharing buttons (we really appreciate it)!




Hi!! I am Gayle. I am a wife to my handsome husband and mom to 4 beautiful kids. In my spare time, I am a photographer and blogger at Mom and Camera. I have a passion for sharing my love of photography with others. I teach local photography classes and regularly share photography tips and tricks on my blog. I hang out there a lot—I’d love you to stop by and visit!

Comments