- Lightroom Presets
- Best Sellers
- Mobile Presets
-
Photoshop
-
Learn
-
Support
-
Install
- Blog
By Gayle Vehar on | No Comments
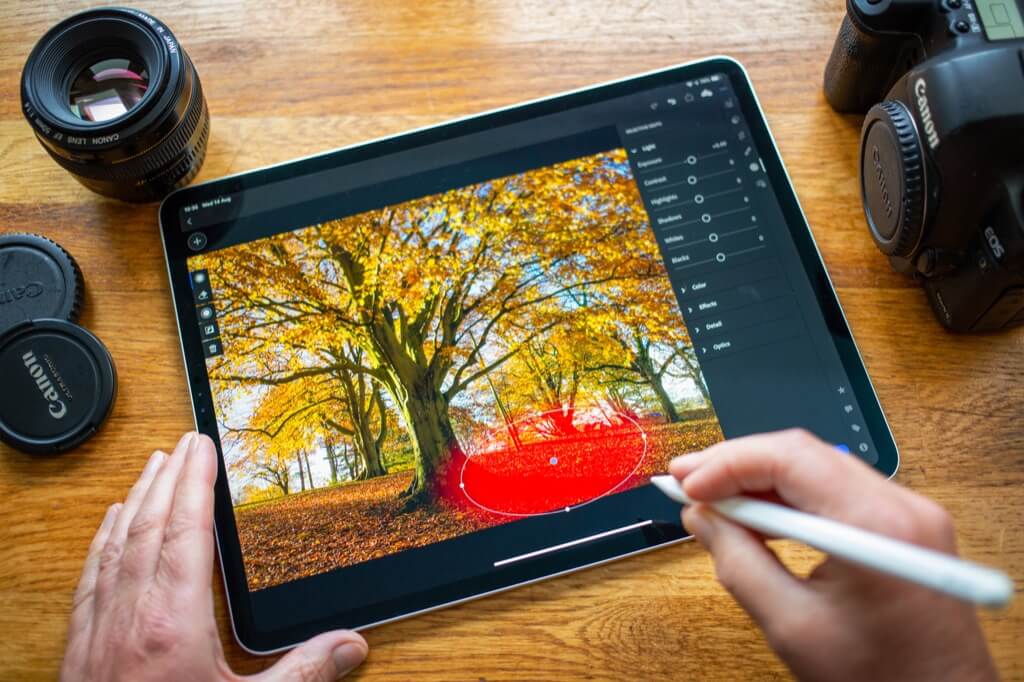
Lightroom for mobile devices like the iPad is fast becoming a popular way to edit images on the go. The ability to sync photos between your devices and the sheer portability of an iPad are huge reasons many are turning to mobile devices for editing.
If you want to use presets and edit in Lightroom on your iPad, this tutorial will show you exactly how to do that. And you will be editing on the go in no time!
There are two ways to install presets in Lightroom for iPad. You will need to determine which of the following will work for you.
IF you DO HAVE a subscription to Adobe Creative Cloud, you can easily install your presets in Lightroom CC. Once installed, they will automatically show up in the Lightroom mobile app. To do that, follow the instructions in this post to install them.
IF you DON'T HAVE a subscription to Adobe Creative Cloud but DO HAVE the free Lightroom app on your iPad, follow the instructions BELOW to install your presets:
We recommend doing this step on your computer since there is no easy way to do this on a mobile device. If you can't do this, download the WinZip app on your mobile device and then unzip them in the app.
Most presets you purchase will come in a zipped file folder, and you will need to unzip it before proceeding. Again, we recommend doing this step on a computer, if possible.
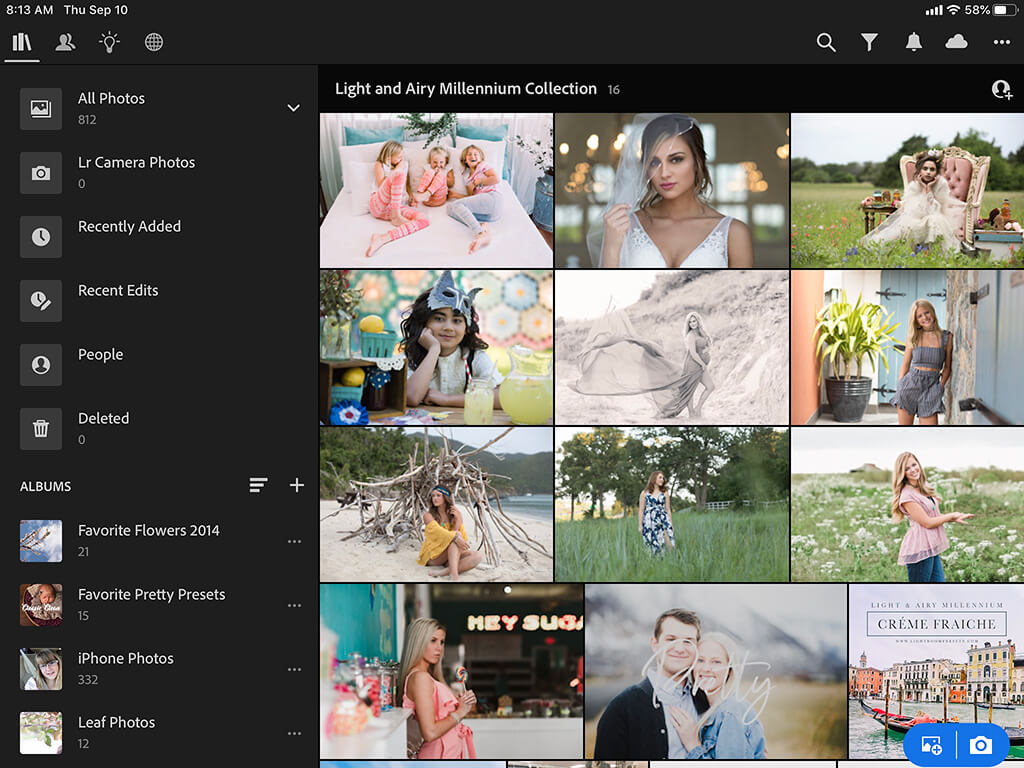
Save the preset files you just unzipped to your favorite cloud service (we highly recommend Dropbox) so that you can then access them on your iPad. You can also save them directly to your device via the Files or Photos apps.
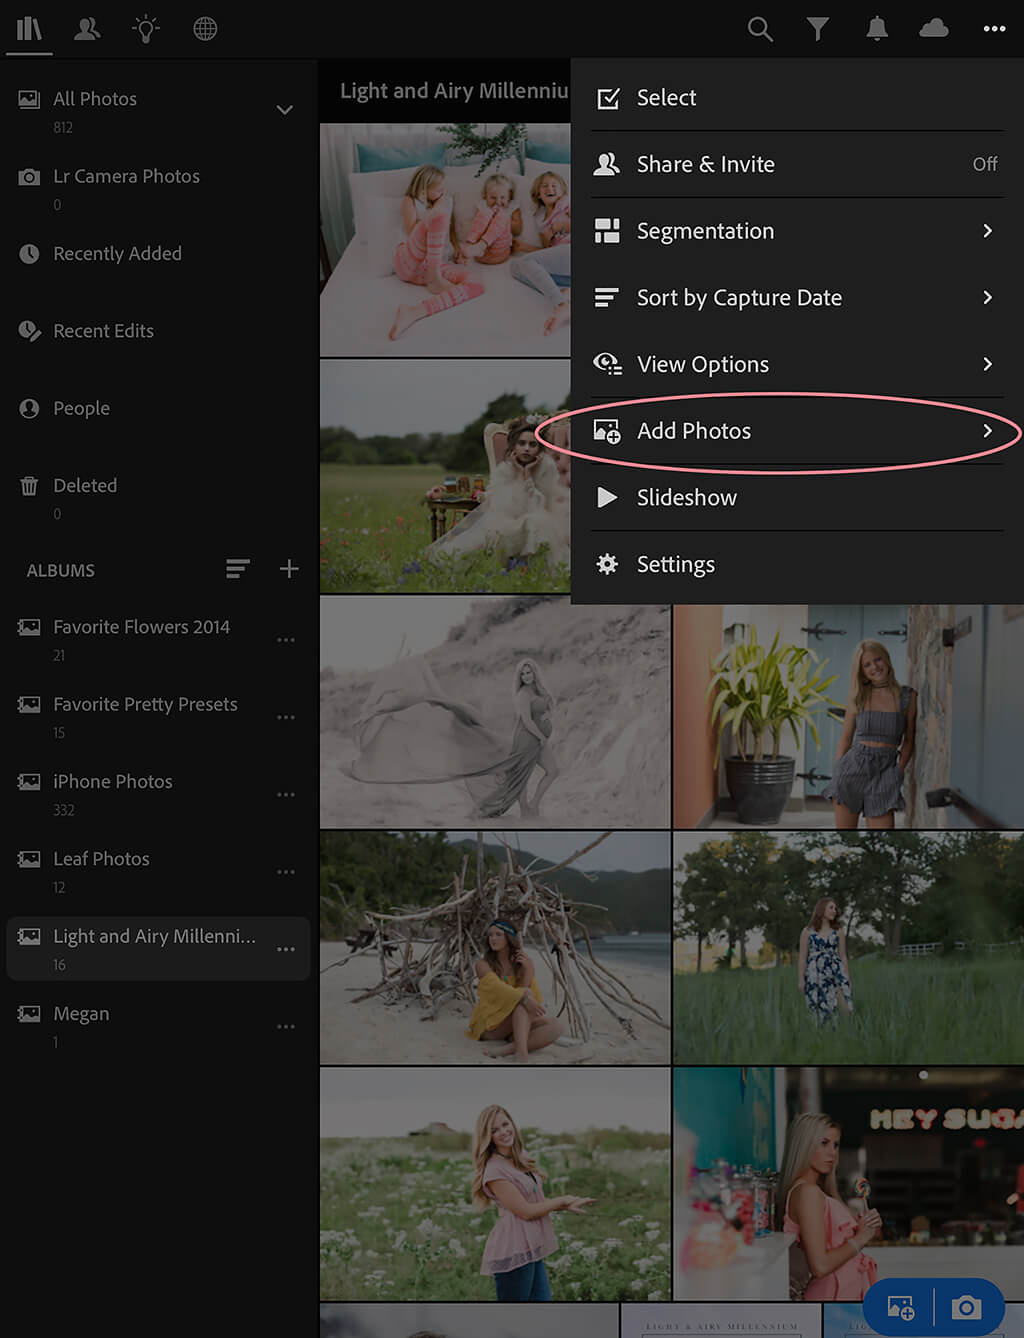
PLEASE NOTE: The file images may look strange or may even have a question mark over the file image. This is because the files are DNG files, and most devices aren't set up to read them.
SELECT AND INSTALL THEM ANYWAY. Lightroom WILL be able to read them!
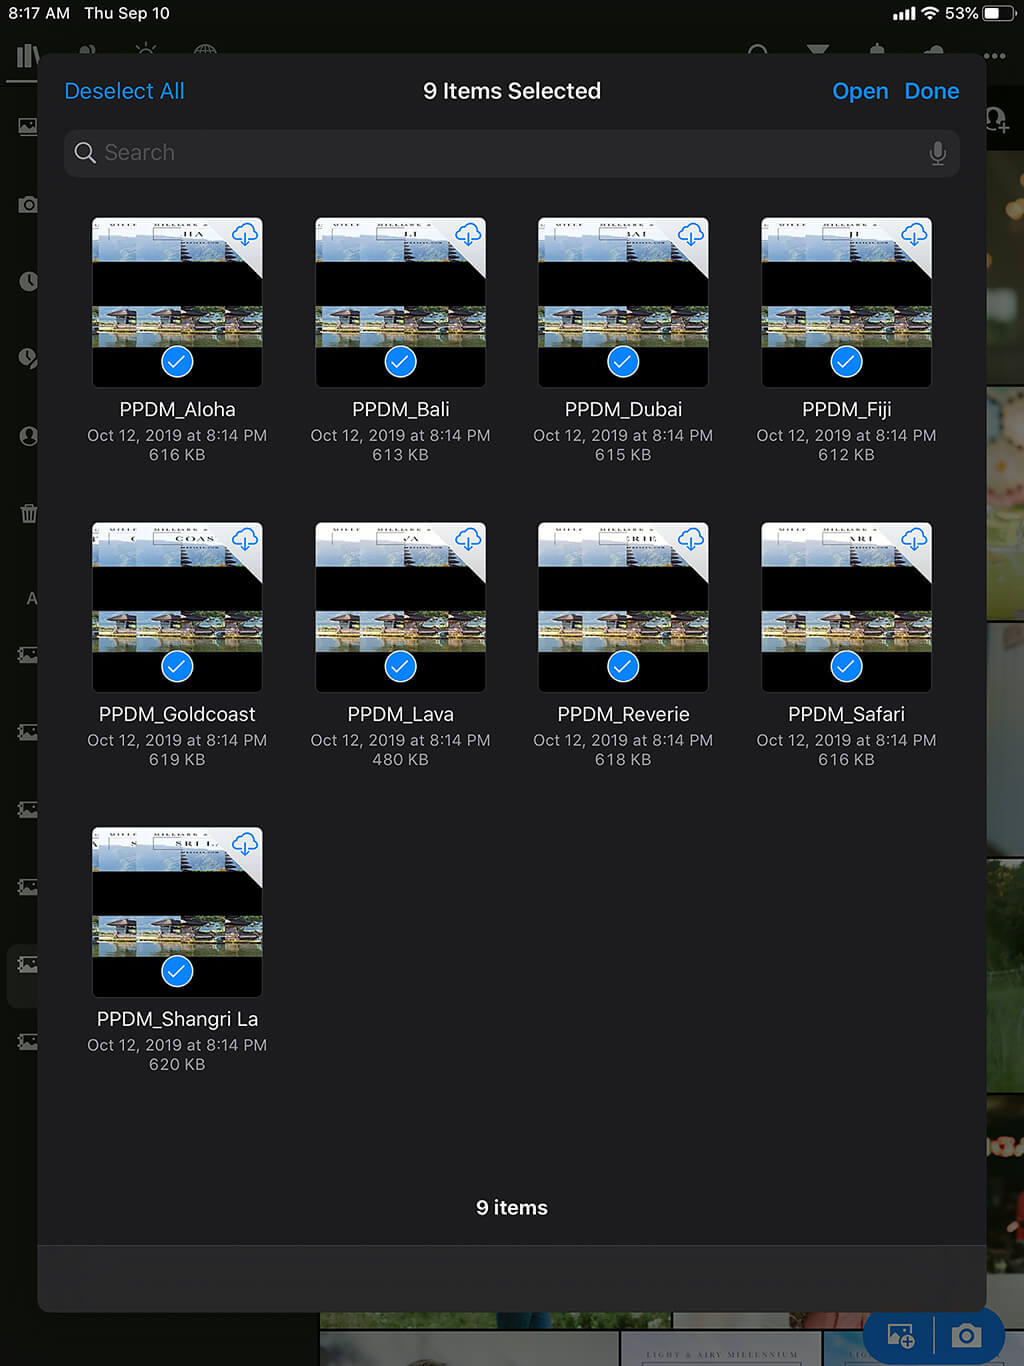


Now that you have your presets installed in Lightroom on your iPad let's go over a few tips to help you start editing right away!
Once your presets are saved on your iPad, you will find them in your Lightroom App on the right side by clicking on the icon that has two overlapping circles (see image below). Make sure the "Yours" folder is highlighted.
If you have organized your presets in folders (and I hope you have!), click on that folder name to open it. The presets should be inside!

Adding a preset to your image in Lightroom on your iPad is as easy as clicking on it. You can click and try different presets on your image until you find the one you like best.
When you have settled on your preset choice, click "Done" at the bottom of the screen, and it will apply that preset to your image.
The Edit Section is where you will spend most of your time and find most of the essential editing sliders. To get to the Edit Section, click on the three horizontal lines with a circle on each line (located on the right side of the app).
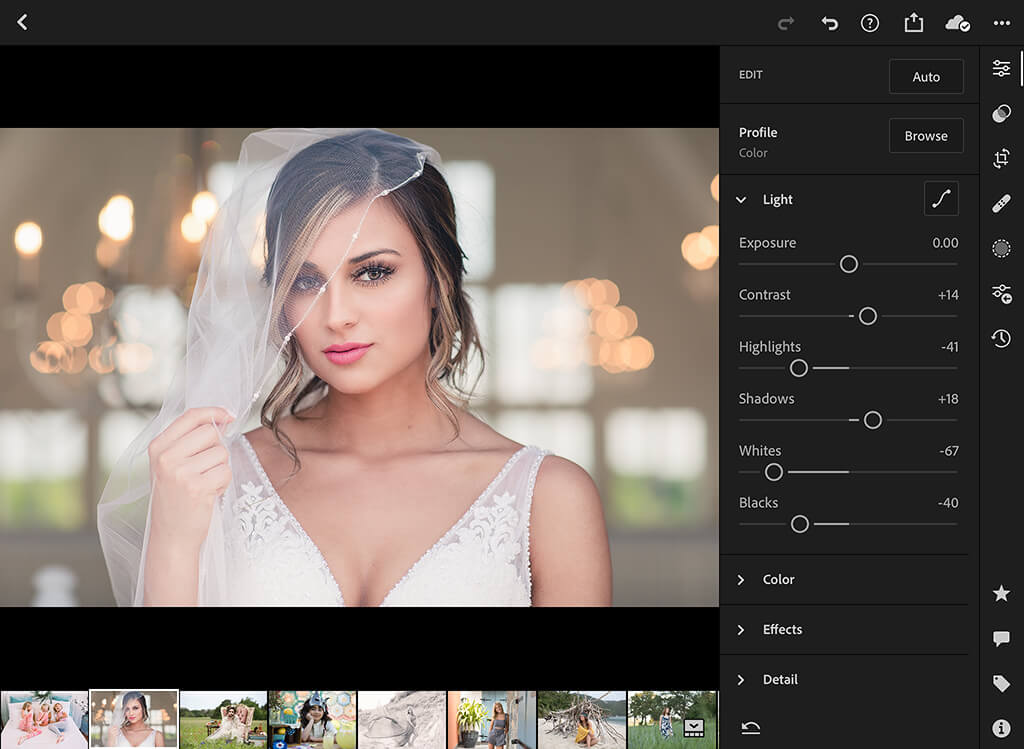
In the Edit Section, you will find several subsections, including:
Along the right side of the Lightroom Mobile App on your iPad, you will also see icons for cropping, healing, and other selective edits like linear gradients (formerly graduated filter), radial gradients (formerly radial filter), and the brush tool).
The last two icons allow you to apply edits from a previous edit or create a different version of your current edit.
It can be tricky getting to know a different version of the classic Lightroom editing tool you may be used to, but learning to edit on mobile will allow you to create social media-worthy images from ALL of your devices, no matter where you are!
Here are some additional tutorials that will help you learn to use Lightroom Mobile on your iPad or other mobile devices:
Lightroom Mobile: How to Get Beautiful Edits Using LR Mobile App
How to Batch Edit in Lightroom Mobile
How to Sync Photos & Edits to Lightroom Mobile
How to Smooth Skin in Lightroom Mobile
How to Add a Watermark in Lightroom Mobile
Do you have any questions or comments about How to Install Presets & Use Lightroom on Your iPad? Just leave us a comment below - we would LOVE to hear from you! And PLEASE SHARE this post using the social sharing buttons (we really appreciate it)!


Hi!! I am Gayle. I am a wife to my handsome husband and mom to 4 beautiful kids. In my spare time, I am a photographer and blogger at Mom and Camera. I have a passion for sharing my love of photography with others. I teach local photography classes and regularly share photography tips and tricks on my blog. I hang out there a lot—I’d love you to stop by and visit!

Comments