- Lightroom Presets
- Mobile Presets
-
Photoshop
-
Learn
-
Support
-
Install
- Best Sellers
- Blog
You come home, feeling like your shoot went well. The subject cooperated, you didn’t run out of ideas for posing, and you took 400 images over the course of an hour.
There have got to be a few good ones in there.
But as soon as you plug in your card and start browsing in Lightroom, your stomach sinks. There’s just something off about your images. They don’t seem to look anything like what you envisioned in your head, and that old adage of “don’t quit your day job” is finally starting to hit home.
We've all been there at some point. Nothing can make you feel more like a beginner than believing the images you’re producing are sub-par.
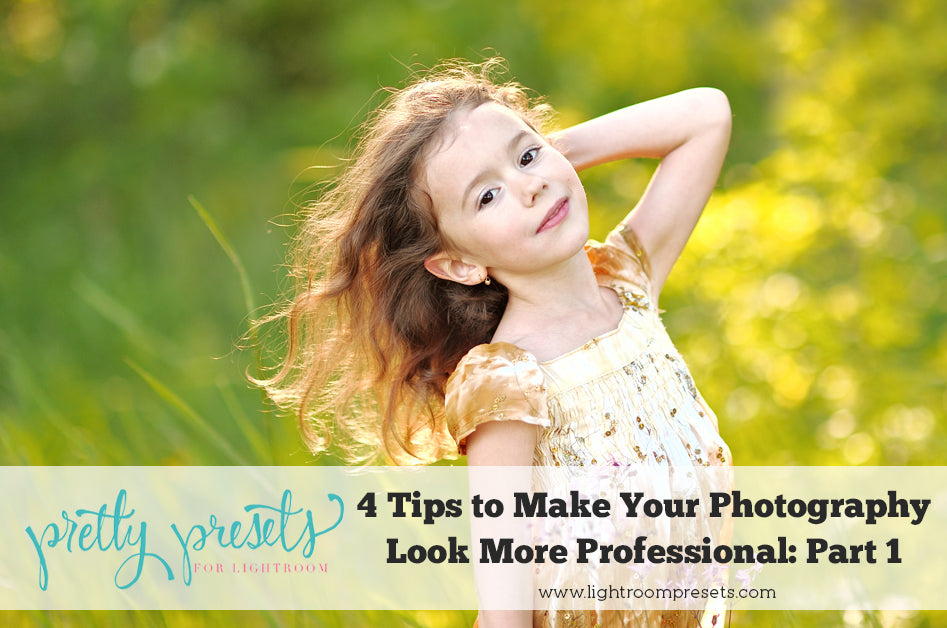
Let’s get you out of that funk by exploring four ways in which you can instantly improve the look of your images.
Do you give any thought to the time of day your shoots are booked or do you simply work around your client’s schedule?
Photography is the art of recording light, so nothing will make your images look less professional than ignoring the direction and quality of the light during a shoot.
Worst: Photographing your subject with dappled light across their face (unless you’re going for an artistic effect).
Bad: Photographing your subject when the sun is bright and high in the sky, creating some pretty awful shadows.
Better: Photographing your subject on a cloudy day when the sunlight is diffused by clouds.
Best: Photographing your subject in open shade (when they’re being shaded by a building or tree, but can still look straight up and see the sky).
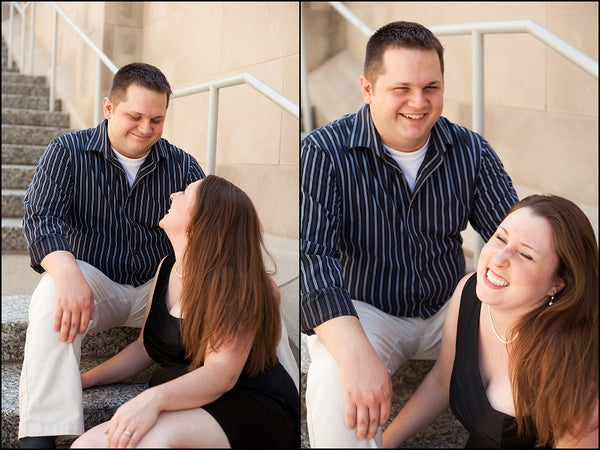
Even though most photographers prefer cloudy days over extremely sunny ones, you still need to be diligent about studying the light. Figure out where the sun is located in the sky, then angle your subject’s nose towards the light. This will give them nice facial highlights and cut down on annoying raccoon eyes.
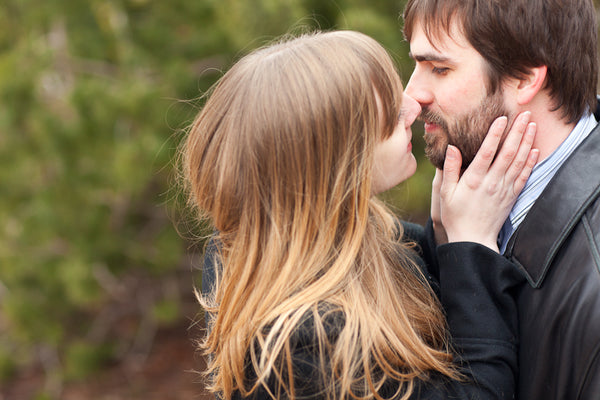
For decades, photographers have raved about the “Golden Hour”… and for good reason. The Golden Hour, typically the first and last hour of sunlight, is known for producing the best light for photography. Position your subjects with the sun behind them, and you’ll end up with naturally-warm, diffused light that seems to wrap around their bodies.
One of the most obvious signs of a new photographer is when they shoot their portrait sessions (with only one subject) using an aperture around f/8. While there’s nothing wrong with that (and large apertures absolutely have their uses), using a low aperture will instantly improve the quality of your images.
Terms to Know:
Bokeh: The aesthetic quality of the blur in an out-of-focus portion of an image.
Wide Open: When you shoot an image using the lowest possible aperture on your lens.
The Depth of Field: There is a slice of space, perpendicular to your lens, which is in focus in any given image. The Depth of Field refers to how wide that slice is.
So, when you photograph an image using a low aperture, your depth of field is smaller and your bokeh is more obvious. The reason most photographers try to shoot as wide open as possible is that it creates the greatest separation between your subject and the background.
Shooting wide open might not be something you can just go out and do successfully on your first try (especially if you have a lens that goes down to 1.2). It can take a lot of practice to feel confident in your focusing abilities enough to try it during a paid shoot, and I definitely wouldn’t recommend it if you’re shooting a subject who moves a lot (like a toddler!). But once you’ve got it down, you’ll be amazed at the bokeh-y goodness!
Yes, you read correctly. The title does say four tips… but honestly, I thought maybe you should take a little break and go out and practice what you’ve learned so far. I’ll be back next week with the last two tips!
In the meantime, leave me a comment below and tell me about your first photo shoot. Go ahead, let it out… I want to hear all the embarrassing details!


Comments