- Lightroom Presets
- Best Sellers
- Mobile Presets
-
Photoshop
-
Learn
-
Support
-
Install
- Blog

Everyone loves a good before and after example, but sometimes, they can leave you wondering exactly how a certain edit was achieved using a particular preset. In this blog post, I will dive a bit deeper into several edits and tell you exactly how I achieved my final image.
Of course, it is important to remember that presets can and will act differently on various images. By that I mean, the quality, color, and direction of your light, the choices you make during exposure, and the true-to-life colors existing in your original image will all play a role in how a preset impacts your image.
However, this Lightroom editing tutorial will show you how presets, workflow sets, brushes, and filters can all be used to create beautiful, and easy, edits.

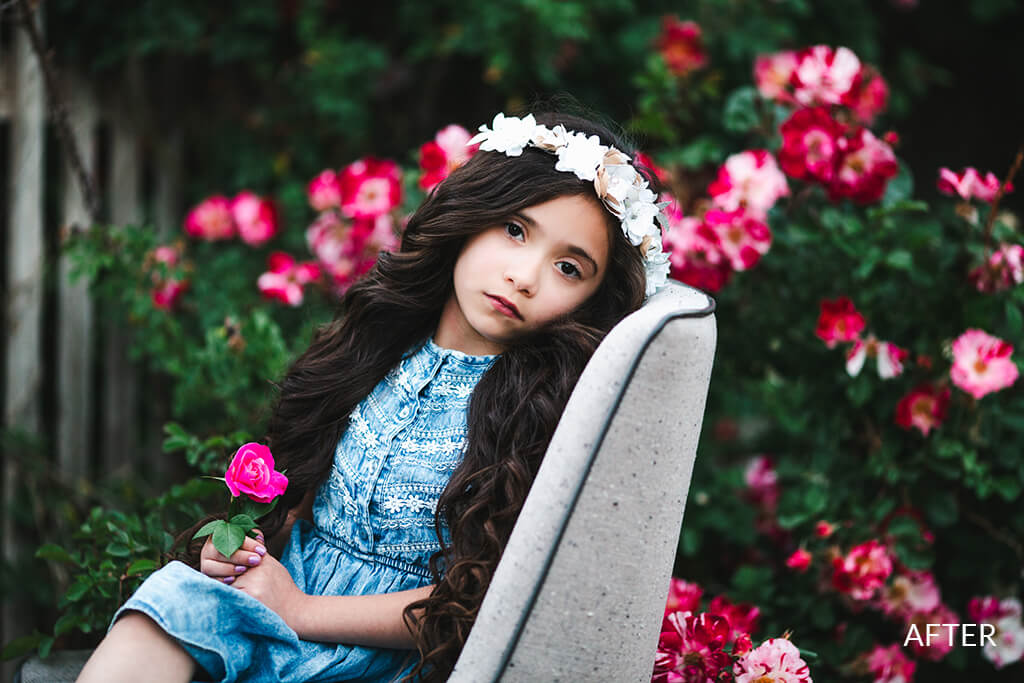
It is always good to start with a well-exposed image. On the top is the original, SOOC (straight out of camera) image. The final edit was achieved with one preset and two brushes.
A quick beautiful edit using just a couple of clicks and presets!


Here is another edit with the same image. The steps for this edit are as follows:
Again, this edit took just a couple of seconds!


This final edit of this image shows a warmer, moodier edit. The steps for this edit are as follows:
This edit took just a few seconds!


Here we have another well exposed, unedited image on the left with the final edit on the right. For this edit, we went with a subtle pop of color. The steps for this edit are as follows:
From start to finish, this edit took about one minute (and most of that was picking the preset I wanted to use)!


Here is another variation on that same image, this time using a preset from the Light and Airy Millennium Collection as our base. This edit gave us blue-toned greens with a slight bit of desaturation. The steps for this edit are as follows:
These two clicks took just a couple of seconds!

This next edit will take this image in a slightly different style. Here I used the Dark and Moody Collection to create a clean, moody edit.
The steps for this first edit are as follows:
This was a very easy edit, taking less than a few minutes!

For our next edit, I went for a more bold, slightly matte edit. The steps are as follows:
This edit was finished in just a couple of minutes!

For this next edit, I went with a warmer edit. The steps are as follows:
This edit was super quick - just a couple of minutes!

This next edit was created using the Clean Edit Portrait Workflow. This collection was created specifically to allow you to layer presets together to create a custom edit. I am starting this edit with a well-exposed base image. These are the steps for the edit.
This edit took under two minutes!


This edit was also created with the Clean Edit Portrait Workflow. This collection allows for endless combinations and completely custom edits.
This was an incredibly quick edit!

I hope this blog post gives a better understanding and a more in-depth look at how I use the various Lightroom Presets and Brushes from Pretty Presets to create gorgeous, polished images.
Do you have any questions or comments about my 10 Lightroom Editing Recipes? Leave us a comment below - We would LOVE to hear from you, And PLEASE SHARE our post using the social sharing buttons (we really appreciate it)!


Comments