MOTHER'S DAY SALE! UP TO 35% OFF - DISCOUNT APPLIES IN CART.

  • Log in
  • Cart (0)
  • Checkout
Pretty Presets and Pretty Photoshop Actions
  • Lightroom Presets
  • Mobile Presets
  • Photoshop 
    • Photoshop Actions
    • Photoshop Overlays
    • Limited Edition Holiday Collections
  • Learn 
    • Free Lightroom Training
    • Free Photoshop Training
    • Lightroom 101 Workshop
    • Photoshop 101 Workshop
    • Your Pretty Edits
  • Support 
    • About Us
    • Contact Us
    • Order Lookup
    • Lightroom FAQ
    • Photoshop FAQ
  • Install 
    • How to Install Lightroom Presets
    • How to Install Lightroom Brushes
    • How to Install Presets in the Free Lightroom Mobile App
    • How to Sync Lightroom Presets from CC to Mobile
    • How to Install Photoshop Actions
    • How to Install Photoshop Overlays
  • Best Sellers
  • Blog

How to Brighten and Make Eyes Pop in Lightroom

By Amanda Padgett on June 22, 2018 | No Comments

How to Brighten and Make Eyes Pop in Lightroom

How to Brighten and Make Eyes Pop in Lightroom

Eyes are generally one of the first things we notice in a portrait.  Since they are what we notice first, having beautiful, bright and sharp eyes that pop is critical to making that first impression and drawing the viewers attention to the image.  In this tutorial, I will show you how to brighten and enhance eyes in Lightroom

Lightroom & Photoshop Facebook Group

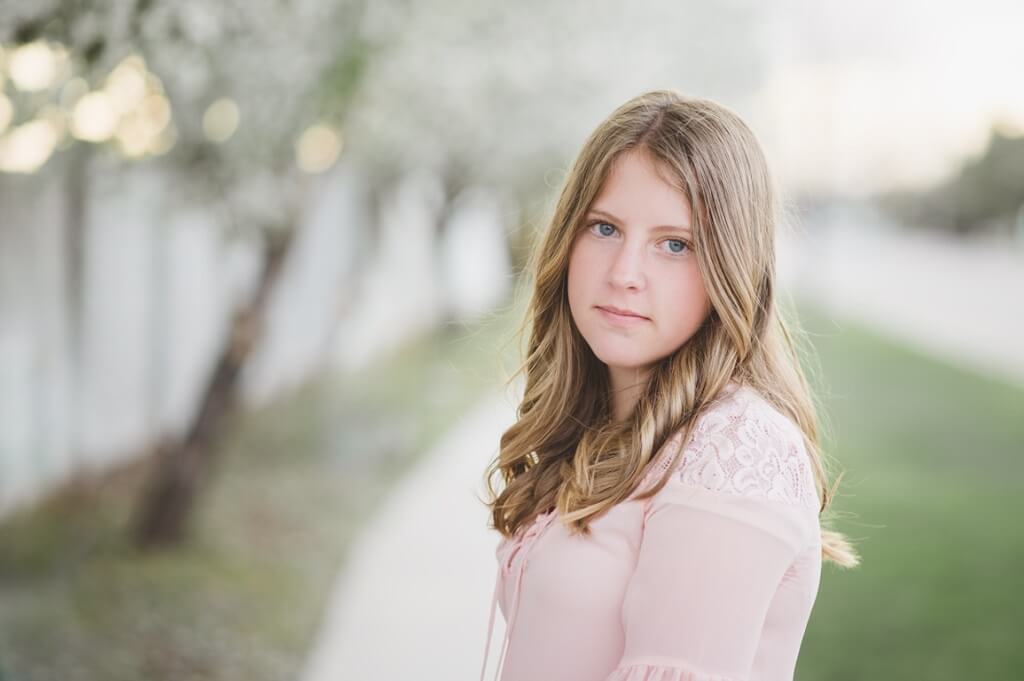
I am starting with an image that has ONLY been brightened a bit and had the white balance warmed up.  Other than those two things, nothing else has been done to the image.

How to Brighten Eyes in Lightroom

In the Perfect Portrait Lightroom Brush Collection there are ten brushes that are dedicated to eyes and areas near the eyes.  We will use only a few brushes in this tutorial, but once you understand how to use these brushes, you will know how and when to use the others.

Portrait Brushes for eyes

1. Fixing the Whites of the Eyes

First, I used the the Whiten Eyes Brush to whiten the whites of her eyes.  I generally reduce the brush feather, so that the brush has a more defined edge.

2. Enhancing Eye Color

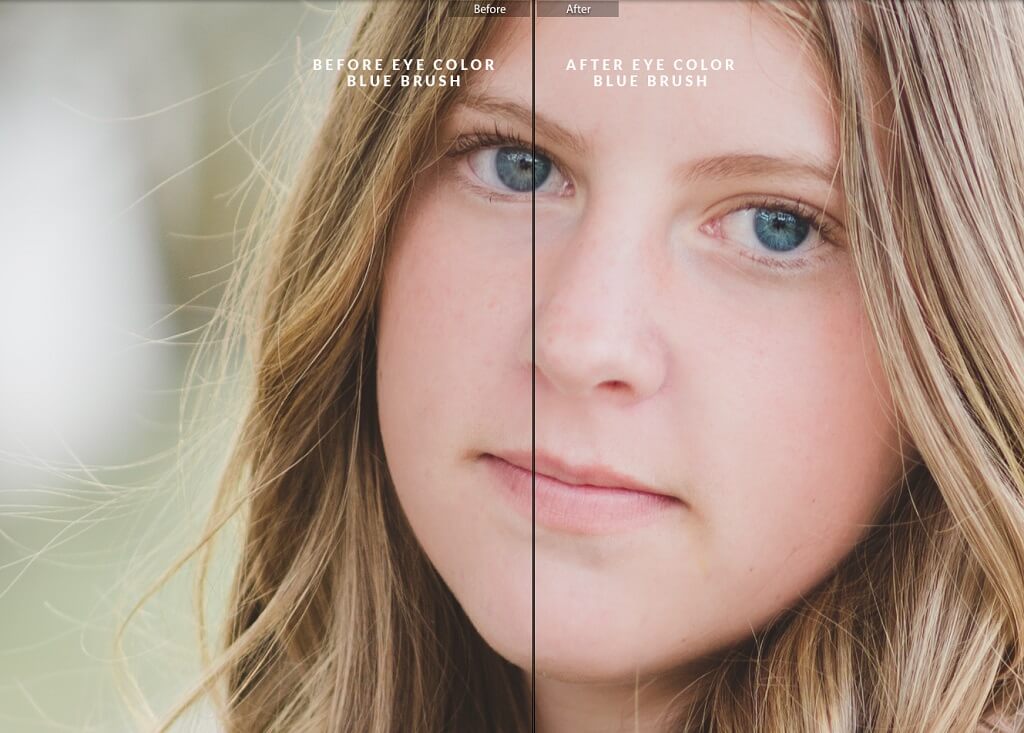
Next up is the Eyes Color Blue brush, which was is used to accentuate the blue in my subject's eyes.  Note - the Eyes Blue, Eyes Green, and Eyes Brown were created to enhance the existing eye color, not replace or change eye color.

how to change eye color in lightroom

3. Sharpening Eyes

After enhancing the eye color, I use the Sharpen Eyes Brush to make the eyes sharper and more defined.  If you use the sharpen brush and feel that it makes the eyes too crisp, or too unrealistic (a common problem with photo editing), just use the Flow Slider and reduce the flow - so that less of this effect is applied when you brush.

Remember - you have to change the flow BEFORE brushing.  Changing it after you have already brushed on an area does not reduce the amount on brush strokes already applied.  Delete the brush (click on it) and start again.

How to Sharpen Eyes in Lightroom

4. Adding Eye Liner

Lastly, I use the Eye Liner Brush to define the area around the lids.  Since she is a young subject, I use a low flow, which applies the effect at a lower amount.  If your subject is older and would benefit from some "make up" being applied, just use a heavier flow.  You can also make use of the other included eye brushes such as mascara and eye shadow.

How to Add Make Up in Lightroom

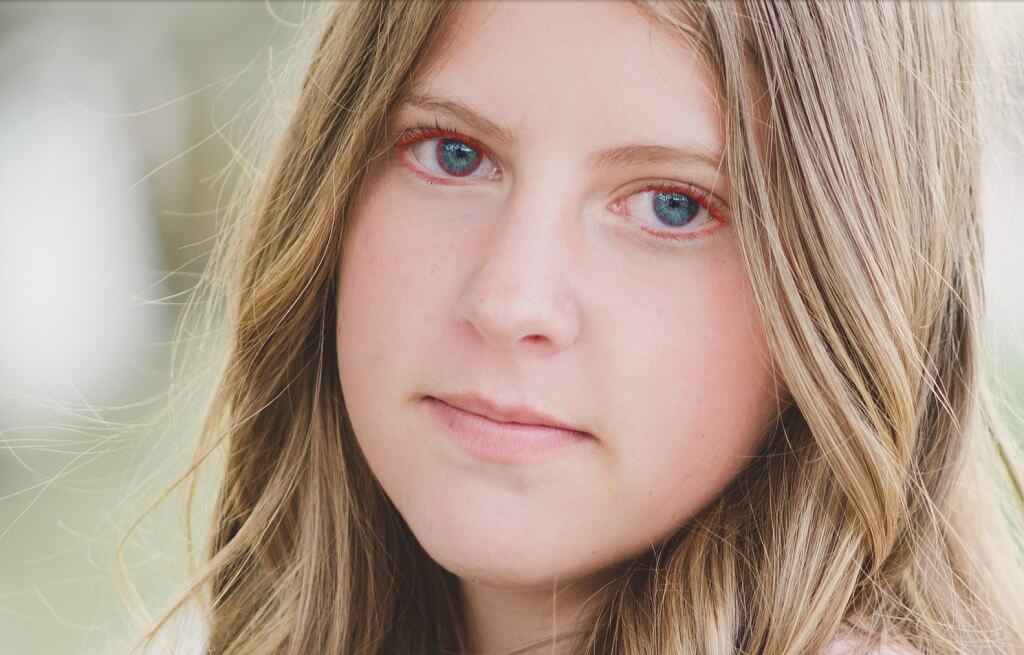
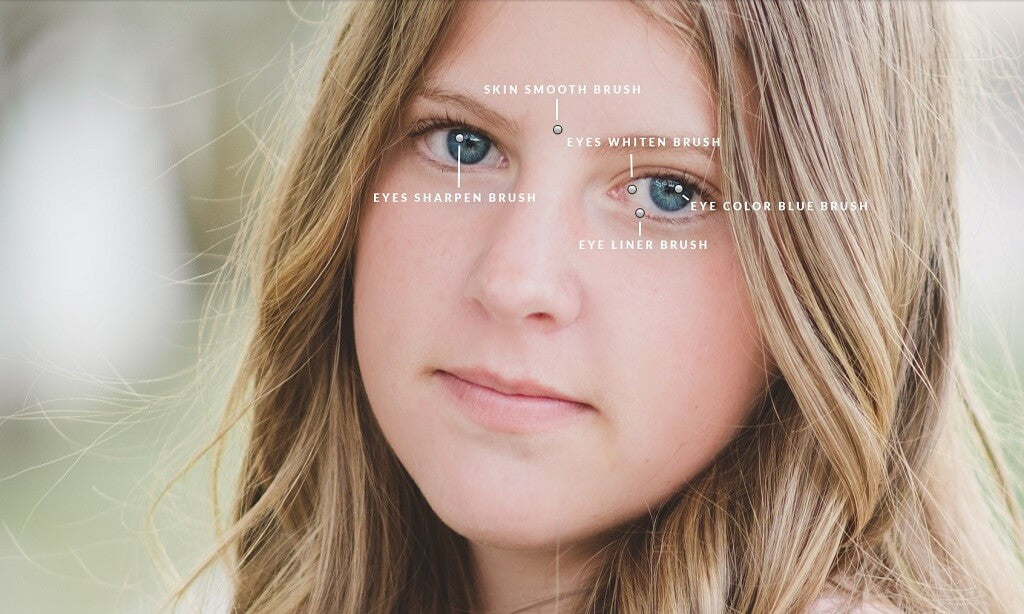
In the photo below you can see where the Lightroom brushes were used on the eye area for this image.  Where the white circles (i.e. pins) are located shows where the mouse was first clicked down and brushing started.

Because it is easy to get many brush pins too close together like I did with the Eye Liner and Eye Color Blue brushes in the image below, try to start brushes in different eyes and in different areas so that you don't get things confused.

How to make eyes pop in pictures

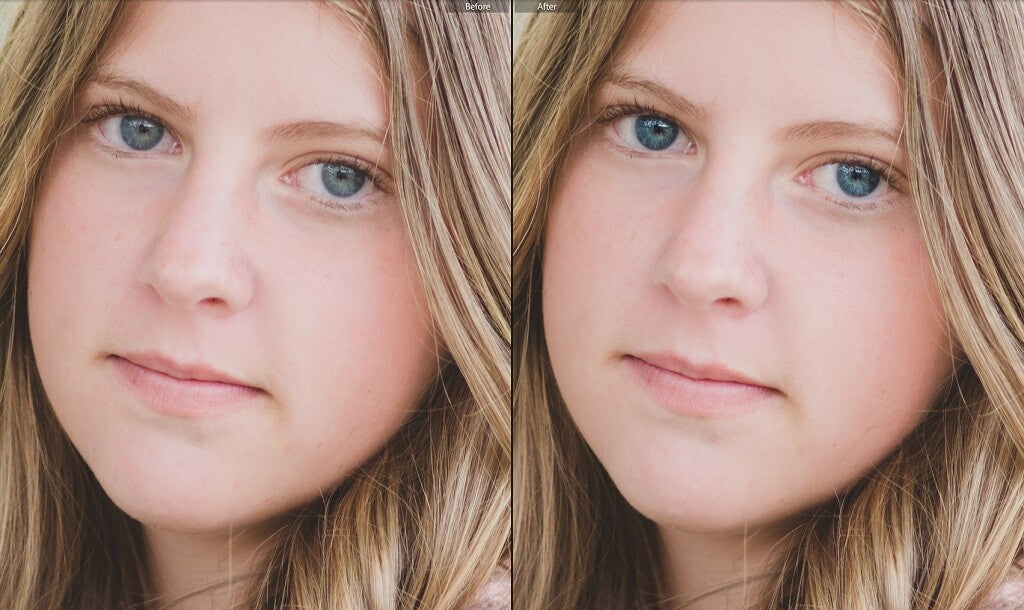
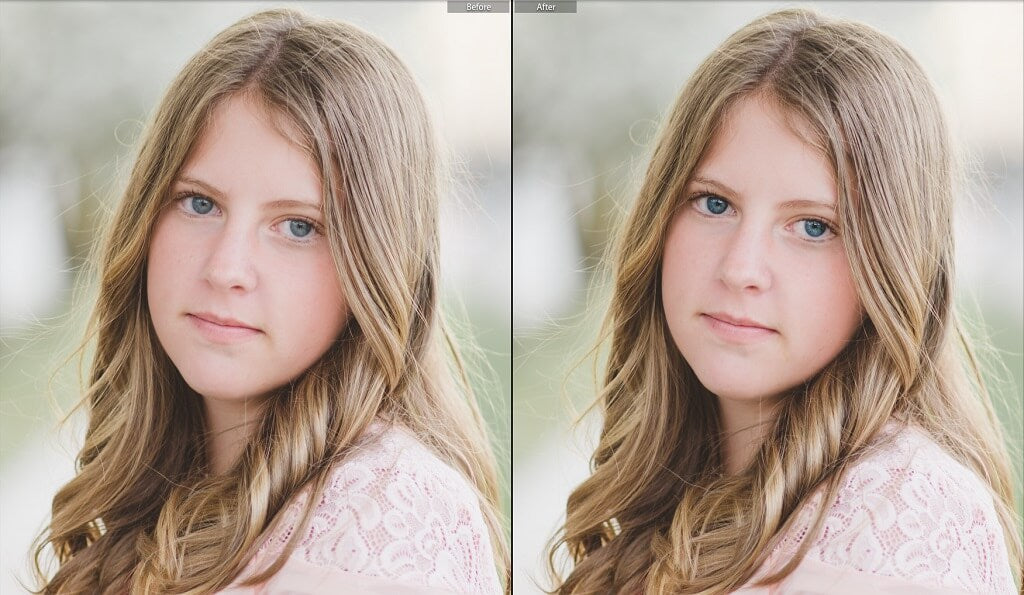
The following is a comparison of the image before and after the eye brushes were used.  You can see that her eyes are now brighter and have a bit more pop.  Not an extreme change, but a beautiful and natural improvement.

Keep in mind, the best edits are those that are subtle and realistic.  Be careful that you don't go overboard and end up with unrealistic overly-edited eyes.

Before and After brightening eyes in Lightroom

Would You Like More Help Editing Portraits?

If you missed our previous three portrait editing tutorials check them out now!  They build on the basic but necessary and important things you need to know when editing portraits and using brushes in Lightroom:

  • Smoothing Skin in Lightroom
  • Whitening Teeth in Lightroom
  • Adding Light to Shadowed Eyes in Lightroom

If you would like additional training for our Lightroom Portrait Brushes we have a fantastic, in-depth Lightroom Portrait Brush Training Video you can watch right here.

Do you have any questions or comments about How to Brighten and Make Eyes Pop in Lightroom?  Just leave us a comment below - we would LOVE to hear from you!  And PLEASE SHARE this post using the social sharing buttons (we really appreciate it)!

Lightroom Portrait Brushes

Portrait Lightroom Presets

Related Articles

Beginner's Guide to Boudoir Photography
Are you ready to start your journey into boudoir photography?  This beginner's guide covers everything you need to know
Read More
Beginner's Guide to Smoke Bomb Photography
Discover the art of smoke bomb photography with our comprehensive guide!  Learn about smoke bomb photoshoots, essential
Read More
Introduction to the Photoshop Workspace (+ Simple Workflow to Get You Started)
Discover how to navigate and customize the Photoshop workspace with ease.  Learn essential tips and workflows to enhance
Read More
Pretty Presets for Lightroom author Amanda Padgett

Amanda Padgett

Lightroom Instructor

Hi! I'm Amanda, a homeschooling mom of four, from South Carolina. I am passionate about photography, photo editing, and helping others learn to love their camera and editing programs. 

June 22, 2018

Comments

INFO & SUPPORT
  • Lightroom FAQ
  • Photoshop FAQ
  • Contact Us
  • Order Lookup
  • Log Into Account
Sign up for great freebies and tutorials

Get notified about promotions, giveaways and webinars before they happen!

Join the pretty Community

Come join the #1 Lightroom & Photoshop Facebook Group to help you learn how to edit your photos more confidently today!


  • About Us
  • Testimonials
  • Policies
  • Terms of Service
  • Write for Pretty
  • Lightroom Scholarship
  • Photoshop Scholarship

© 2025 Pretty Presets for Lightroom | support@prettypresets.com (406) 298-3006

  •  
  •  
  •  
One or more of the items in your cart is a recurring or deferred purchase. By continuing, I agree to the cancellation policy and authorize you to charge my payment method at the prices, frequency and dates listed on this page until my order is fulfilled or I cancel, if permitted.