- Lightroom Presets
- Best Sellers
- Mobile Presets
-
Photoshop
-
Learn
-
Support
-
Install
- Blog
By Gayle Vehar on | No Comments

At Pretty Presets, almost everything we do is about helping you save time in Lightroom. We want you to spend less time on the computer and more time with those that you love. That is why these Lightroom Brush keyboard shortcuts are so valuable.
Get familiar with these must-know shortcuts for Lightroom's Adjustment Brush Tool and you will quickly be saving lots of time in Lightroom!
This is the most basic shortcut you need to know and it will save you from having to click the "Done" button or clicking "Close". All you need to do is press the "K" key to open the Brush Tool and then press the "K" key again to close the Brush Tool.
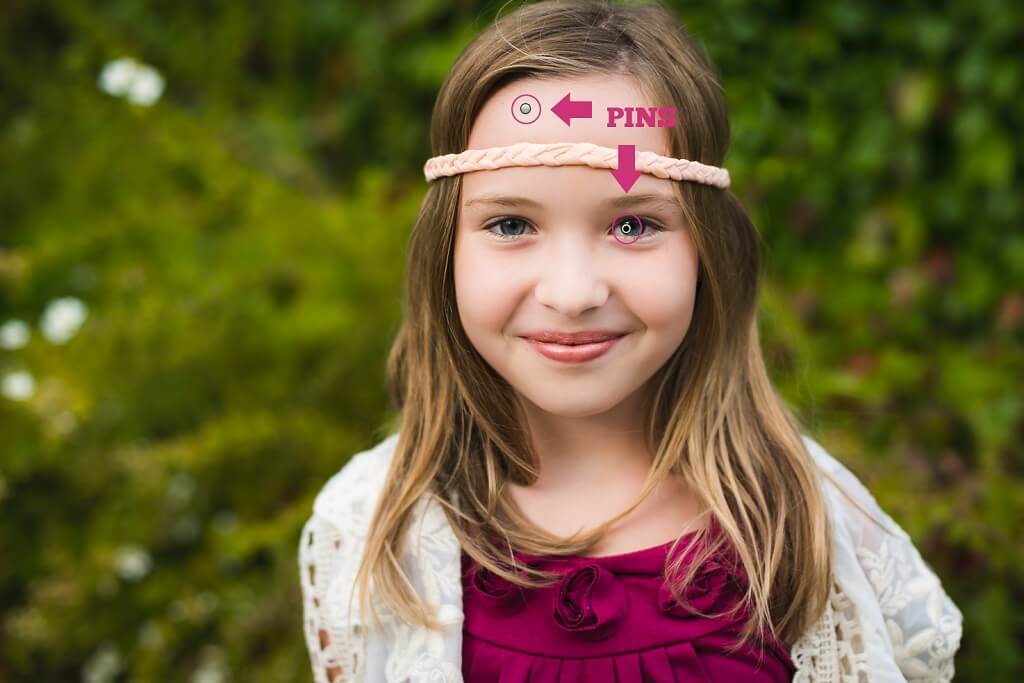
This shortcut comes in super handy when you are using the Brush Tool on several areas of your subject (especially brushing over the eyes) and the brush pins are starting to drive you nuts or freak you out because they are on the eyes.
You can hide all those pins by pressing the "H" key and when you want them to show up again, tap the same "H" key a second time!

If you aren't using this shortcut then using brushes on your photo is likely taking you WAY too much time. Just use the left and right bracket keys to change the size of your brush quickly.
In just a few seconds you can go from an adjustment brush small enough to use on the eyes to a brush large enough to use on the background of your image. The right bracket key (]) will make your brush bigger and the left bracket key ([) will make your brush smaller!
When I'm using brushes on my photo, there are many times I want to see where I'm brushing and also if I'm brushing where I shouldn't be (especially on skin). The brush overlay is fantastic for this. But there are also times when the overlay drives me nuts.
Being able to tap the "O" key to see the overlay or hide it will save you lots of time hunting for that little check-box that turns it on in Lightroom. HUGE timesaver!

When using Lightroom brushes on your image, there will be times when you end up brushing over areas that you didn't want the brush to be.
Instead of deleting the pin and starting over, just press and hold the Alt/Option key while you are brushing and your brush will turn into an eraser so that you can erase the brush off any areas that you accidentally hit. You'll know you have an eraser tool when the + (plus) in the center of the brush turns into a - (minus) sign!

We hope you start using these simple Lightroom Brush Tool Shortcuts today. You will save a ton of time editing!
For additional Lightroom Keyboard Shortcuts be sure to check out our popular post "25 Essential Lightroom Shortcuts"
Make sure to check out our amazing Portrait Brushes and our powerful Clean Edit Portrait Workflow that includes Lightroom brushes and much, much more! It will take your Portrait Editing to a whole new level too!
Do you have any questions or comments about our Lightroom Adjustment Brush Shortcuts? Leave us a comment below - we would love to hear from you! And PLEASE SHARE this post using the social sharing buttons (we really appreciate it)!


Hi!! I am Gayle. I am a wife to my handsome husband and mom to 4 beautiful kids. In my spare time, I am a photographer and blogger at Mom and Camera. I have a passion for sharing my love of photography with others. I teach local photography classes and regularly share photography tips and tricks on my blog. I hang out there a lot—I’d love you to stop by and visit!

Comments