- Lightroom Presets
- Best Sellers
- Mobile Presets
-
Photoshop
-
Learn
-
Support
-
Install
- Blog
By Karissa Collins on | No Comments

One of the most important aspects of any photo is LIGHTING!
If you get that wrong, you can easily ruin your image. But if you get it right consistently, you will take your photography to another level.
With that said: lighting can be complicated. But to give you a head start through the process, I've put together some lighting tips that will help you GET IT RIGHT more consistently:
If you happen to find yourself shooting in harsh midday sun, try to avoid the shadows of leaves and trees that will leave sun splotches on your subject's clothing and face.

Instead, try to find a fully-shaded area that will provide an even exposure and no splotches of light to throw off the consistency of your photo.
CLICK HERE for more information on Shooting in Bright Sunlight

There are all kinds of tricks you can use to find the best light, but for beginners, I always suggest photographing every angle.
See which angle has the best light in your camera before determining where you will shoot your session. Even if it's time consuming, it can make or break your final result.
After doing this multiple times, you will start to get a better idea of where the best lighting will be and go much faster.

The hour immediately after sunrise and the hour before sunset is called the golden hour. And yes, it is true! It's the perfect dream light for photo sessions.
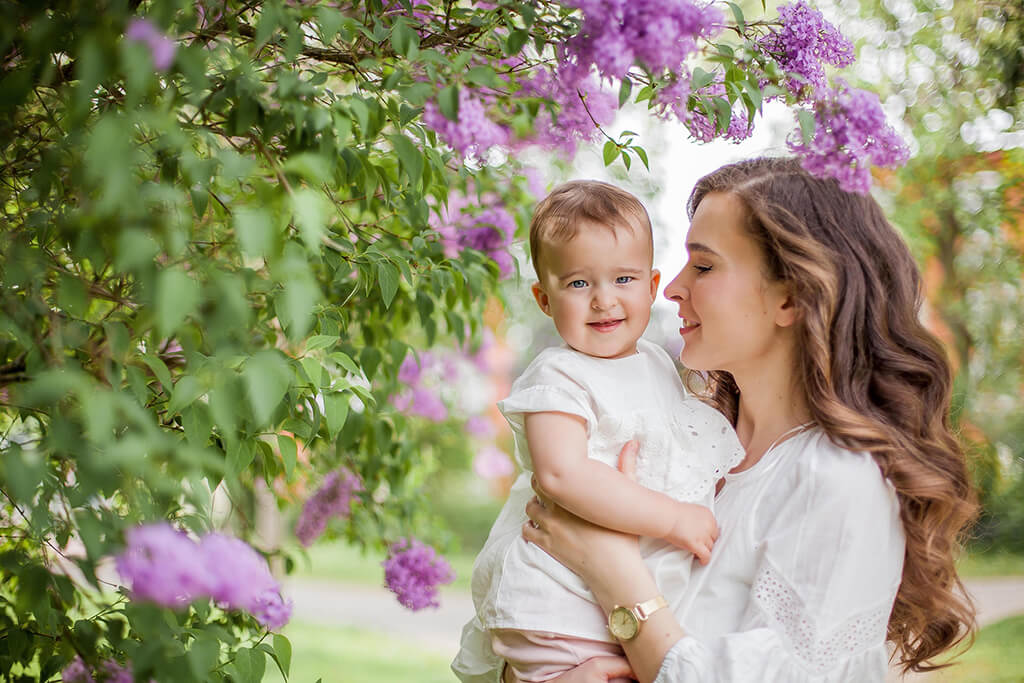
There is still a trick for shooting at golden hour though. Place your subject with the sun behind them (not directly behind) and slightly to the right or left. This will give your subject's hair a golden effect and illuminate them perfectly.
CLICK HERE for more Golden Hour Tips

When shooting indoors, the best lighting will come from windows. Even after I learned this, It took me a long time to figure out that my subjects had to actually face the light coming in from outside for best results.
Once I figured that out, my indoor photos were so much better and my subject's stood out.
CLICK HERE for more Indoor Lighting Tips

You know those gorgeous silhouette photos? Creating these shots is all about the lighting. The trick for a good silhouette is to place your subject directly in front of the light.
For outdoor photos, I love to wait until sunset and place my subject on a hill. I stand at the bottom of the hill, place my camera in TV mode, and photograph them with the setting sun slightly beside and behind them.
You can also do this indoors. Just place your subject in front of a window or glass door with bright light coming from behind them.
CLICK HERE for more Silhouette Photography Tips

Lighting plays a very important role in taking a good photo and it takes ALOT of practice to understand and master light. So don't be afraid to practice with all sorts of different lighting situations, and shooting from lots of different angles.
You should even try shooting in harsh sun, just for the experience if nothing else. You never know, sometimes the most beautiful photos can come from the most unexpected light!!
Do you have any questions or comments about 5 Lighting Tips for Better Images? Leave us a comment below - We would LOVE to hear from you! And PLEASE SHARE this post using the social sharing buttons (We really appreciate it)!

I have been married for 10 years (in July) and am the mom to six amazing little blessings ages 7, 5, 4, 3, 1 and 3 months. I am a God-fearing, home-schooling, photography obsessed mom who makes...yes makes...her children take pictures everyday. I started my photography journey exactly two years ago and it has been such a great learning experience and start up business. It can get hard balancing being a mom, teacher, wife, disciple and photographer but the benefits outweigh the stresses. I specialize in family photography and newborns but enjoy weddings and engagement photography as well.

Comments