MOTHER'S DAY SALE! UP TO 35% OFF - DISCOUNT APPLIES IN CART.

  • Log in
  • Cart (0)
  • Checkout
Pretty Presets and Pretty Photoshop Actions
  • Lightroom Presets
  • Mobile Presets
  • Photoshop 
    • Photoshop Actions
    • Photoshop Overlays
    • Limited Edition Holiday Collections
  • Learn 
    • Free Lightroom Training
    • Free Photoshop Training
    • Lightroom 101 Workshop
    • Photoshop 101 Workshop
    • Your Pretty Edits
  • Support 
    • About Us
    • Contact Us
    • Order Lookup
    • Lightroom FAQ
    • Photoshop FAQ
  • Install 
    • How to Install Lightroom Presets
    • How to Install Lightroom Brushes
    • How to Install Presets in the Free Lightroom Mobile App
    • How to Sync Lightroom Presets from CC to Mobile
    • How to Install Photoshop Actions
    • How to Install Photoshop Overlays
  • Best Sellers
  • Blog

How to Use the Marquee Tool in Photoshop

By Amanda Padgett on March 08, 2019 | No Comments

Marquee Tool Photoshop

How to Use the Photoshop Marquee Tool

Today we will be taking a look at how to make selections with the Marquee tool in Photoshop and Photoshop Elements.  To illustrate the marquee tool, I am going to focus on making a Photoshop vignette (which is the darkening of an area along the edges of an image, which will put more focus on the subject).

There are other things you can do with the marquee tool in Photoshop, but this will give you a good introduction and basic understanding of you to use it.

Portrait Photoshop Actions

As with the lasso tool, when you use the marquee tool, you will be selecting an area that you wish to make changes to.

Where to Find the Marquee Tool

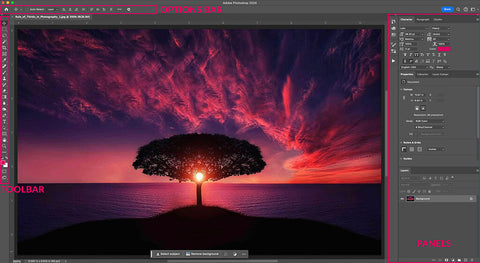
Here is what the marquee tool and tool option menu looks like in Photoshop CS6 and CC (Creative Cloud).

Choose the elliptical marquee tool to make circle or oval selections.

If you want to make square or rectangular selections choose the rectangular marquee tool option.

Elliptical Marquee Tool Photoshop

Below is what the marquee tool option menu looks like in PSE 11.  The tool and option menu also looks very similar to this in Photoshop Elements 6-10.

Rectangular Marquee Tool Photoshop

How to Make a Selection & Use the Marquee Tool

With both the elliptical and rectangular marquee tools, you can adjust the areas inside your selection with adjustment layers, or you can run a filter or action and it will only affect the area you selected.

Steps for Using the Marquee Tool:

  1. Select the Marquee Tool and choose whether you want the oval or rectangular shape to make you selection.
  2. Set the feather setting that fits the area or task.  For a small area, choose a smaller feather number.  For a large area, set a higher feather number. 
  3. If making exposure, contrast, etc. changes, create an adjustment layer and the adjustment layer created will automatically create a mask of your selection.
  4. If using a filter, make a duplicate copy (control/command + j) of the background and then select the area and run the filter.
  5. Whether using an adjustment layer or a filter, you can lower the layer opacity to suit the image.

Feathering Your Marquee Selection

Why should you feather your marquee selection?

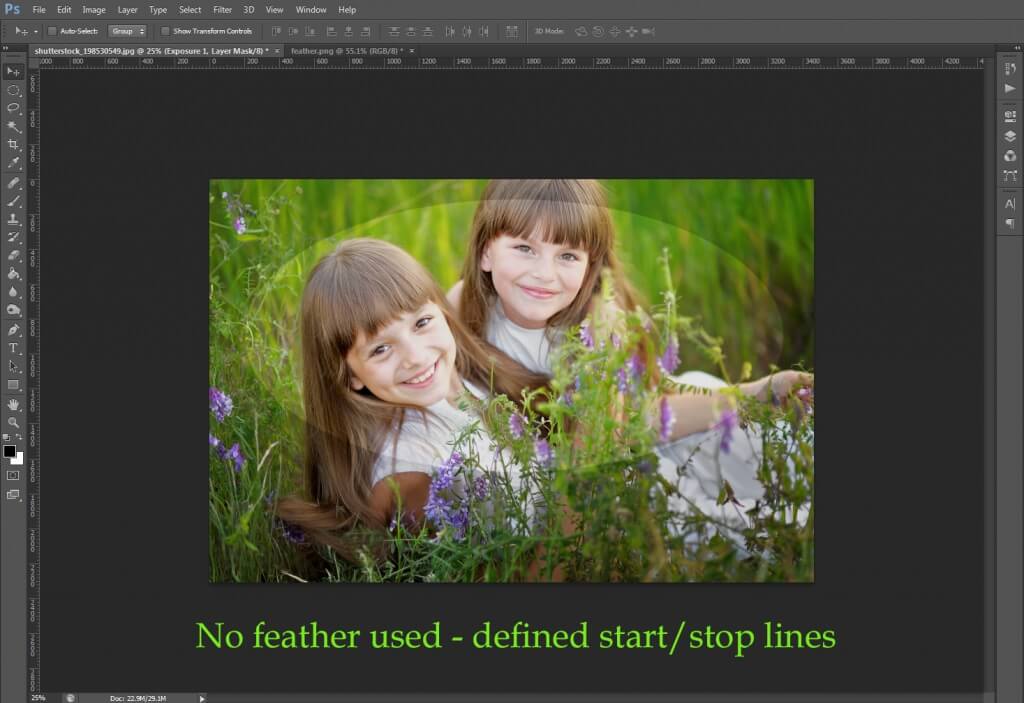
Let me show you an example. In the edit below, I made my selection using the elliptical marquee tool (with a zero feather setting), then created a brightness/contrast adjustment layer, changed the blend mode to screen and lowered the layer opacity.

As you can see in this image, when you choose a zero feather for your selection, you will be able to clearly see the start and stop points for the change.  This is generally NOT a good option when editing images.

Use of Marquee Tool in Photoshop

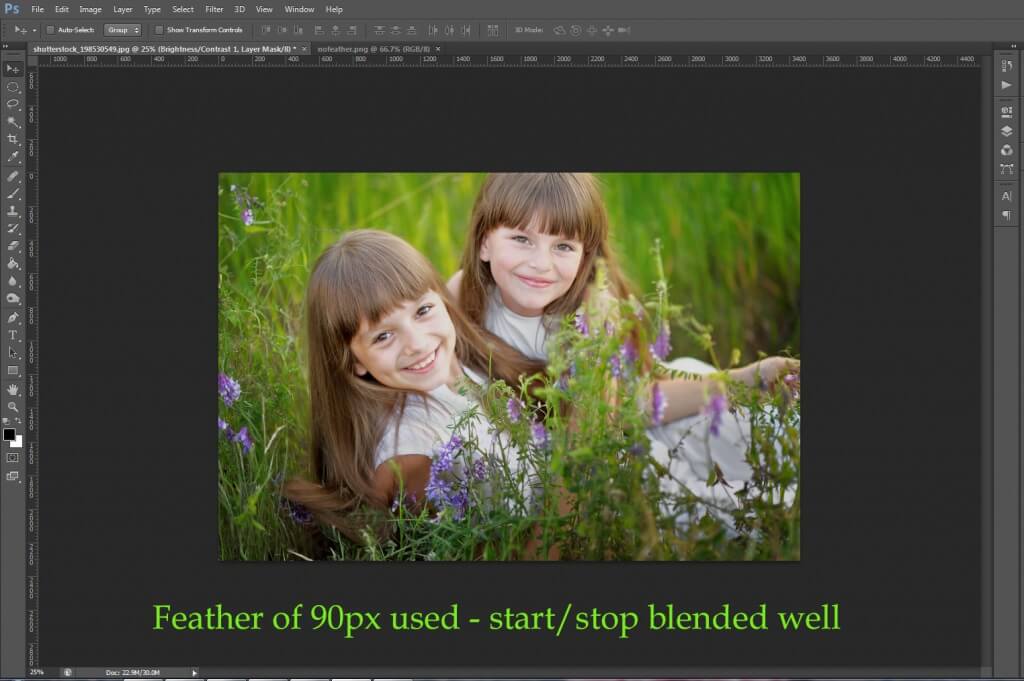
If I add a feather of 90 pixels, it will make the change blend into the neighboring pixels, and have a nice transition from change to no change.  In other words, no extreme start and stop points to the change, like we see above.

The following image shows the same selection and change, but this time using a feather of 90 pixels:

Elliptical Marquee Tool in Photoshop

Making Multiple Selections with the Marquee Tool

As with other Photoshop selection tools, you can create just one marquee selection or you can create multiple selections.  If the selections overlap, they will become one single selection.

The screenshot below shows an odd-shaped selection (look at mask in layer panel).  I did that by selecting one area, clicking on ADD and selecting another area.  Because the two selections overlapped, they created a single larger mask.

How to Use Marquee Tool Photoshop

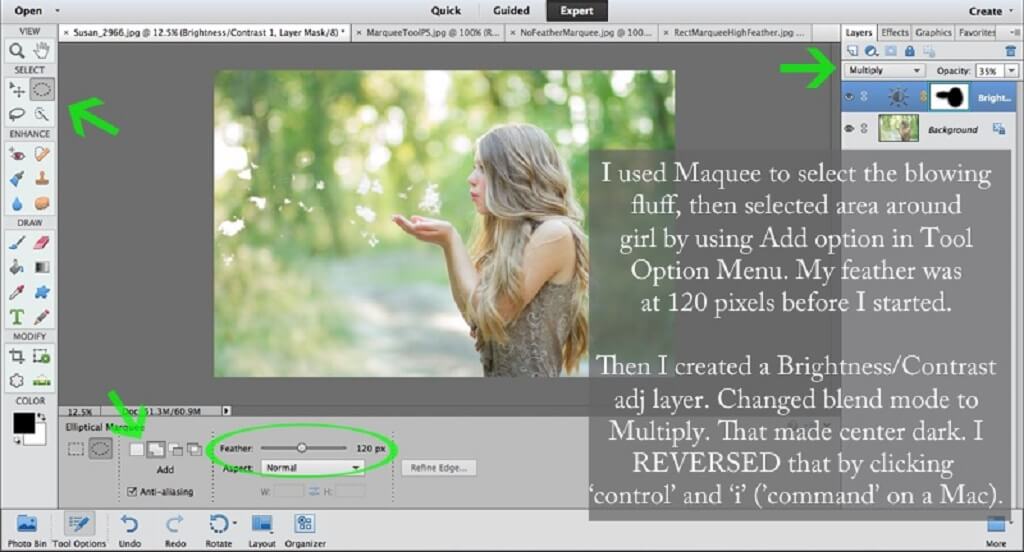
In the edited image above, I made a custom vignette by inverting (reversing) my custom selection.

Here are the steps I took:

  1. Click the Marquee Tool.
  2. Set the feather number that fits the area and the task.  For example, if you are selecting a small area, set a small feather number.  For a large area, choose a large feather number.
  3. Make a selection. 
  4. INVERT the selection by pressing shift + cmd/ctrl + I.
  5. If making exposure, contrast, etc. changes, create an adjustment layer and the adjustment layer created will come with a mask of your selection.
  6. If using a filter, make a duplicate copy (control/command + j) of the background and then select the area and run the filter.
  7. Lower layer opacities to suit the image.

Photoshop Marquee Tool Video Tutorial

Do you have any questions or comments about Using the Photoshop Marquee Tool?  Leave us a comment below - we would LOVE to hear from you!  And PLEASE SHARE our tutorial using the social sharing buttons (we really appreciate it)!

Photoshop Actions

Related Articles

Beginner's Guide to Boudoir Photography
Are you ready to start your journey into boudoir photography?  This beginner's guide covers everything you need to know
Read More
Beginner's Guide to Smoke Bomb Photography
Discover the art of smoke bomb photography with our comprehensive guide!  Learn about smoke bomb photoshoots, essential
Read More
Introduction to the Photoshop Workspace (+ Simple Workflow to Get You Started)
Discover how to navigate and customize the Photoshop workspace with ease.  Learn essential tips and workflows to enhance
Read More
Pretty Presets for Lightroom author Amanda Padgett

Amanda Padgett

Lightroom Instructor

Hi! I'm Amanda, a homeschooling mom of four, from South Carolina. I am passionate about photography, photo editing, and helping others learn to love their camera and editing programs. 

March 08, 2019

Comments

INFO & SUPPORT
  • Lightroom FAQ
  • Photoshop FAQ
  • Contact Us
  • Order Lookup
  • Log Into Account
Sign up for great freebies and tutorials

Get notified about promotions, giveaways and webinars before they happen!

Join the pretty Community

Come join the #1 Lightroom & Photoshop Facebook Group to help you learn how to edit your photos more confidently today!


  • About Us
  • Testimonials
  • Policies
  • Terms of Service
  • Write for Pretty
  • Lightroom Scholarship
  • Photoshop Scholarship

© 2025 Pretty Presets for Lightroom | support@prettypresets.com (406) 298-3006

  •  
  •  
  •  
One or more of the items in your cart is a recurring or deferred purchase. By continuing, I agree to the cancellation policy and authorize you to charge my payment method at the prices, frequency and dates listed on this page until my order is fulfilled or I cancel, if permitted.