- Lightroom Presets
- Mobile Presets
-
Photoshop
-
Learn
-
Support
-
Install
- Best Sellers
- Blog

Do you want to create a simple Photoshop grid to use as a collage template, blog board, Pinterest graphic, magazine layout, or newsletter?
In this quick tutorial, I will show you how to create a custom grid layout in a Photoshop template that you can easily drag and drop images into and then use for print or web! The best part is that you can save your Photoshop grid template to use over and over again.
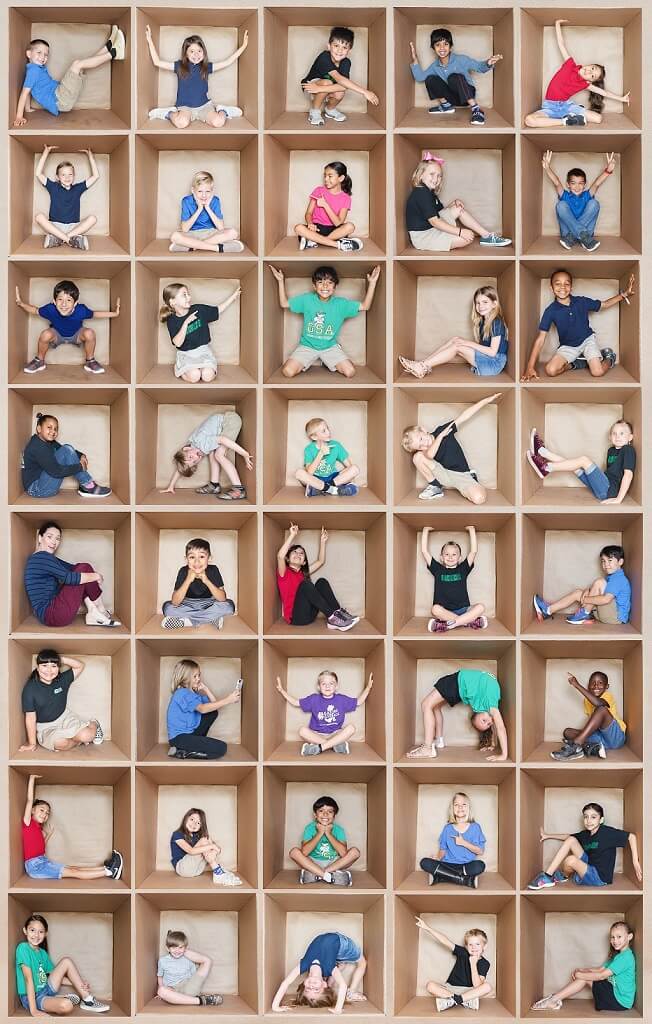
In this example, I will create a grid for a fun box photography project using school class photos (as seen in the top image) that will include a different picture of a child in each square. You can find more information about setting up and shooting a box photography project like this here.
And make sure to check the bottom of this post for a SURPRISE DOWNLOAD AND OFFER THAT YOU WILL LOVE!

Of course, this is just one example. There are so many other ways to utilize a Photoshop grid... really only limited by your imagination!
Now, let's get started creating a grid in Photoshop:

First, open Photoshop and go to the top menu bar and click on File>New to open a new document and name it - I will name my document "Pretty Template."
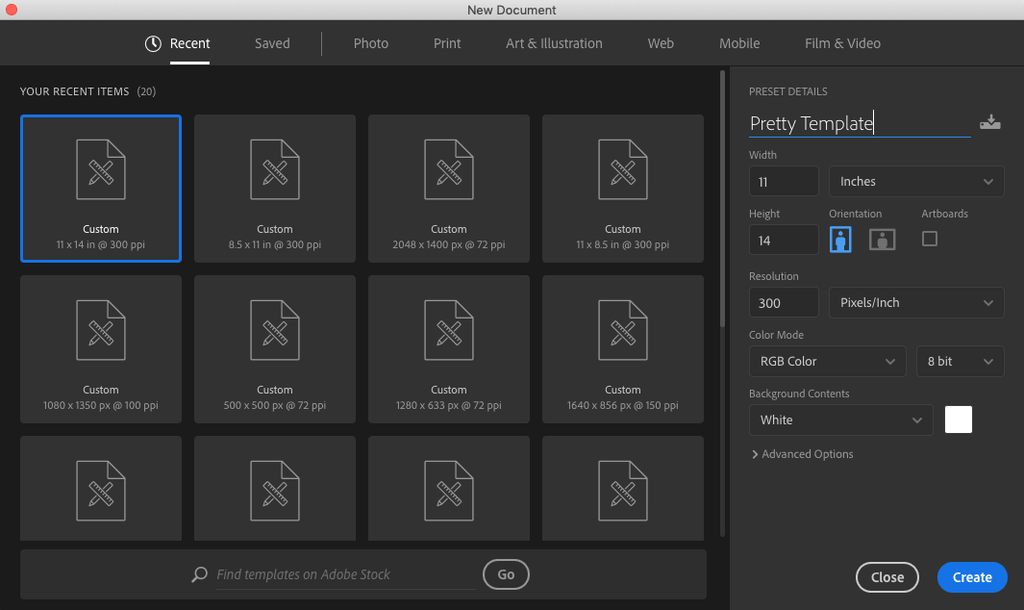
When creating documents for print, I set the width and the height as inches. I will keep this particular document size at 11 inches for the width and 14 inches for the height. If I were working on a document for web use, I would set the width and height using pixels.
Keep in mind, as far as resolution, when you are creating something for print; you ideally want to have 300 pixels per inch. If the template is for web use, between 72 and 150 pixels is acceptable. Set background contents to white. Then press OK.
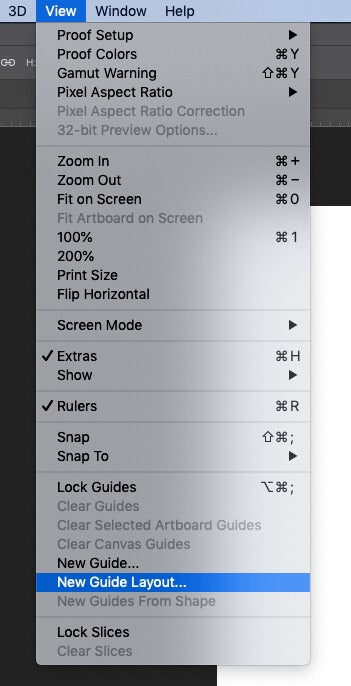
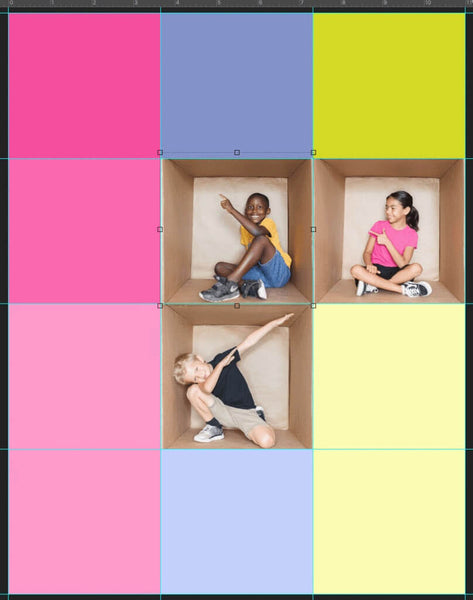
Creating a grid layout will help you make the shapes to place your photos into. To begin creating your Photoshop grid layout, go to View>New Guide Layout.
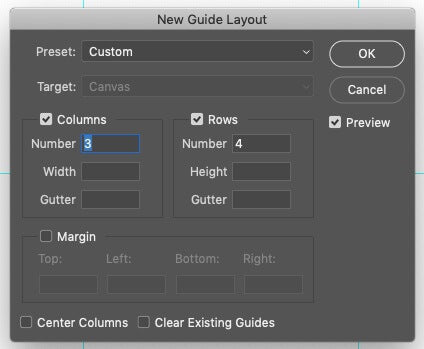
Using the dialog box that opens, set the number of rows and columns to create squares or as close to squares as possible. For this project, I chose three columns and four rows. If you want to turn it off later, you can click Rulers again in the menu to uncheck it.
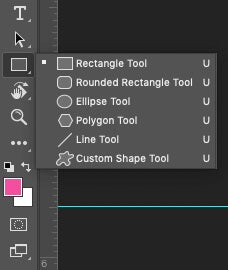
Click on the Rectangle Tool (or use the Photoshop keyboard shortcut U). Use the guides on your document to click and drag a rectangle/square the same size as created by the intersecting guides.
Once you have created a row of squares, select them all in the layers palette and then click Cmd/Ctrl + J. You can also duplicate your layers. This will duplicate all the layers. By default, they will now be selected. Click and drag the layers to move them to a new section. Continue to do this until your entire document is filled with shapes. Save your Photoshop template before moving to the next step.
One of the main reasons to create a Photoshop photo grid template is to have a reusable layout that you can place images into VERY quickly and easily.
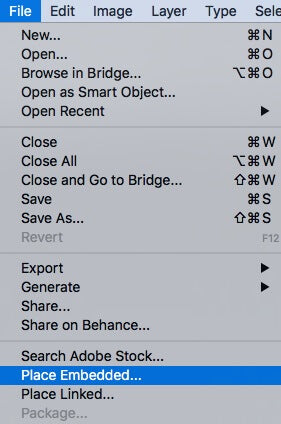
To add an image, you will first select the layer you want your image to be applied to. So, if I want my image to appear in the top left shape, I will click on that particular layer. Next, I will go to File>Place or Place Embedded, depending on the version of Photoshop you are using.
Next, navigate to the image you want to apply to the template. Click on that image and press "Place." It may look a little weird at first. That's okay. Just press Enter or Return.
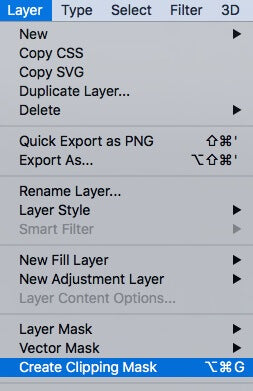
Now for the magic! In the main menu, choose Layer>Create Clipping Mask (or use the Photoshop keyboard shortcut Ctrl/Cmd+Alt+G), and your image will be clipped right into the shape!
Using the Photoshop Move tool, you can now click and drag or resize your image to fit into the shape exactly the way you want. If the image isn't showing, it is probably NOT positioned over the square to which you are trying to "clip" it. If that is the case, use the move tool to reposition it.
Repeat this step to add an image to each shape layer. You will quickly see all of your images being added to your Photoshop grid template.
Don't forget to save your Photoshop grid for future use if you think you might use the same grid layout again. Saving the template is as easy as pressing Cmd/Ctrl+S.
You will need to give it a name when saving and then choose the file type. I save all my Photoshop grids as PSD files. The PSD file type and the TIFF file type will save your layers so you can use them each time you open the file.
Saving your photo grid for printing is a little different. Once you have all images added to the grid, press Cmd/Ctrl+Shift+S to save your image as a JPEG. This file type is best for printing images, so choose this file type when you are saving for print.
You should now be able to create a Photoshop grid for your own project ideas. But we also wanted to share the photo grid template that we just created, so you can quickly create your box photography collage, like we just did here.
Click the link below to download, and if you LOVE this post, don't forget to share it using the social sharing buttons and leave us a comment below!! We really appreciate it.

IN ADDITION: Due to POPULAR DEMAND, we have created a BRAND NEW collection of ten (10) In the Box Photography Templates, so you can quickly composite your photos straight into these unique box templates. They are ON SALE NOW at an amazingly affordable price! Click HERE for more information. DON'T MISS OUT!!

Do you have any questions or comments about How to Make a Photo Grid in Photoshop? Leave us a comment below - we would LOVE to hear from you! And PLEASE SHARE our tutorial using the social sharing buttons (we really appreciate it)!


Comments