MOTHER'S DAY SALE! UP TO 35% OFF - DISCOUNT APPLIES IN CART.

  • Log in
  • Cart (0)
  • Checkout
Pretty Presets and Pretty Photoshop Actions
  • Lightroom Presets
  • Mobile Presets
  • Photoshop 
    • Photoshop Actions
    • Photoshop Overlays
    • Limited Edition Holiday Collections
  • Learn 
    • Free Lightroom Training
    • Free Photoshop Training
    • Lightroom 101 Workshop
    • Photoshop 101 Workshop
    • Your Pretty Edits
  • Support 
    • About Us
    • Contact Us
    • Order Lookup
    • Lightroom FAQ
    • Photoshop FAQ
  • Install 
    • How to Install Lightroom Presets
    • How to Install Lightroom Brushes
    • How to Install Presets in the Free Lightroom Mobile App
    • How to Sync Lightroom Presets from CC to Mobile
    • How to Install Photoshop Actions
    • How to Install Photoshop Overlays
  • Best Sellers
  • Blog

Freelensing (How To Get Started)

By Allison Wheeler on April 21, 2018 | No Comments

Freelensing: How to Get Started

I've been experimenting the past few months.  Some may say it's a little on the risky side. I have to agree.  Curious?  Well, I've been freelensing.

What is Freelensing?

Freelensing simply means taking a photo with your lens detached from the camera body.  Can you see why it is a little dangerous?  Once your lens is detached, it can act in ways similar to a macro lens or a tilt-shift lens depending on what direction you hold it against your camera body.

Freelensing Photo - Boy in a Pool

Freelensing Picture of a boy sleeping

Freelensing Camera Gear

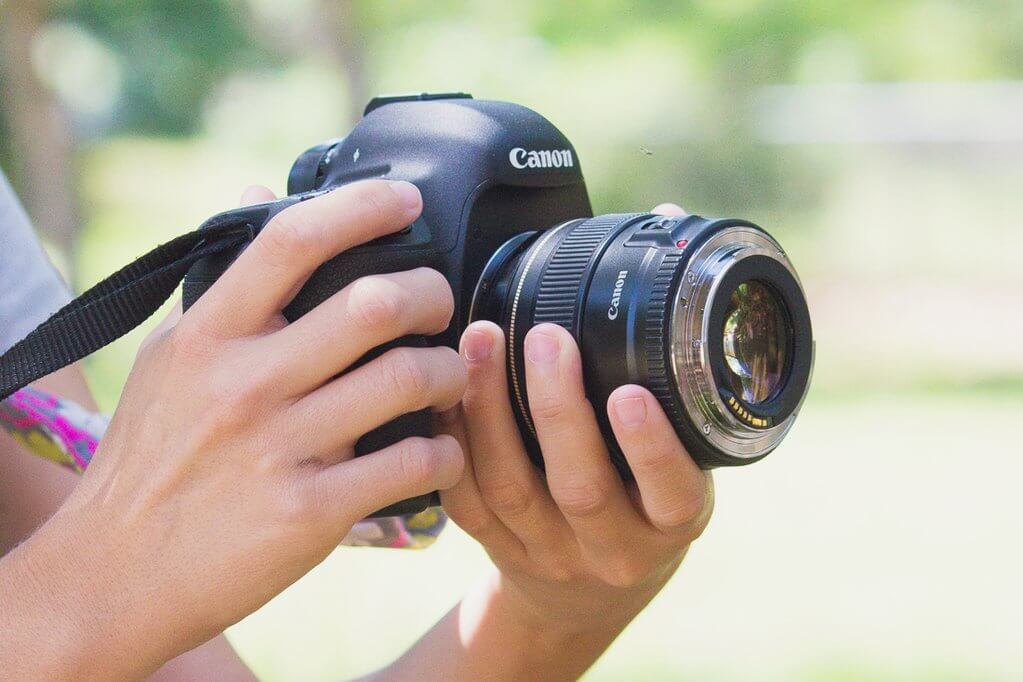
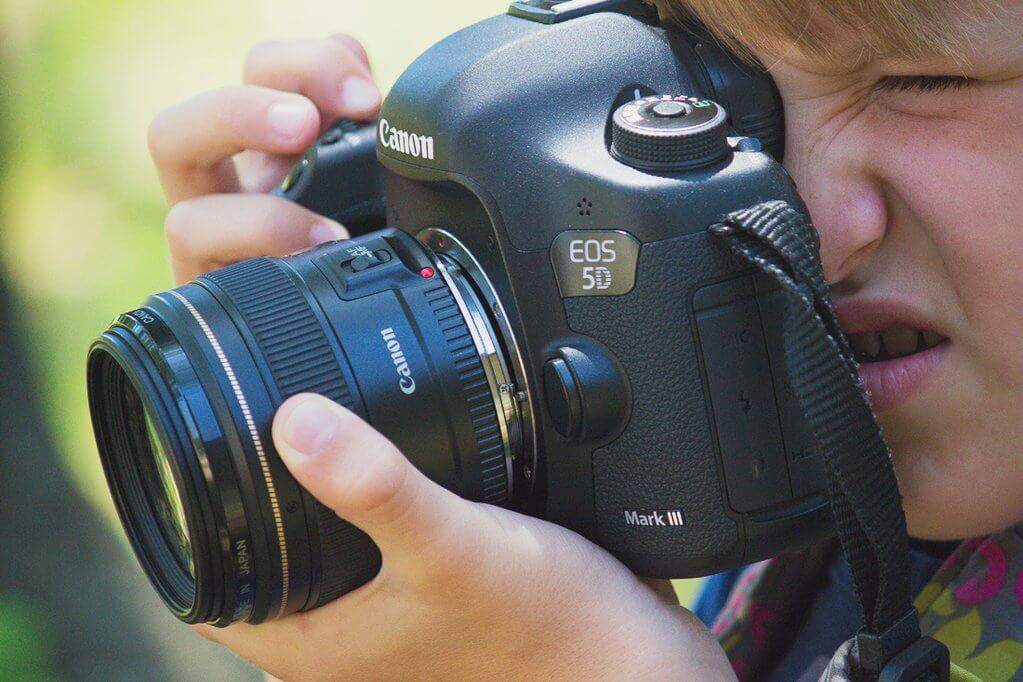
Now, before I explain how to freelens, I'll tell you what gear I use.  I'm pretty sure it will work with any camera body, but personally I've been experimenting with both my Canon T3i and Canon 5D Mark III.

For lenses, I've gotten the best results using my 50mm and 85mm.  I've attempted using my 24-70mm (and even my 18-55mm and 55-250mm) but I couldn't get the crisp images with those lenses.  I've even read you don't have to be brand specific (for example: Nikon lenses can work on a Canon body).

Both the 50mm and the 85mm worked great for "macro" shots and "tilt-shift" effects.

Lightroom and Photoshop Facebook Group

Freelensing for Macro Photos

I first started my freelensing adventure last fall when I was preparing to photograph my first wedding.  I read that by using your 50mm lens held backwards against the camera, you could get some awesome macro shots of the rings.

Freelensing Macro Picture of Engagement Ring

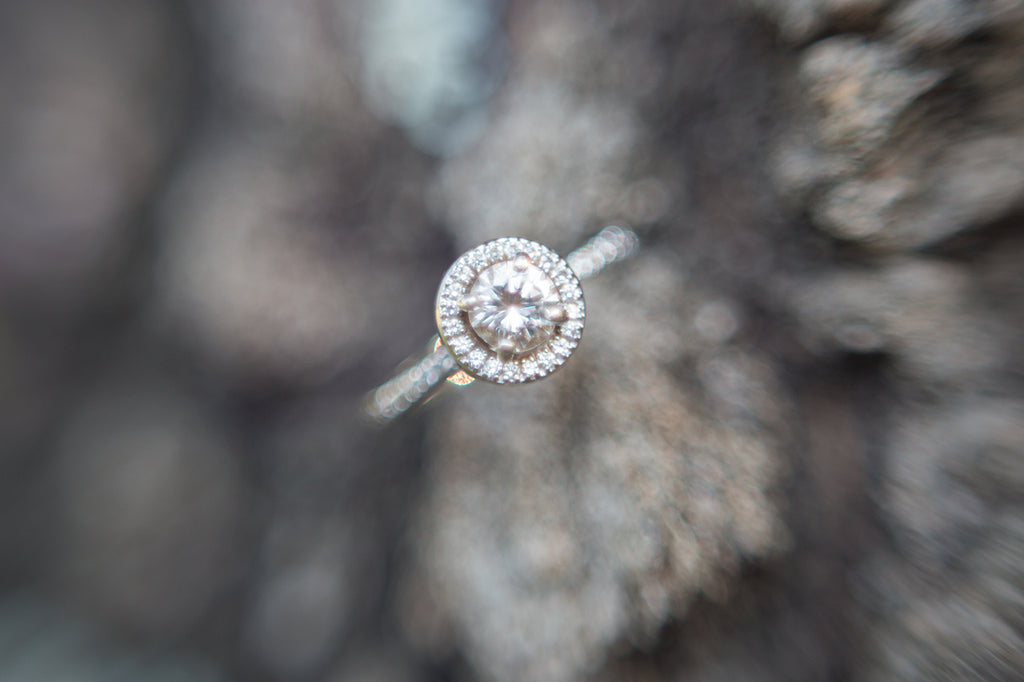
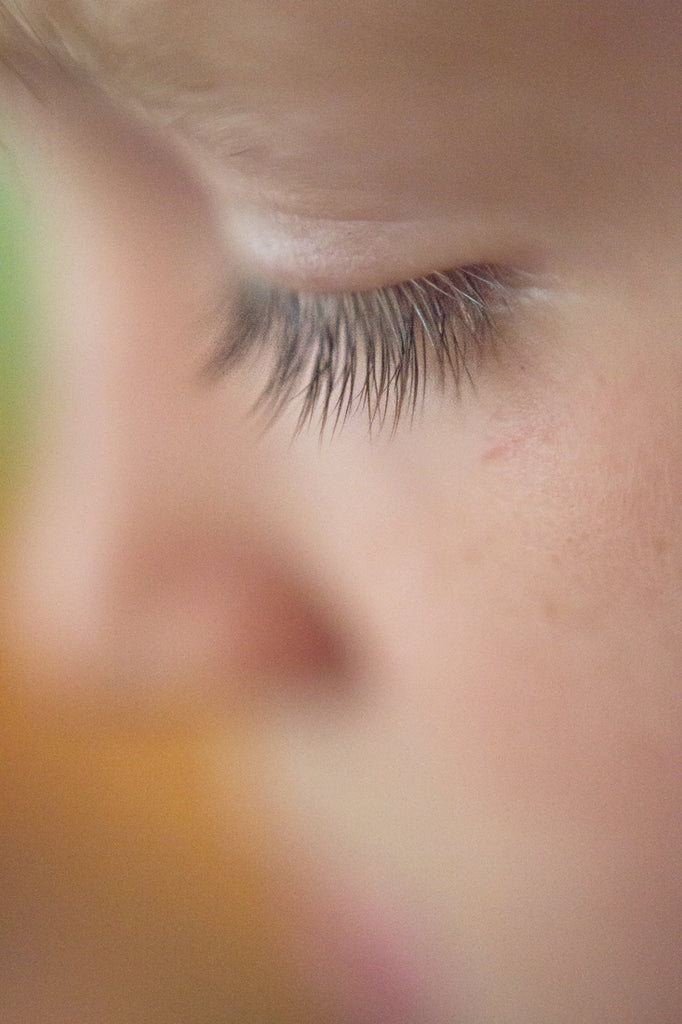
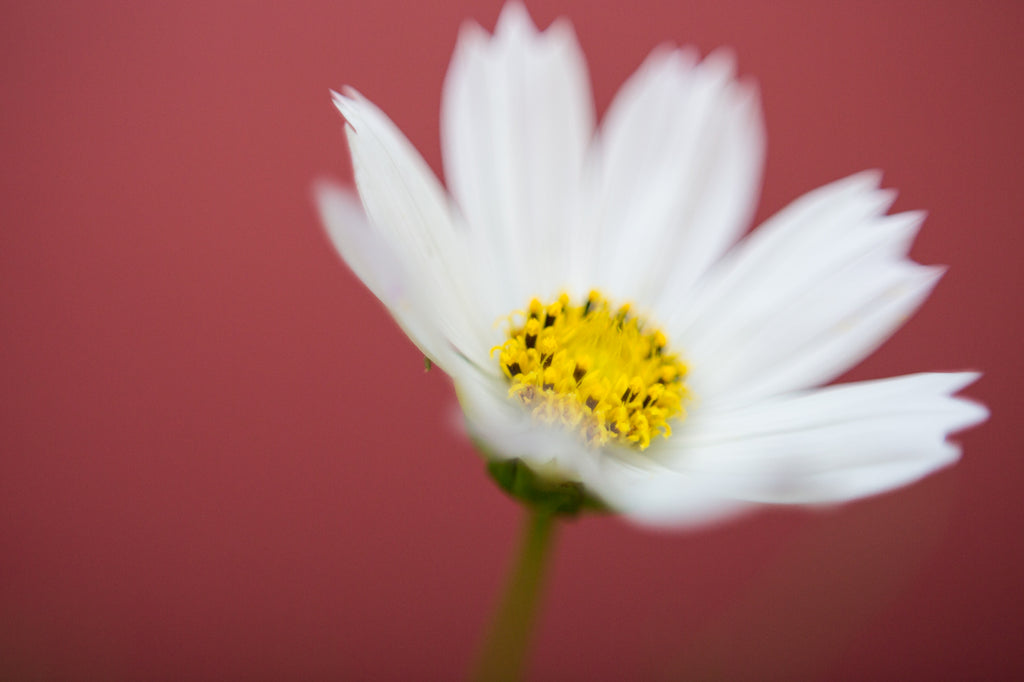
I tried it and fell in love with the results.  I always pull that little trick at weddings now.  I've even taken "macro" shots of other things.  Some of my favorites are eyelashes, flowers and snowflakes.  I prefer to use my 50mm to get these shots.  It's a little more difficult to get sharp images when using the 85mm as a "macro", but it certainly is possible.

Freelensing Macro Photo of a Yellow Flower

Freelensing Macro Photo of Boys Eyelashes

Freelensing Macro Photo of White Flower

To get shots like this, you must first set a "ballpark" exposure while your lens is still attached.  Just follow these simple steps:

Step 1.  Power the camera off, then detach the lens.

Step 2.  Turn the camera back on and hold the lens backwards against your camera body.

Step 3.  Then, move closer to the subject, within inches, until it becomes clear and take the shot.

TIP: Remember, just the slightest movements (wind, camera shake, etc) really can affect your focus so try to hold your camera as steady as possible.  Also, check the image on the back of the camera.  Adjustments to your exposure may be necessary.

Demonstrating How to Freelens

Freelensing for a Tilt Shift Effect

Using your lenses in a way to get the "tilt-shift" effect takes a little more work.  Again, just follow these steps:

Step 1.  First set your exposure as explained above, and before you turn off the camera, set the lens to manual focus set to infinity.

Step 2.  After you've detached the lens and turned the camera back on, hold the lens close to the body of the camera.

Step 3.  Gently move the lens around until what you want in focus becomes clear.

Step 4.  You can rotate it, move it side to side, just remember small movements affect the focus.  You can also do slight adjustments to your focus ring on your lens to help achieve a sharp subject.

How to Hold Camera While Freelensing

It takes some playing to find what works and what doesn't.  A helpful tip I've learned and used is to put your camera in live view.  At times it's easier to see what's going on by looking at your screen versus through your camera viewfinder.

Freelensing also allows extra light in on the sensor which can give you lovely light leaks and flare.

Freelens Tilt Shift Effect Image of Boy Using a Computer

Freelensing Tilt Shift Effect for Light Leaks on Image of a White Flower | Freelensing Tutorial

A Few Additional Things to Keep in Mind When Freelensing

    • By detaching your lens, you are subjecting your camera's sensor to the elements.  It wouldn't be wise to freelens in any condition where dust/water/etc could likely enter.
    • Also, make sure not to drop your lens and use your camera strap.  There's a lot of adjustments and movement.  You wouldn't want to drop anything.
    • Some people use a reverse adapter ring - a small ring that attaches to your camera in the same way a filter would attach to your lens.  Then you can flip your the lens over and thread the adapter into your lens mount.  Then you can take macro photos without having to worry about accidently dropping your lens.
    • Trust me, it's tough (and a little strange), and I am far from a freelensing pro, but this technique has been a super fun and interesting challenge.

        Freelensing photo of Brothers Playing Outside

        Do you have any questions or comments about Freelensing?  Leave us a comment below - we would LOVE to hear from you!  And PLEASE SHARE our tutorial using the social sharing buttons (we really appreciate it)!

        Dark & Moody Lightroom Presets

        Related Articles

        How to Start a Boudoir Photography Business
        How to Start a Boudoir Photography Business
        Ready to start your boudoir photography business?  Learn key tips for building a portfolio, hosting mini sessions, choos
        Read More
        Beginner's Guide to Boudoir Photography
        Beginner's Guide to Boudoir Photography
        Are you ready to start your journey into boudoir photography?  This beginner's guide covers everything you need to know
        Read More
        Beginner's Guide to Smoke Bomb Photography
        Beginner's Guide to Smoke Bomb Photography
        Discover the art of smoke bomb photography with our comprehensive guide!  Learn about smoke bomb photoshoots, essential
        Read More
        Pretty Presets for Lightroom author Allison Wheeler

        Allison Wheeler

        Portrait Photographer

        Allison Wheeler is a lover of lifestyle photography from Norman, Oklahoma. Her eyes were opened to photography by toying with Instagram in 2010.  She got a camera soon after and learned to use it by documenting her life with her husband and three young sons.   She now happily does the same for others, from births to weddings and almost everything in between. To see Allison's most recent work, visit her Facebook page.  She often gets on Pinterest to avoid cleaning her house. 

        April 21, 2018

        Comments

        INFO & SUPPORT
        • Lightroom FAQ
        • Photoshop FAQ
        • Contact Us
        • Order Lookup
        • Log Into Account
        Sign up for great freebies and tutorials

        Get notified about promotions, giveaways and webinars before they happen!

        Join the pretty Community

        Come join the #1 Lightroom & Photoshop Facebook Group to help you learn how to edit your photos more confidently today!


        • About Us
        • Testimonials
        • Policies
        • Terms of Service
        • Write for Pretty
        • Lightroom Scholarship
        • Photoshop Scholarship

        © 2025 Pretty Presets for Lightroom | support@prettypresets.com (406) 298-3006

        •  
        •  
        •  
        One or more of the items in your cart is a recurring or deferred purchase. By continuing, I agree to the cancellation policy and authorize you to charge my payment method at the prices, frequency and dates listed on this page until my order is fulfilled or I cancel, if permitted.