- Lightroom Presets
- Mobile Presets
-
Photoshop
-
Learn
-
Support
-
Install
- Best Sellers
- Blog

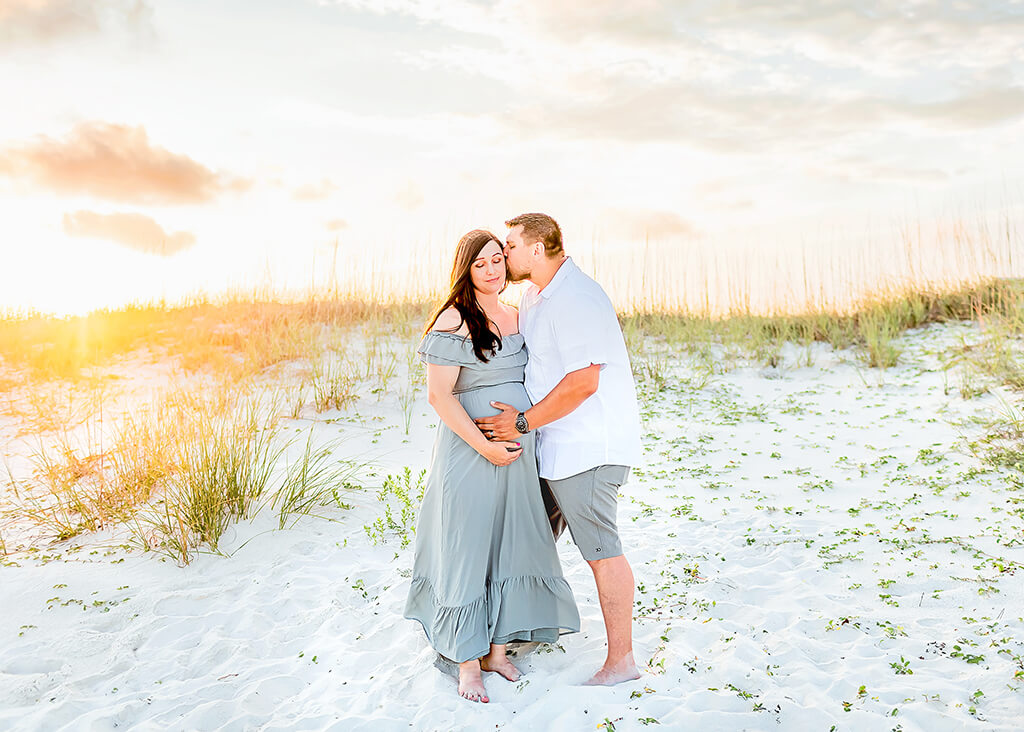
(Image courtesy Amanda Christine Photography. Edited with Presets from Salted Evolution Lightroom Preset Collection)
The beach is a magical place where cherished family memories are made. Whether it's a sun-soaked vacation, a fun-filled gathering, or a simple day of laughter and bonding, these moments deserve to be captured and treasured.
In this blog post, we will dive into the world of post-processing and discover how Adobe Lightroom can transform your beach photo into a stunning masterpiece.
We will explore various techniques, tips, and tricks to enhance your images' color, tones, and overall atmosphere, ensuring they reflect the true essence of summertime at the beach.

Once you have some great beach photos to work with, open Lightroom and select the image you want to edit. You can do this in the Library module or the Develop module. We have some great posts about importing images in Lightroom if you need further help.

(Image courtesy Amanda Christine Photography. Edited with Presets from Salted Evolution Lightroom Preset Collection)
The beach is a popular place to take photos and, of course, for many other people to play and swim. So whether you are capturing snapshots of your family or shooting a professional portrait session at the beach, you will likely need to remove a few unwanted elements or other distractions from your image that detract from the desired composition.
While this step can be done later in the process, I like to remove any distractions and unwanted objects first so that I can start with a clean image.
If the distractions are minor, I use the Lightroom healing tools:

If the elements I want to remove are larger or more complex, I will generally take the image to Photoshop to remove them.
White balance and exposure are two fundamental aspects of editing in Lightroom that significantly impact the overall look and feel of an image:

(Image courtesy Amanda Christine Photography. Edited with Presets from Salted Evolution Lightroom Preset Collection)
Properly adjusting white balance and exposure in Lightroom sets a solid foundation for further editing and will enhance the overall quality of the final image.
Another reason this is crucial is because beach photos frequently exhibit a significant presence of blue tones attributed to the sky and water. To ensure accurate colors, making precise adjustments using the white balance sliders is vital.
By utilizing Lightroom's eyedropper tool, you can conveniently sample a neutral area within the photo, such as white sand, to effectively correct any color casts that may be present. This process ensures that the colors in your beach photos appear authentic and captivating.
Enhancing the color of a beach photo usually involves many slider adjustments to make the colors pop.
For example, increasing vibrance and saturation will boost the intensity of muted colors, and increasing the contrast and dehaze sliders will help enhance the photo's overall visual impact and make it more dynamic and vibrant.
These slider adjustments will vary from image to image and CAN TAKE A LOT OF TIME TO OPTIMIZE. I prefer to use presets to do the heavy lifting in this step to SAVE TIME!
Using presets in Lightroom can be a convenient and efficient way to edit your beach photos with just a few clicks. Almost any preset that matches your style can be used on a beach image.

(Image courtesy Amanda Christine Photography. Edited with Presets from Salted Evolution Lightroom Preset Collection)
When you are ready to add a preset, follow these steps:
My ABSOLUTE FAVORITE presets for editing beach photos are the SALTED Evolution Presets from Pretty Presets. As you may have noticed, all the images in this post were edited exclusively with SALTED presets.

The SALTED presets are optimized for beach photos and will effortlessly transform your seaside images with warm, creamy tones, and vibrant colors that are perfect for capturing the essence of Summer.
They are also incredibly versatile. So if you don't have any beach photos to work with, the SALTED presets will deliver a warm, summery aesthetic to a wide range of images, even those not taken at the beach.
(Image courtesy Amanda Christine Photography. Edited with Presets from Salted Evolution Lightroom Preset Collection)
If needed, make some enhancements to the sky as a final step. If the sky in your beach photo appears overexposed or lacks detail (as often happens), use the Masking Tool in Lightroom to adjust it selectively. The Masking Tool has a specific AI Sky mask that is quite helpful when doing this.
Simply click on the Masks icon in the Tools Panel (the circle with a dotted outline icon) and then choose the Sky option at the top of the panel. Then, decrease the exposure and highlights to taste. You can even add some saturation or a bit of color using the color picker box.

Remember, these Lightroom editing tips are just a starting point. The editing process can vary depending on your creative vision and the specific characteristics of each photo.
Experiment, trust your eye, and don't be afraid to try new techniques to achieve the desired look for your beach photos in Lightroom!
Do you have any questions or comments about How to Edit Beach Photos in Lightroom? Leave us a comment below - we would LOVE to hear from you! And PLEASE SHARE our tutorial using the social sharing buttons (we really appreciate it)!


Comments