- Lightroom Presets
- Mobile Presets
-
Photoshop
-
Learn
-
Support
-
Install
- Best Sellers
- Blog

Bokeh refers to the aesthetic quality of any lights in the out-of-focus area of your images. This is NOT to be confused with a blurred shallow depth of field. Bokeh is all about the shape of any lights or highlights in an image. Different lenses naturally give different shapes depending on the shape of their blades.
In this tutorial, I will show you the following:
1. How to create a simple bokeh filter to capture different bokeh shapes and
2. How to capture natural bokeh in-camera.
While it's always fun to know how to create bokeh yourself, you can also purchase bokeh overlays online to add to your images, which are beautiful, convenient, and VERY EASY to use.

As I mentioned earlier, different lenses give different bokeh shapes. Some give off circular shapes; some give off more of an octagon shape, depending on the shape of the blades in that particular lens. But there's a fun and easy way to create and play with all kinds of different shapes and effects using your camera and lens. It just requires getting a little creative and crafty!
Here's what to do:
Take a blank piece of black construction paper and create a “lens cover.” Make sure to cut out a circle big enough to cover the front of the lens entirely and leave enough paper to fold over the edges of your lens so it can be secured before shooting.
Cut out a shape about a ½ to ¾ inches in size in the center of the lens cover. You can use scissors or a craft knife to cut out stars, hearts, circles, etc. The more defined the shape is, the better results you will get. Using a craft knife works best. Try to avoid any raggedy edges because they will show in your bokeh. You can trace shapes or draw them free-hand, whichever is easiest for you.
Once your shape is cut out, secure your construction paper "lens cover" to the end of your lens using tape or a large rubber band. Just make sure it covers all of the glass parts of the lens so that no extra light can get in. You are now ready to start experimenting!
When shooting, you may have to use a higher ISO because you won't be allowing much light into your lens. Find and play with different sources of lighting and have fun with it! You can also create multiple lens covers using all kinds of different shapes - hearts, stars, Christmas trees, and much more.
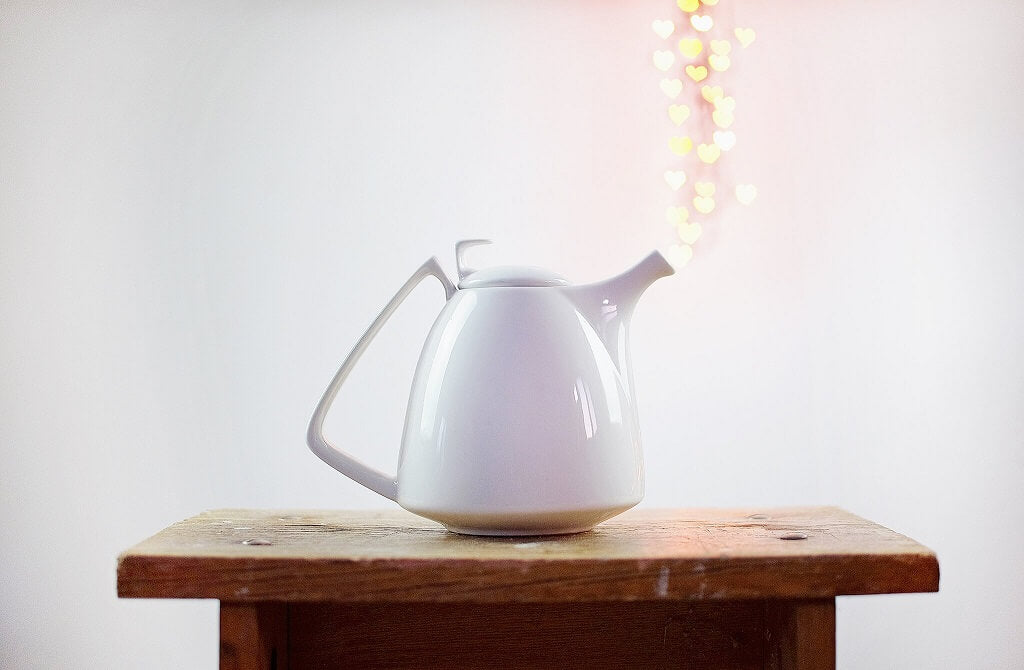
In the example below, a heart shape was used to create beautiful heart-shaped bokeh in the background. The top of a jar was focused on with the light source in the background at a reasonable distance away. So instead of the natural shape created by your camera's lens blades, the bokeh lights are now hearts!
If you were to take a photo of a lit-up Christmas tree using this technique, you would have a tree full of hearts. There are so many fun ways to play around and experiment with DIY handmade bokeh shapes!
You can really take advantage of getting beautiful natural bokeh when shooting outdoors. The key is to shoot with a wide aperture!
You want your subject to be sharp and in focus, and the background with the lights you are incorporating to be blurry and out of focus. Look for points of light to include in your background, such as trees with speckles of light coming through, street lights, car lights, lights from buildings, etc.
I shot the images below with my 70-200mm 2.8 lens. I always try to shoot at 2.8 to get my background as blurry as possible. When going for bokeh, I check out my surroundings and place my subject a good distance from the light source.
As you can see in these images, this lens gives a natural circular-shaped bokeh effect.

Get as close to your subject as you can to have them and whatever else you want to be sharp and in focus. The goal is to keep the bokeh light source blurred. For these images, I used the lighting coming through the tree leaves as my source of bokeh.

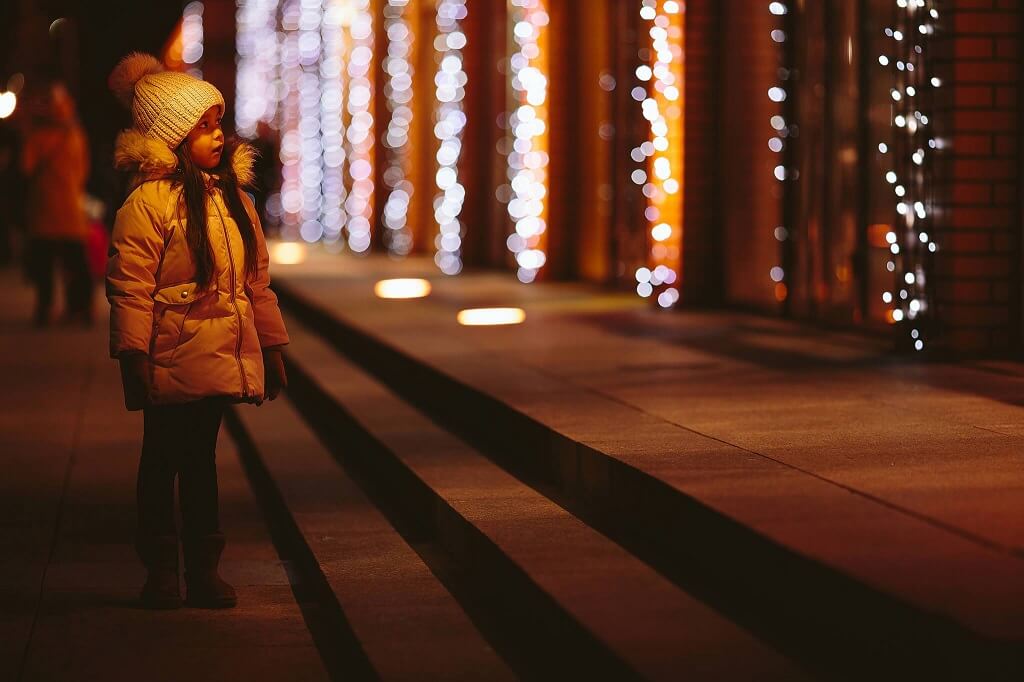
When shooting at night, look for things that have random lighting that you can use to create beautiful and interesting bokeh effects.
The image below shows how points of light can become interesting bokeh when out of focus. Remember to use an open aperture to keep the foreground in focus and the background out of focus.
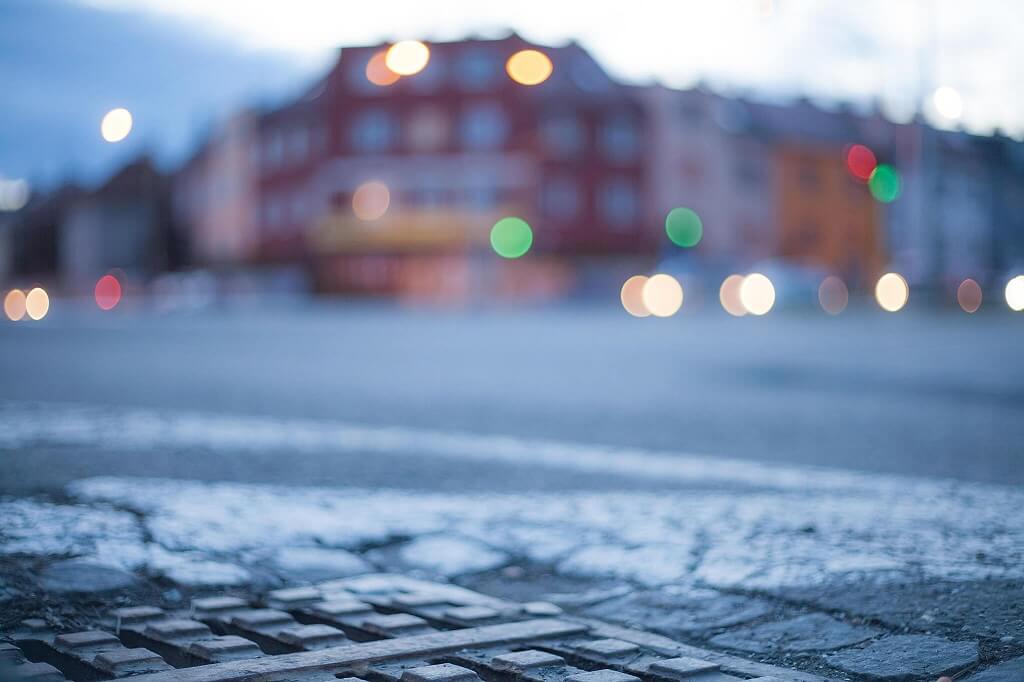
This next image was also shot at night using street and city lights as the bokeh light source. You can experiment with many different ways to create bokeh just by paying more attention to your surroundings, whether it's during the day or at night.
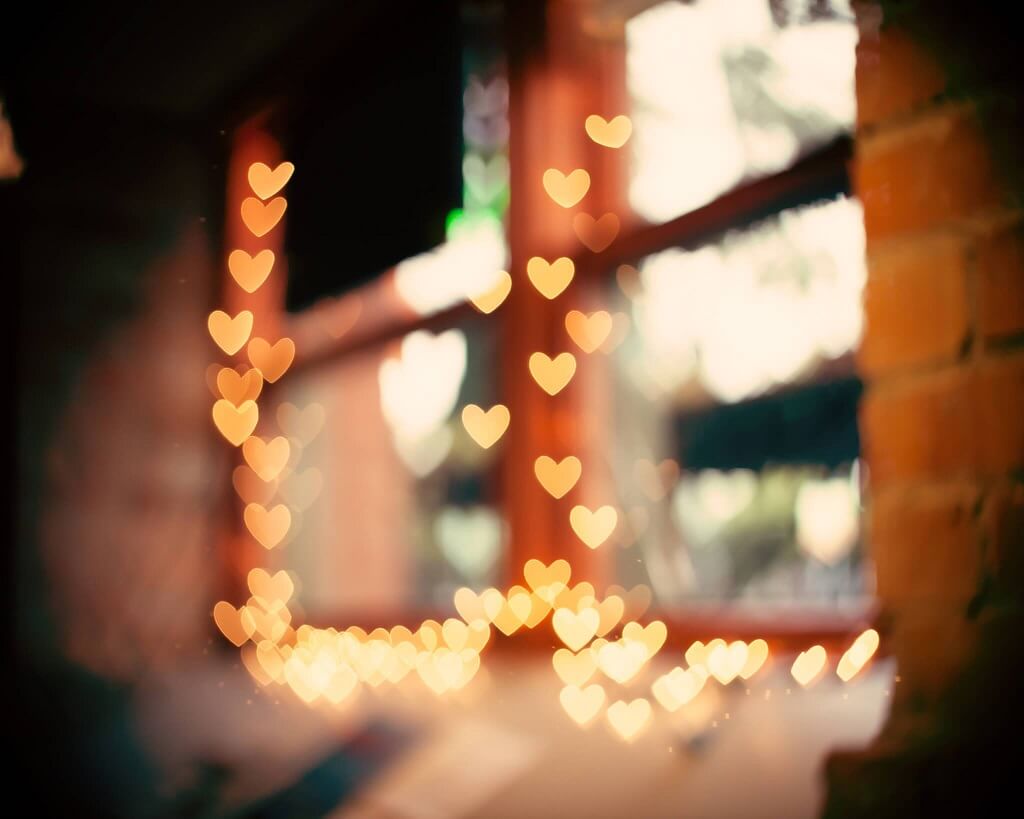
You can find all sorts of natural bokeh opportunities indoors. Christmas lights, glimmering light reflecting off walls or ceilings, uniquely shaped lighting fixtures, etc., all work very well. Just remember to keep your subject or object you are shooting a good distance from the light source to get a great background blur and the best bokeh possible!
For the indoor portrait image below, I kept my subject at a distance from the background and kept the aperture open (i.e. f/1.8, 2.0, etc.). The Christmas lighting in the background gave me the perfect bokeh lighting I was hoping for. And it really enhanced this basic portrait image, making it a much more visually appealing photo.

Many of us aim to achieve a beautifully blurred background in-camera to draw the viewer's eyes to our subject or focal point. But when you can make those blurred-out areas more appealing, you give the viewer more to look at because you add even more exciting elements to the image as a whole.
MORE READING: 8 Essential Tips for Beautiful Bokeh Photography
When looking for a fun and creative way to add appealing effects to your images, make sure to try adding your own bokeh.
Using bokeh can take a blurred-out background from blah to beautiful! And it's always good to give your viewers more reason to scan the entire image, appreciate it as a whole, and notice every exquisite detail from corner to corner.
Do you have any questions or comments about How to Create Bokeh In-Camera? Leave us a comment below - we would LOVE to hear from you! And PLEASE SHARE our tutorial using the social sharing buttons (we really appreciate it)!


Comments