- Lightroom Presets
- Mobile Presets
-
Photoshop
-
Learn
-
Support
-
Install
- Best Sellers
- Blog

Typography, the art form of arranging text to make an appealing piece of artwork, is often forgotten but quite beautiful. I love to use Photoshop which makes combining typography with a natural image to design a work of art quite easy!
This tutorial will show how you can bring a floral image to life by adding a beautiful typography text effect in Photoshop!

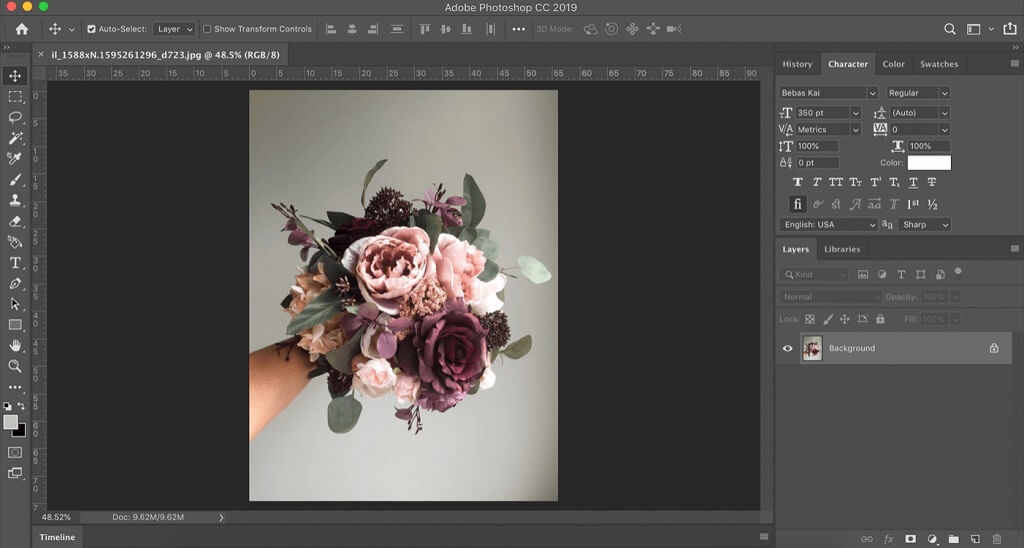
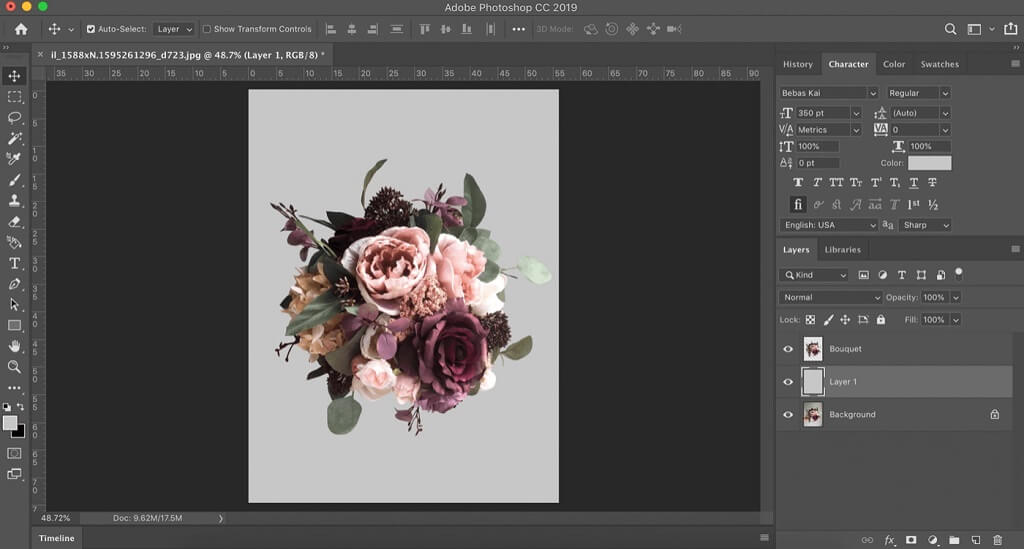
To start this creative process, you must first choose a base image. For this tutorial, I chose to use the flower bouquet shown below. Once you have chosen your own image, go ahead and open it up in Photoshop.
The next step is to create a Copy of your background layer. Create this Copy by selecting the ‘Background’ layer in the layers section then press Control ‘J’.
Rename this layer by double clicking on the Title ‘Layer 1’. Name the new layer ‘Bouquet’. It is important to label layers in Photoshop to stay organized and will help you keep track of where your layers are going.
Next, select the ‘Magnetic Lasso’ tool. (If you are ever unable to find a tool you are looking for, you can find tools by selecting the Magnifying Glass icon (located at the top right of the screen) and type what tool you are trying to find by its description).
Once the ‘Magnetic Lasso’ tool is selected, drag your cursor around the edges of the bouquet. This will allow selections to be made.
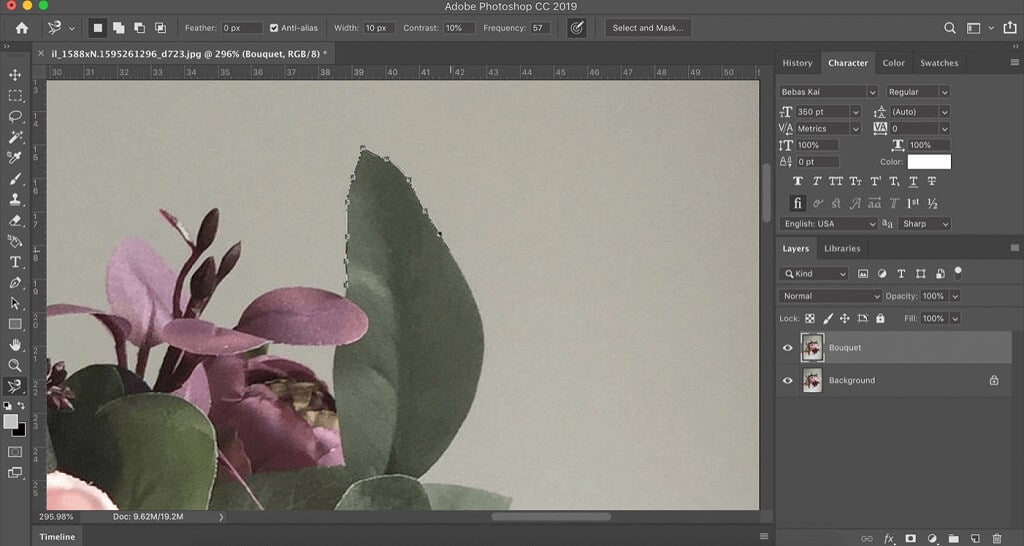
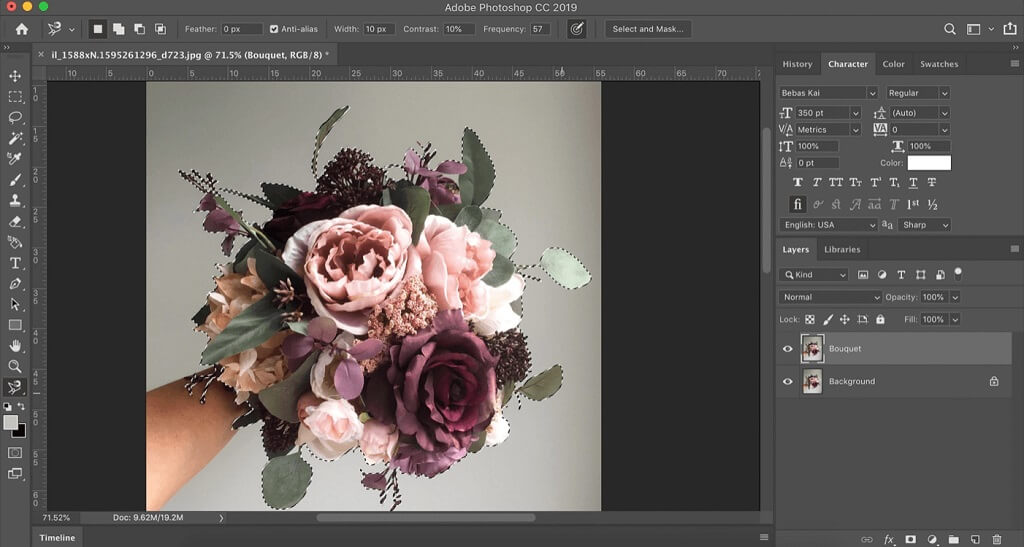
Continue to drag your cursor around the entire bouquet of flowers. Once you have done this, hit the Enter key on your keyboard to complete the selection. Your selection should look something like this.
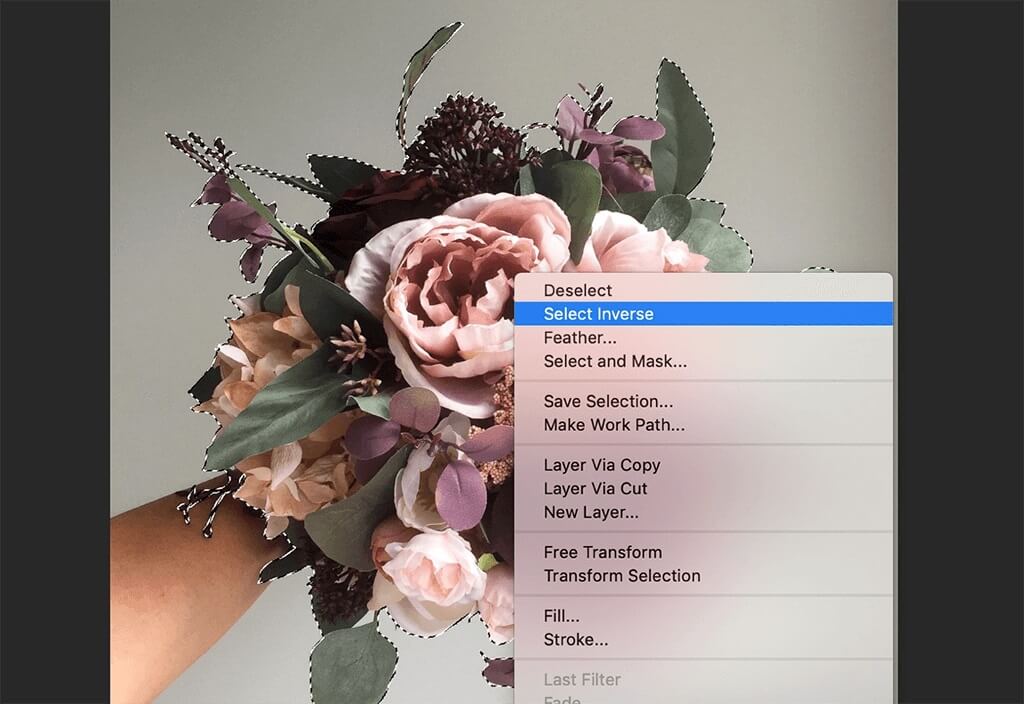
Now, move the cursor to the middle of the bouquet. Right click and select ‘Select Inverse.’ These actions will delete the background of the image, so we can create our own background.
Once you have done this, hit the Backspace key. To finish off this step, press Control ‘D’.
Next, click on the ‘Background’ layer (in the Layers Section). Select the icon to the left of the Garbage Can icon in the Layer Section to create a new layer.

Knowing how to create and use layers is essential to Photoshop. Layers allow you to work with different aspects of the piece you are working on, without changing the entire piece.
Select the ‘Paint Bucket’ tool. On the bottom left side of the screen click on the White Square. Choose the color that you want your background to be and select that color. I chose the color gray. Once you have selected the color of your choice, click anywhere on the canvas.
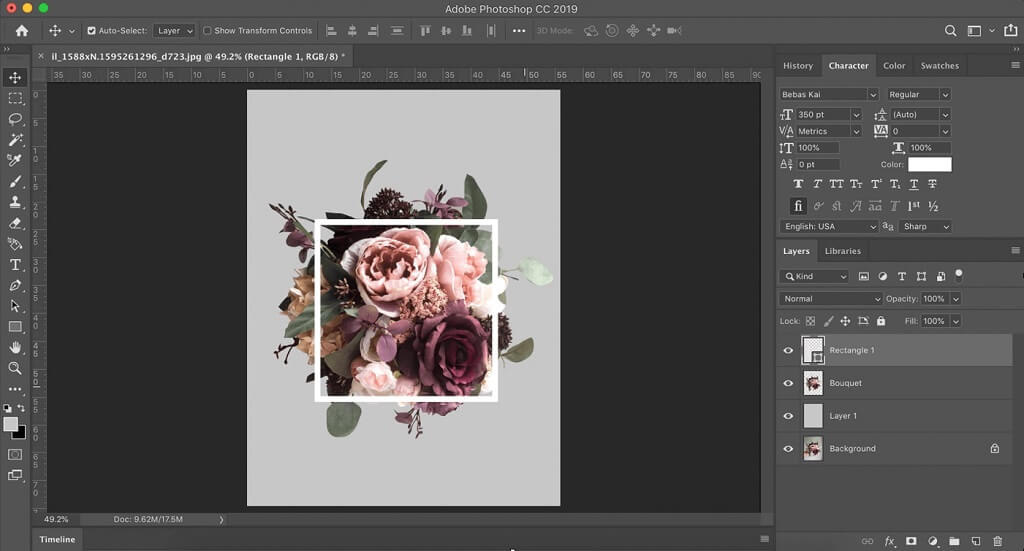
The next step of our creative process is to create another layer. Move it to the top of the list of Layers. Select the ‘Shape’ tool on the Tool Bar. Change the information on your top bar to match the information in the the image directly below.

Now let's add a square frame on top of the flower bouquet. Hold down Shift and drag a box on top of the flower bouquet. To move the frame you just made, select the ‘Move’ tool. Now move the square frame so it is in the center of the flower bouquet.
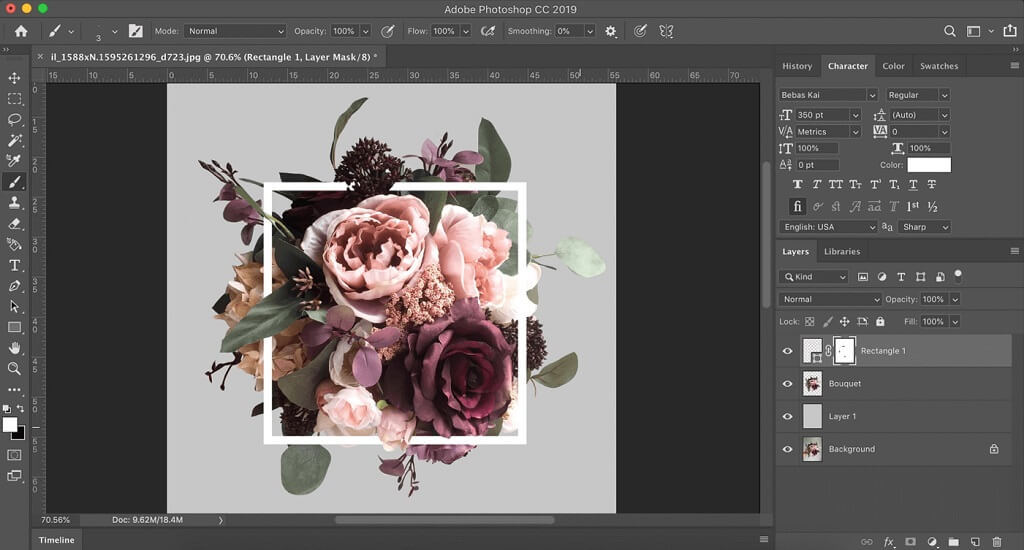
Select ‘Add Layer Mask’ near the bottom of the Layers section. ‘Layer Masking’ is a helpful tool that allows creators to “mask” a layer, making the layer under it visible in desired areas.

Next, select the ‘Brush’ tool, paint over areas on the white square where we want a leaf to look like is overlapping overtop of the square.

Your piece should look something like the image below.
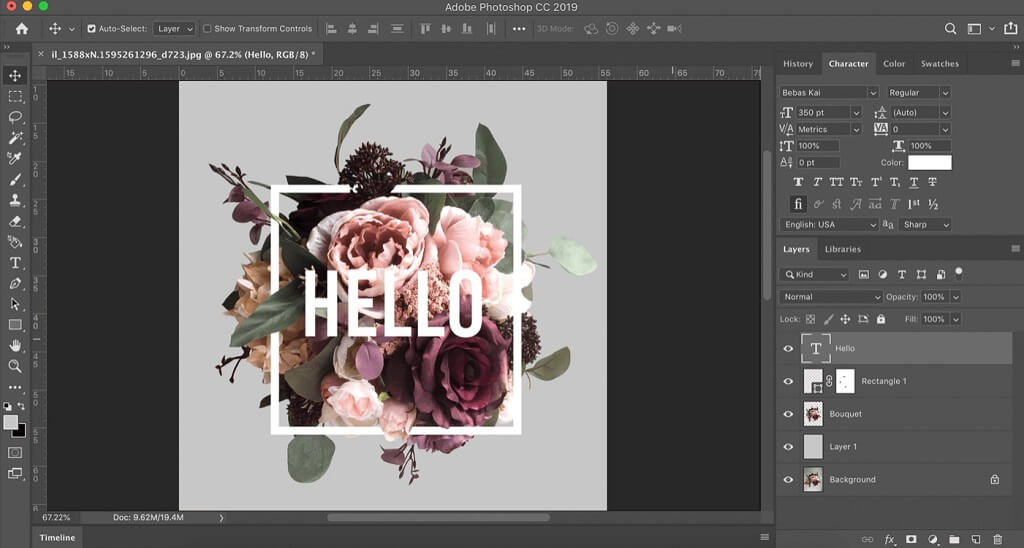
Create another new layer. Select the ‘Text’ tool and click on the center of the bouquet to add text. You may choose any font, color, or size of text that you desire. For the piece being shown the following information was put into the Top Bar of the program.

Now type a word of your choice. This is your time to express an idea or creative thought related to your image. In this example, I chose the word “HELLO”. Select the ‘Move’ tool and move the text so it lines up in the center of the bouquet.
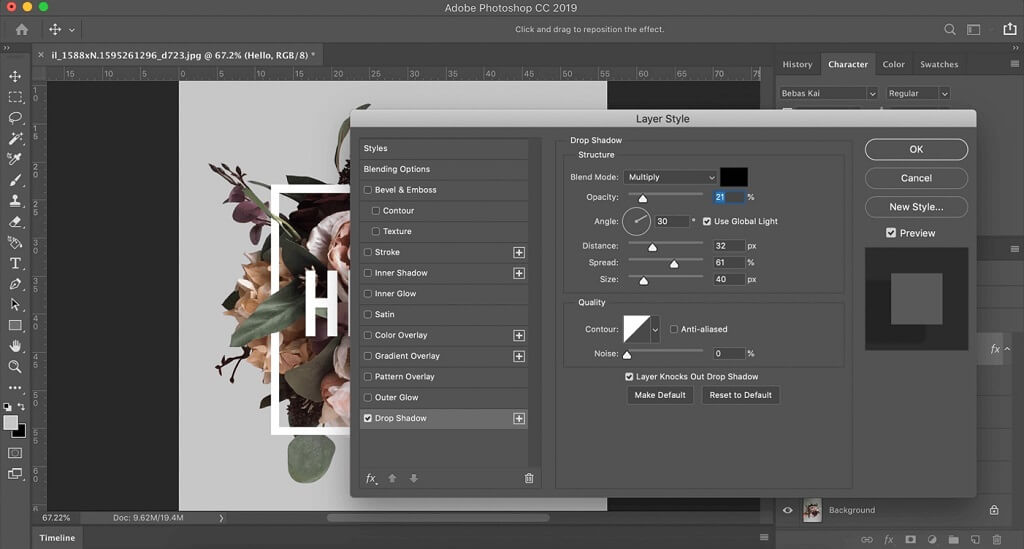
Select the ‘Add a Layer Style” option in the Layer section.

Drop shadows are an effective way of adding dimension and character to a piece of text. This effect makes the text look like it belongs to the piece and is not just stuck on top of it. Select ‘Drop Shadow’ and change your values to the values I have displayed below.
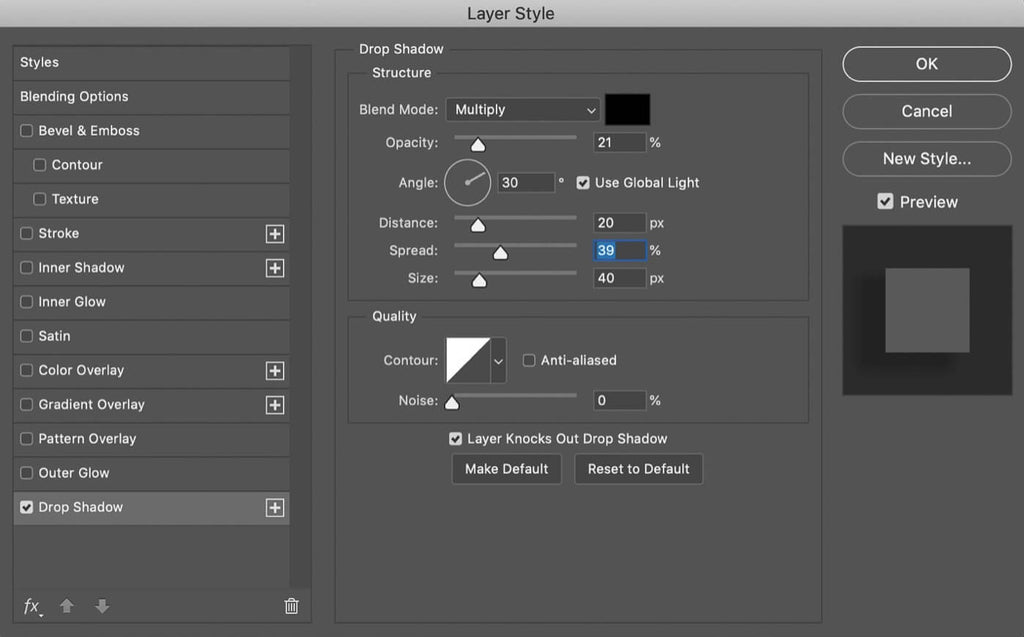
Select “Rectangle 1” layer and do the same as done with the previous step but change the values to match the image below.
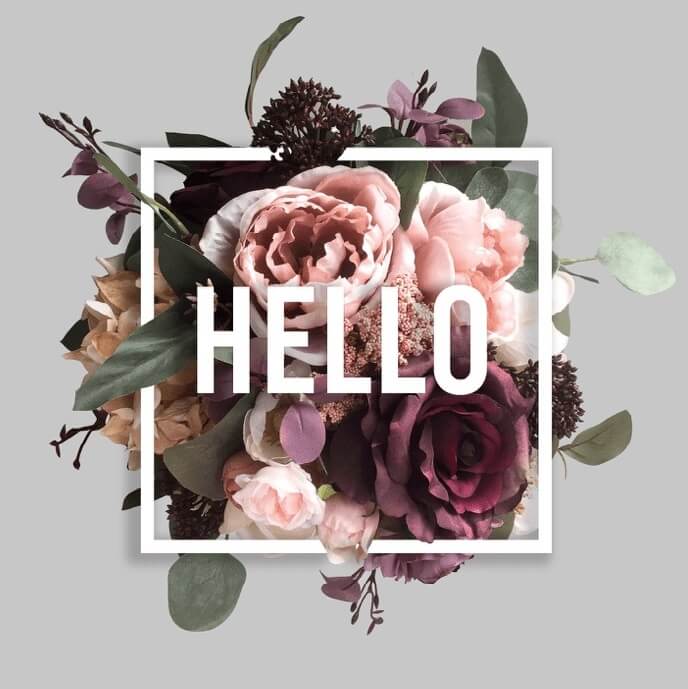
That’s it! Your final image should look something like this.
Photoshop is a powerful editing tool with endless possibilities. Everyone can be creative with it whether you realize it yet, or not. Try this fun project in Photoshop and see where your own creative mind takes you!
Do you have any questions or comments about Creating a Floral Typography Text Effect in Photoshop? Leave us a comment below - we would LOVE to hear from you! And PLEASE SHARE this post using the social sharing buttons (we really appreciate it)!


Comments