- Lightroom Presets
- Mobile Presets
-
Photoshop
-
Learn
-
Support
-
Install
- Best Sellers
- Blog
By Anna Gay on | No Comments

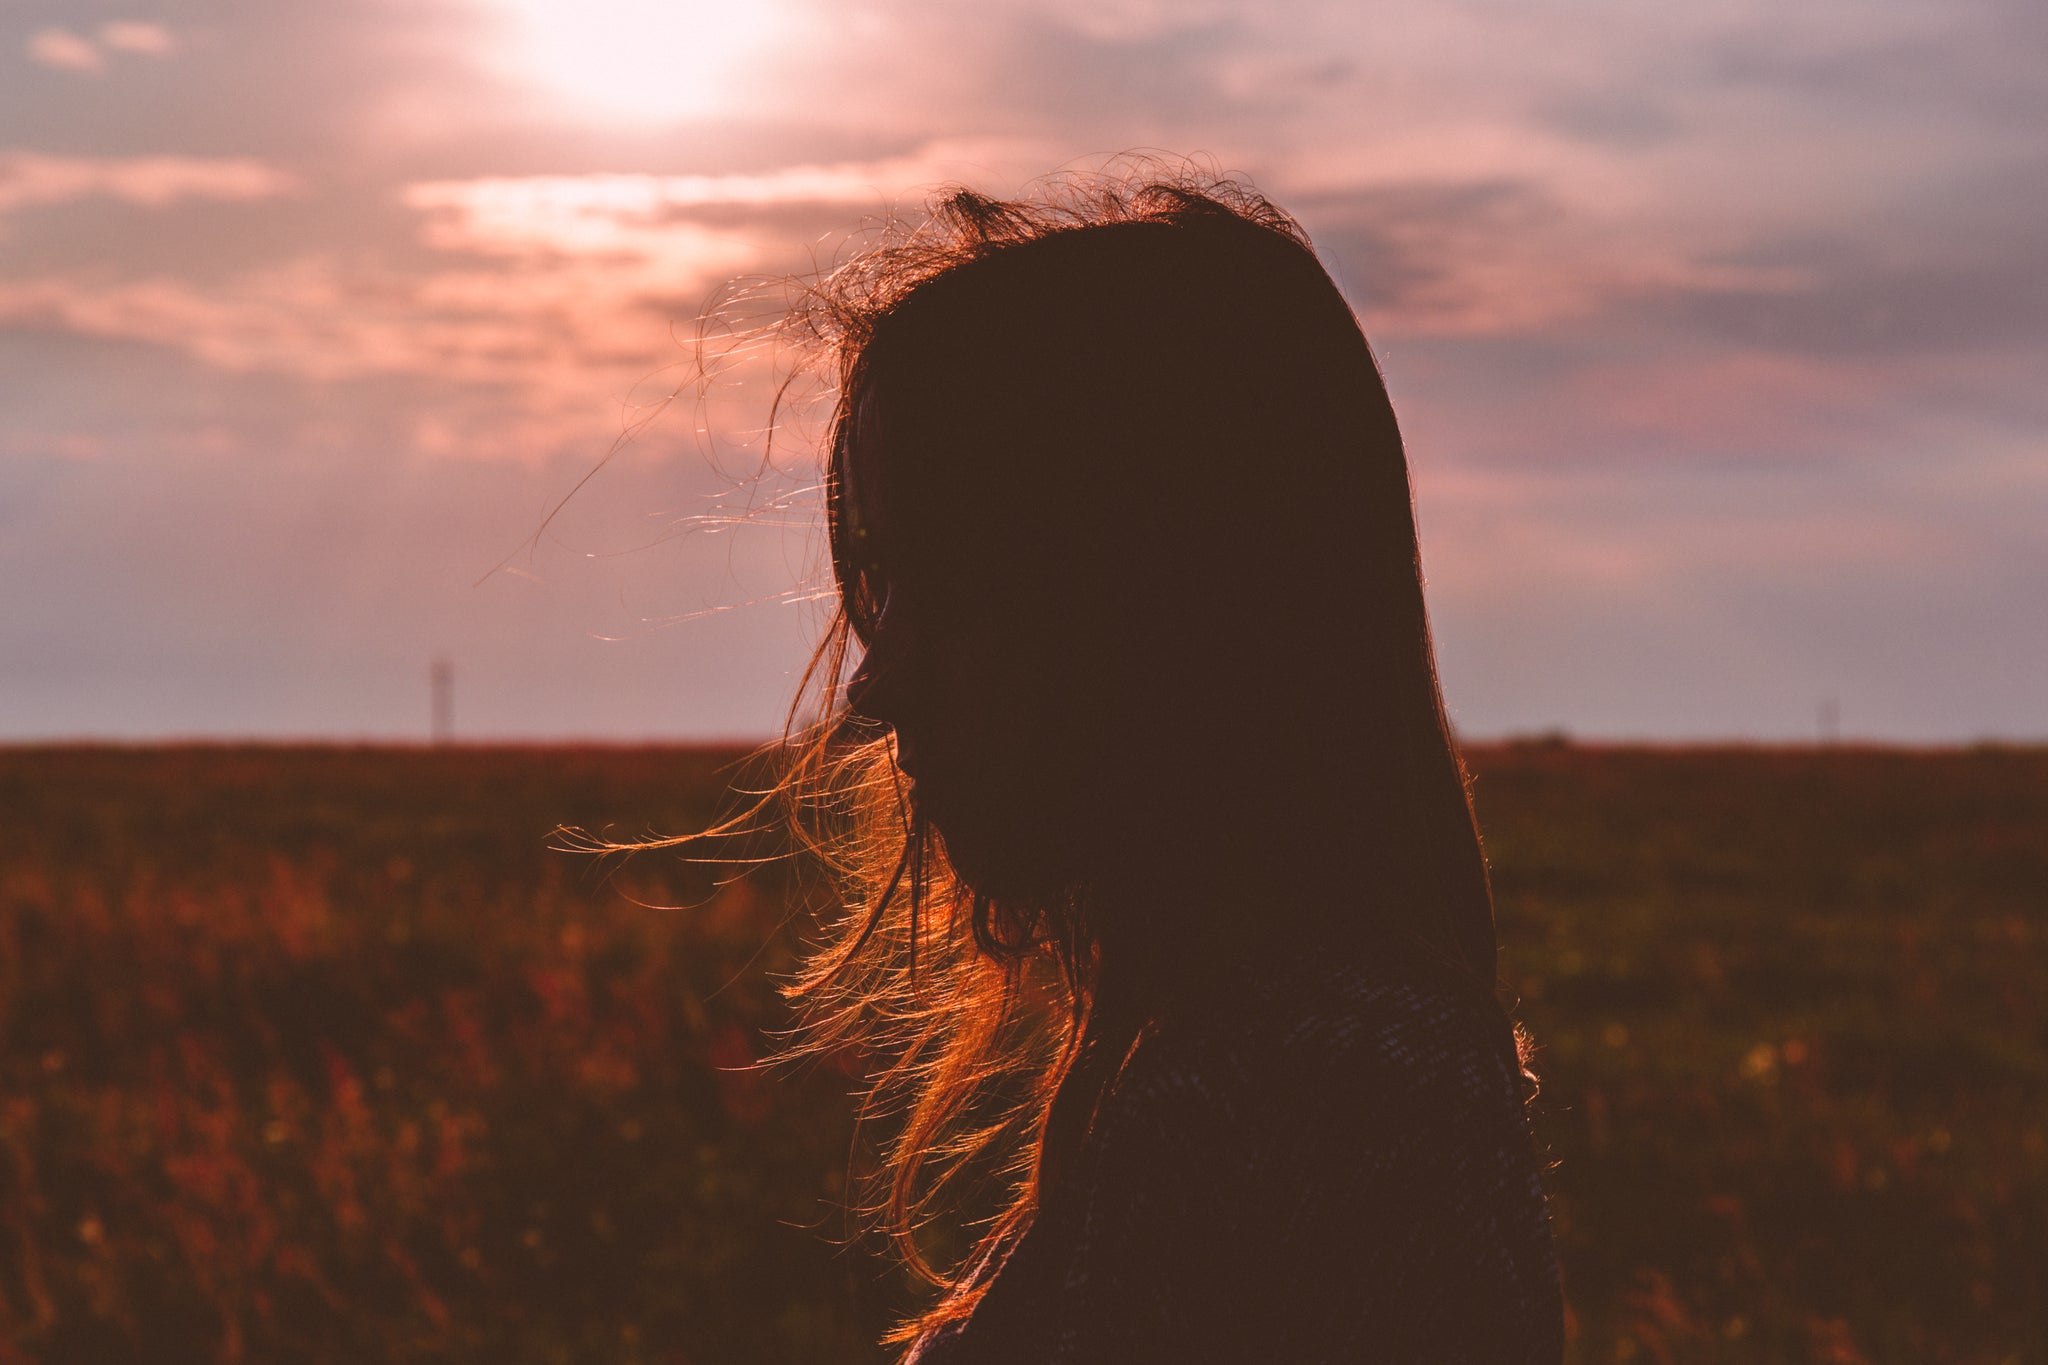
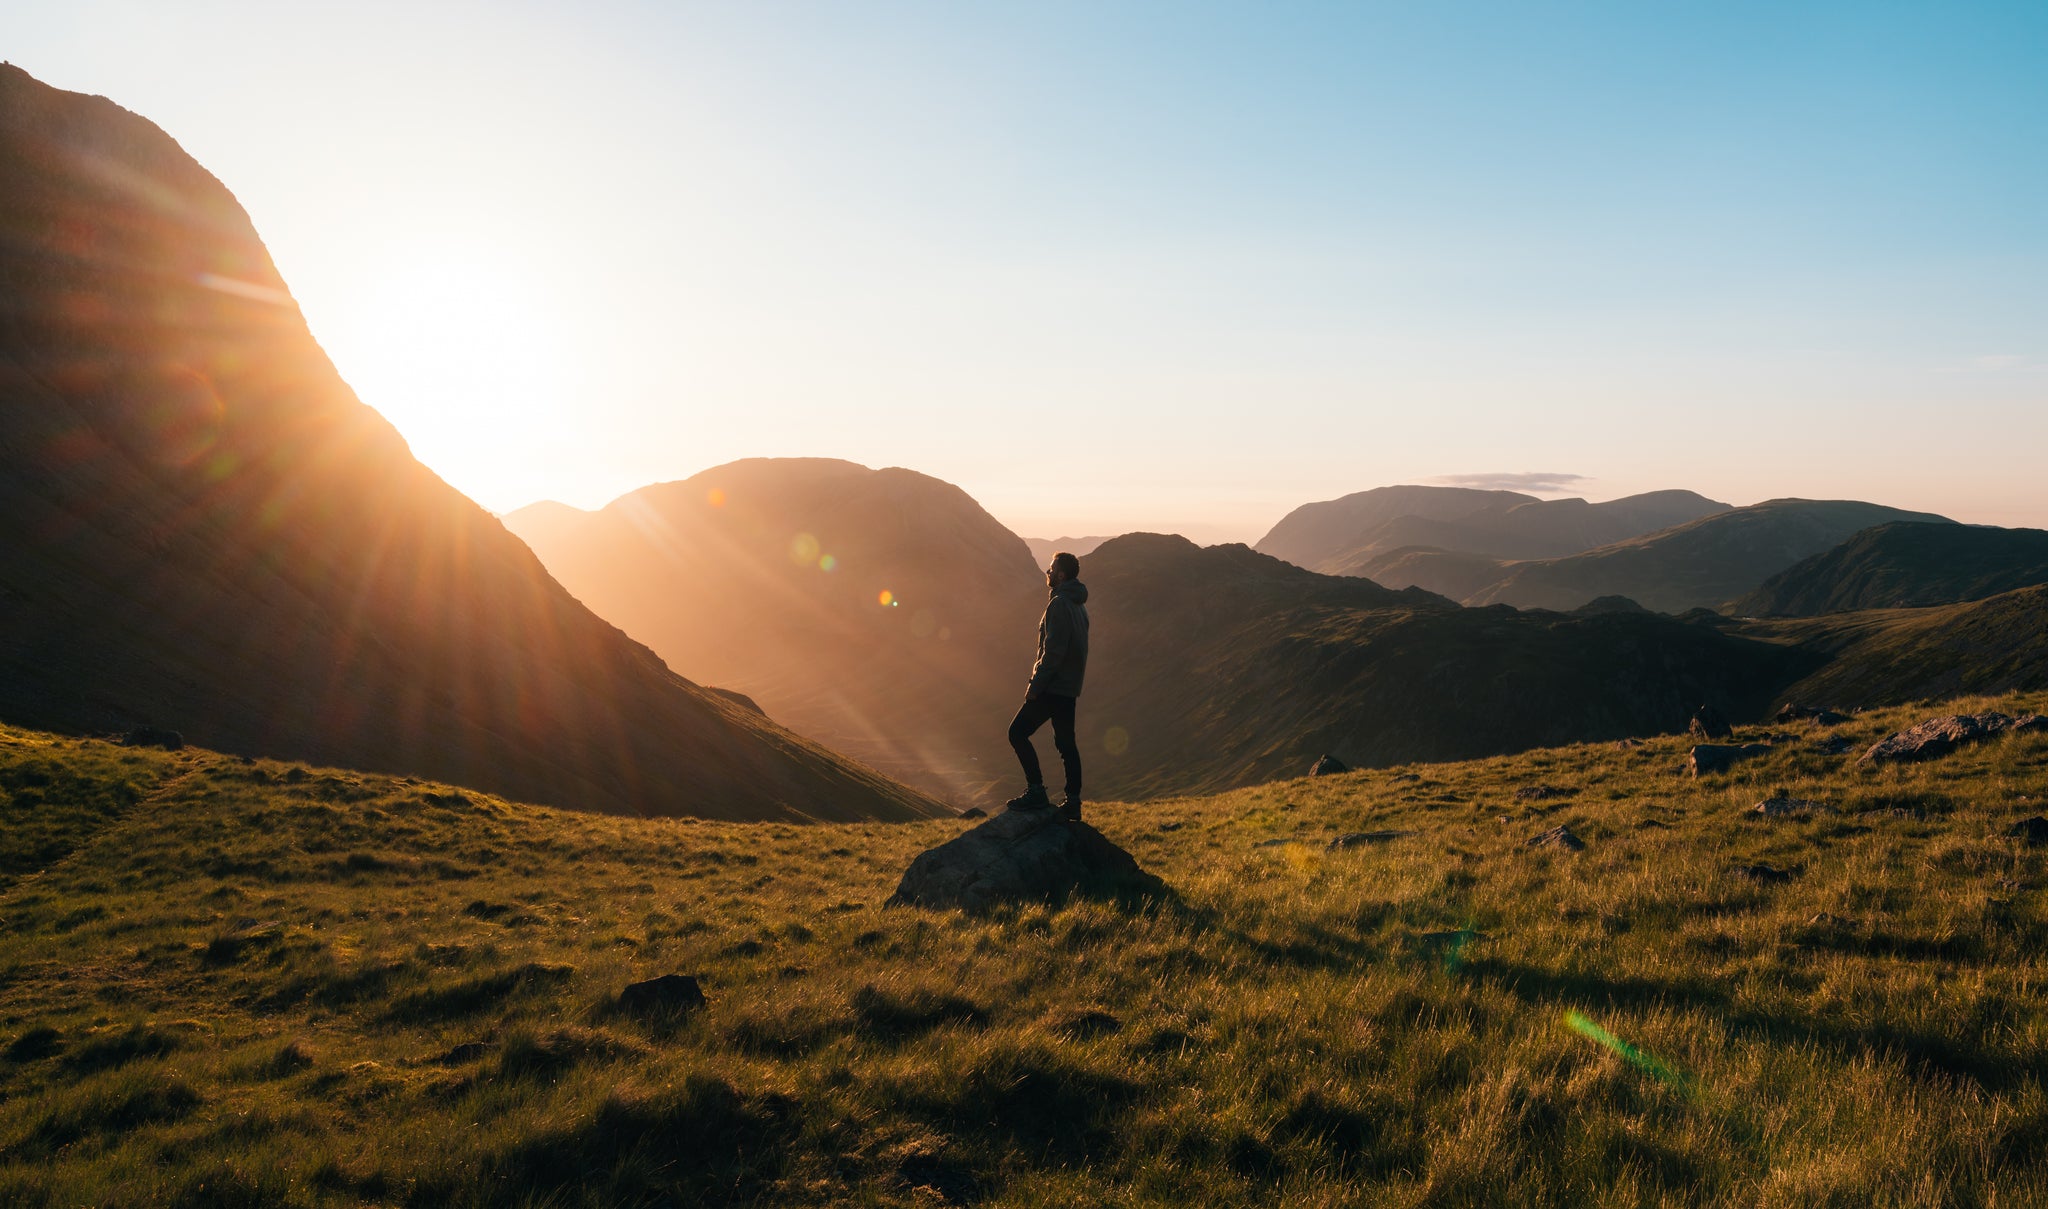
Warm weather and bright sun are here and both of those things lend themselves to silhouettes. Achieving silhouettes is really easy, and here are some tips to help you:
For example, if you are photographing your subject against the sky, expose for the sky. This will result in your subject being darker and the sky behind them being perfectly exposed.

If you are still seeing a tiny bit of detail on your subject and they are not completely silhouetted, try bumping up your aperture. For example, if you are shooting at f/16, try going to f/22. This will also help you achieve more defined edges on your subject, while still retaining detail in the background.

Since shooting silhouettes requires a smaller aperture, you will need a slower shutter speed, and in some cases, you may run into some blur/camera shake if your shutter speed gets too slow. Having a tripod or a way to brace your camera will help you achieve sharper images.

Be sure to play around with the Levels and Curves in post-processing to make even more definition between your silhouette and the scenery. Using a layer mask to darken only the silhouetted subject can help you achieve more contrast. You could also use a black brush at a low opacity and gradually paint your silhouette completely black!

Do you have any questions or comments about Photographing Silhuoettes? Leave us a comment below - we would love to hear from you! And please share our tutorial using the social sharing buttons (we really appreciate it)!
If you're looking for Photoshop actions to help you add more definition and contrast to your silhouettes, be sure to check out the PURE Color Workflow.


Anna Gay is a portrait photographer based in Athens, GA and the author of the dPS ebook The Art of Self-Portraiture. She also designs actions and textures for Photoshop. When she is not shooting or writing, she enjoys spending time with her husband, and their two cats, Elphie and Fat Cat.

Comments