- Lightroom Presets
- Mobile Presets
-
Photoshop
-
Learn
-
Support
-
Install
- Best Sellers
- Blog
By Gayle Vehar on | No Comments

At Pretty Presets, almost everything we do is about saving time in Lightroom. We want you to spend less time on the computer and more time with those that you love. That is why Lightroom Develop Module keyboard shortcuts are so valuable.
Get familiar with these must-know shortcuts for Lightroom's Develop Module and you will quickly be saving lots of time in Lightroom!
We'll start with the most obvious. Since we spend so much time developing our photos in the Develop Module it is important to know how to get there with just a finger tap. Type the "D" key to quickly get to the Develop Module! BONUS: Type "G" for Grid to get back to the Library Module.
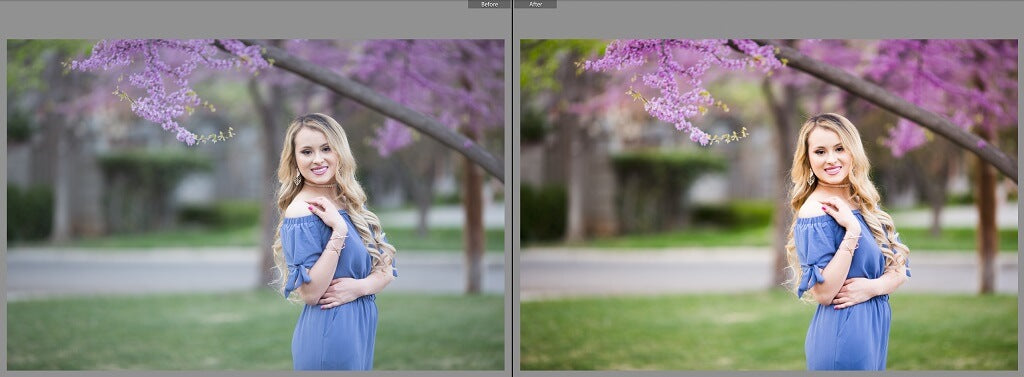
I use this feature all the time to make sure that I am heading in the right direction with an edit. For example, if you are using a tool, like brushes or spot removal you can get a comparison while you are using the tool. Seeing the Before/After view is super helpful for this. Just tap the "Y" key to see your photo in Before/After mode and then tap the "Y" key to get out of the mode as well.

A super quick shortcut for picking favorites from a session is the "P" key. Tapping "P" for pick will give your photo a flag and then you can filter your filmstrip so that you only see your favorite images when editing the session.
Another action that I find myself doing ALL THE TIME is zooming in to check sharpness. Using Cmd/Ctrl + or - will allow you to quickly zoom in and out of your photo. Cmd/Ctrl + will zoom you in and Cmd/Ctrl - will quickly zoom you out!
Since I am constantly using my brushes while developing my photos, this shortcut is super helpful. Tap the "K" key to open the Lightroom Adjustment Brush tool and then tap it again to close the tool!
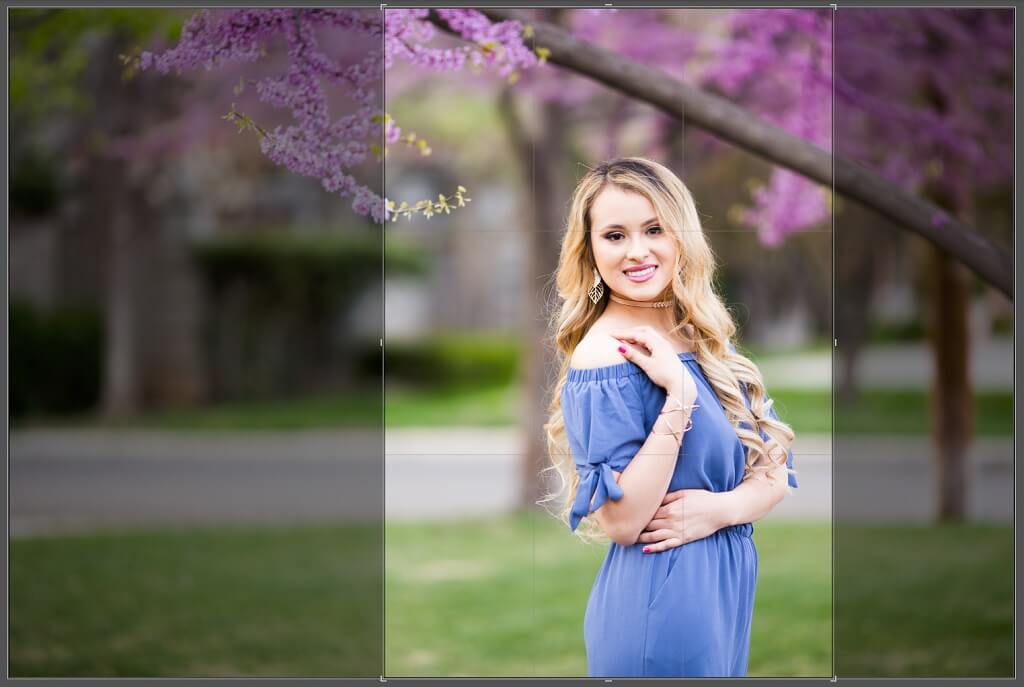
Click the "R" key to activate the Lightroom Crop Tool. Once inside the crop tool you can crop as normal. While in the crop tool, you can press the cmd/ctrl key and drag a line along a horizon (or another area that should be straight) to help straighten the image.

While you have the crop tool selected, click "X" to change the crop orientation. For instance if your image is horizontal (landscape orientation), you can change it to vertical (portrait orientation) with the click of a key! You can see an example of changing the crop orientation below.

Click the 'tab' key to close the side panels close. Click it again to bring the panels back. This gives you more space to work on your picture, which is especially helpful if you're working on a 13" or 15" laptop and space is limited.
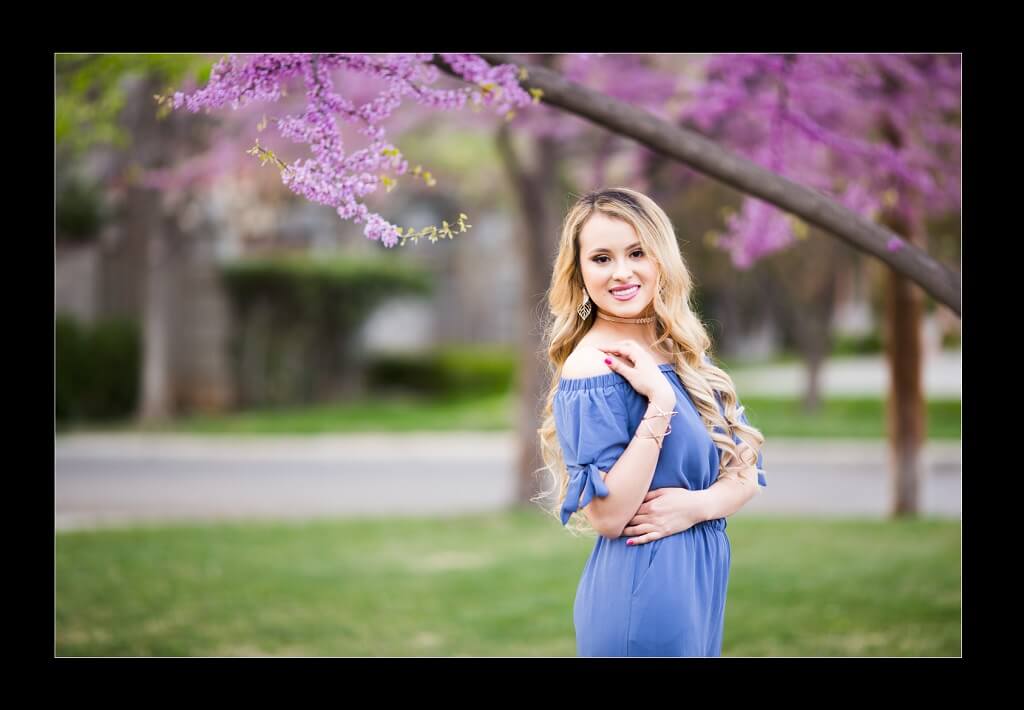
Click the "L" key to turn the "lights out" and darken everything on the screen except the image. Click it again to make everything except the image go all black. When you are trying to really focus on the image and make decisions about it, it helps to get rid of everything else so the picture is all you see. This develop module shortcut allows you to do that.
The following image illustrates "lights out." Remember, one "L" click darkens. To go even darker click "L" again. Then to bring back the "lights" back just click "L" one more time.

These are not all my favorite Lightroom shortcuts. One of my absolute favorites is "N" for snapshots, but I don't want to get into what snapshots are in this post. However, if you have time you should click over to the tutorial we have on snapshots.
There are many other great Lightroom shortcuts. You do not need to learn them all at once or even start using them immediately. Learn a few and apply them, then move on to a few more. Slow and steady wins the race.
Do you have any questions or comments about Lightroom Develop Module Shortcuts? Leave us a comment below - we would love to hear from you! And PLEASE SHARE this post using the social sharing buttons (we really appreciate it)!


Hi!! I am Gayle. I am a wife to my handsome husband and mom to 4 beautiful kids. In my spare time, I am a photographer and blogger at Mom and Camera. I have a passion for sharing my love of photography with others. I teach local photography classes and regularly share photography tips and tricks on my blog. I hang out there a lot—I’d love you to stop by and visit!

Comments