- Lightroom Presets
- Best Sellers
- Mobile Presets
-
Photoshop
-
Learn
-
Support
-
Install
- Blog
As with most post-processing programs, there are multiple ways to do everything. Most of Lightroom's controls consist of sliders which are generally pretty easy to use, but occasionally its nice to just click on the image and edit a SPECIFIC AREA you notice needs some adjustment.
Lightroom has this exact functionality and it is super easy to use - it's called the Targeted Adjustment Tool.
However, it isn't an obvious option and is easily missed unless you know WHERE to find it and HOW to use it.

Many people don't know about the Targeted Adjustment Tool and its amazing powers. This simple to use tool is like an intelligent shortcut that will help you make precise adjustments to color, contrast and exposure with ease. It allows you to make adjustments to your image by simply clicking and dragging directly on an area you want to adjust.

The Targeted Adjustment Tool can be found in the HSL Panel (image above) and Tone Curve Panel (image below) in the Develop Module. It looks like a small circle with a dark dot in the center. But don't discount how powerful this little tool is because of its size. Size isn't EVERYTHING, you know ;)!!
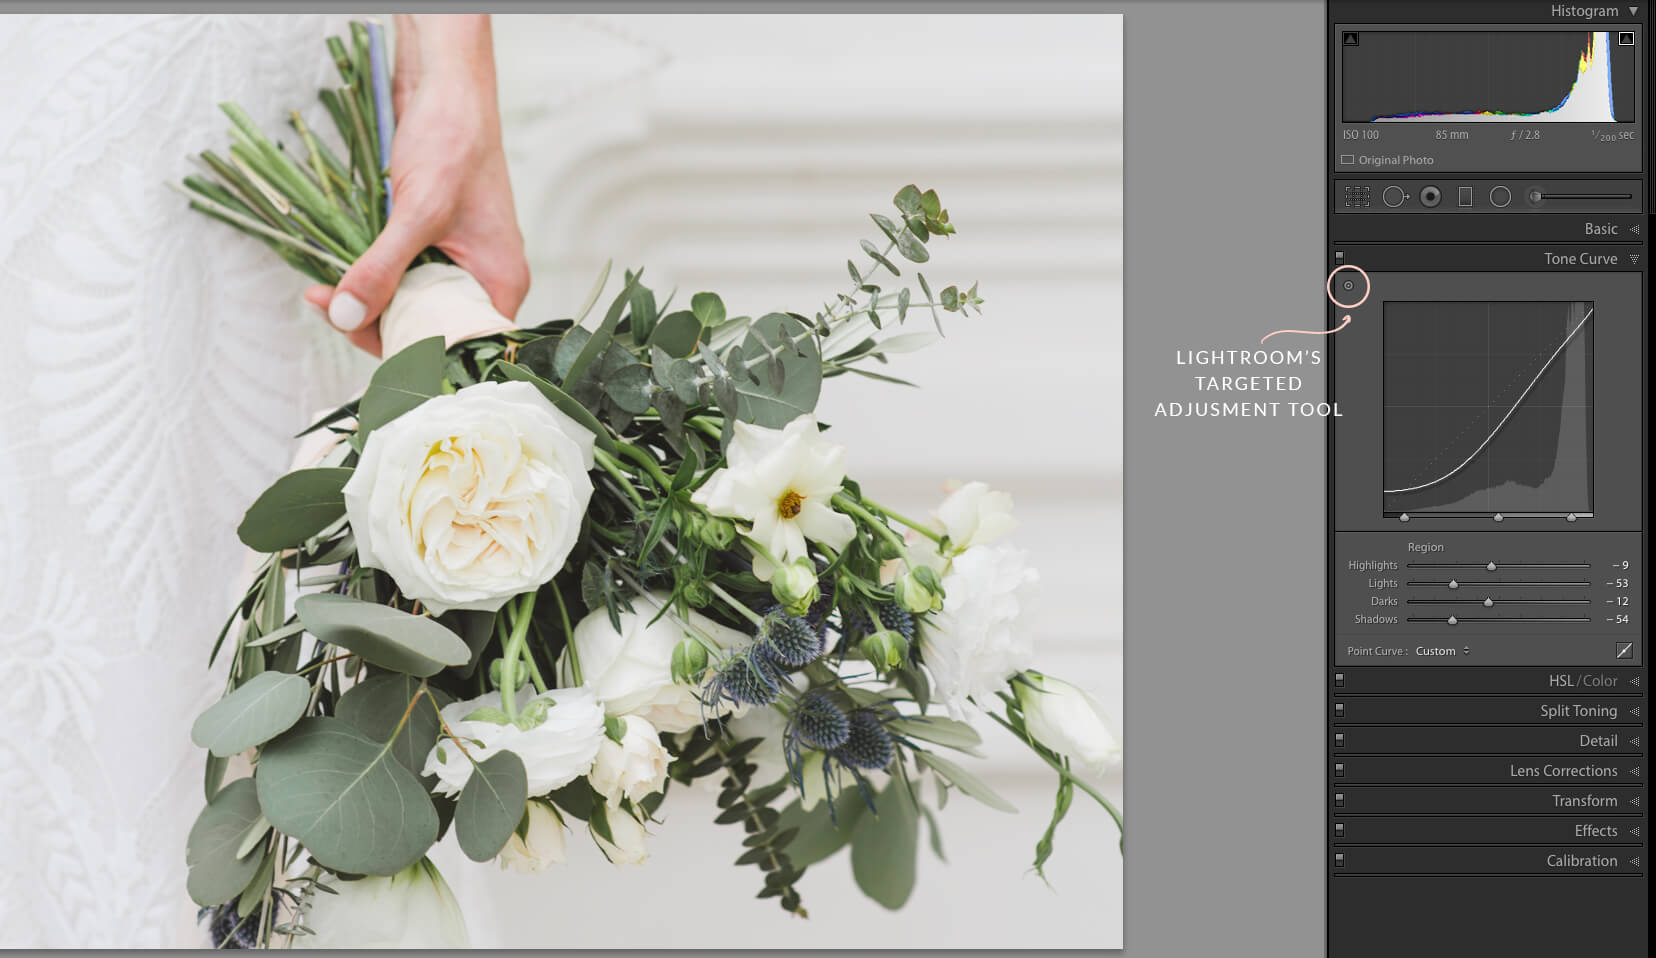
So let's say you have a photo that needs a little MORE contrast than you can add using the contrast slider in the Basic Panel. If this is what you need, the Tone Curve panel is the place to be. BUT, the Tone Curve Panel can be a bit intimidating.
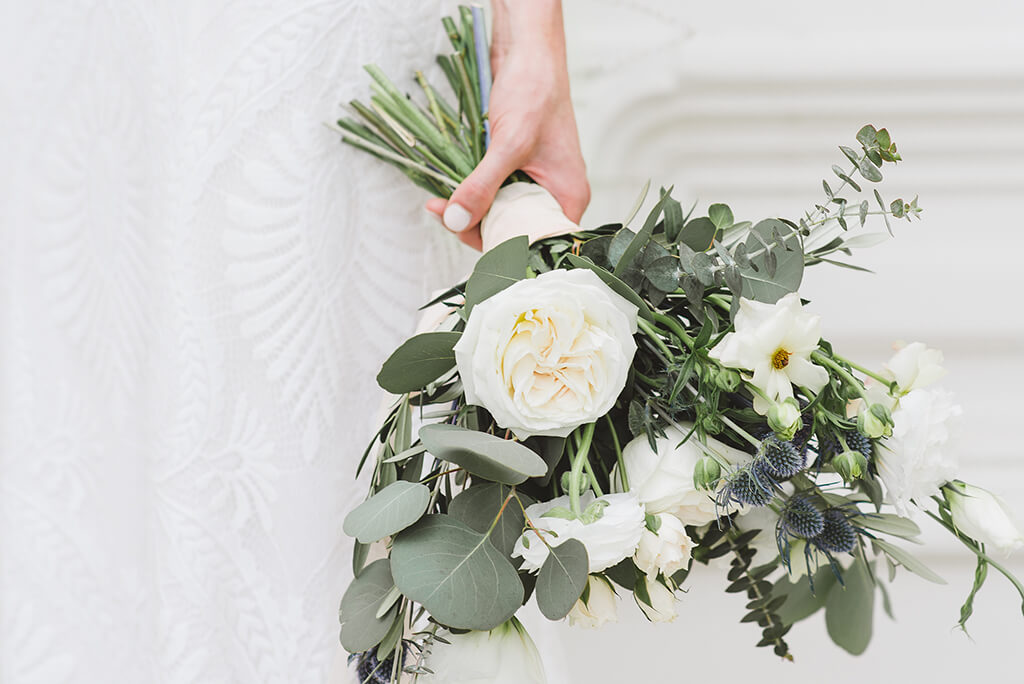
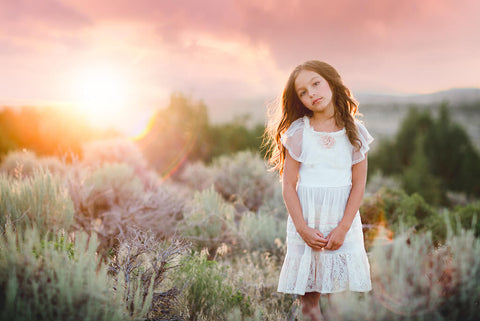
As an example, here is a photo that needs a little more contrast:
The Targeted Adjustment Tool is here to help. Just hover your mouse over that little dot and "click!" Once you've activated the tool, the magic is ready to begin!
Now I am going to find some areas in the photo that I want lighten up. Usually for me these are skin tones so I'll place my mouse there. In this photo it is some of the middle-toned foliage. I am going to "click and drag" the tool UP towards the top of my screen. You should see these tones getting lighter.
Next, I'll do the same thing with the areas that I want darker. BUT instead of clicking and dragging UP, I am going to "click and drag" DOWN towards the bottom of the screen. In this photo, I'm going to do that with the darker-toned foliage as well as some of the brightest tones.
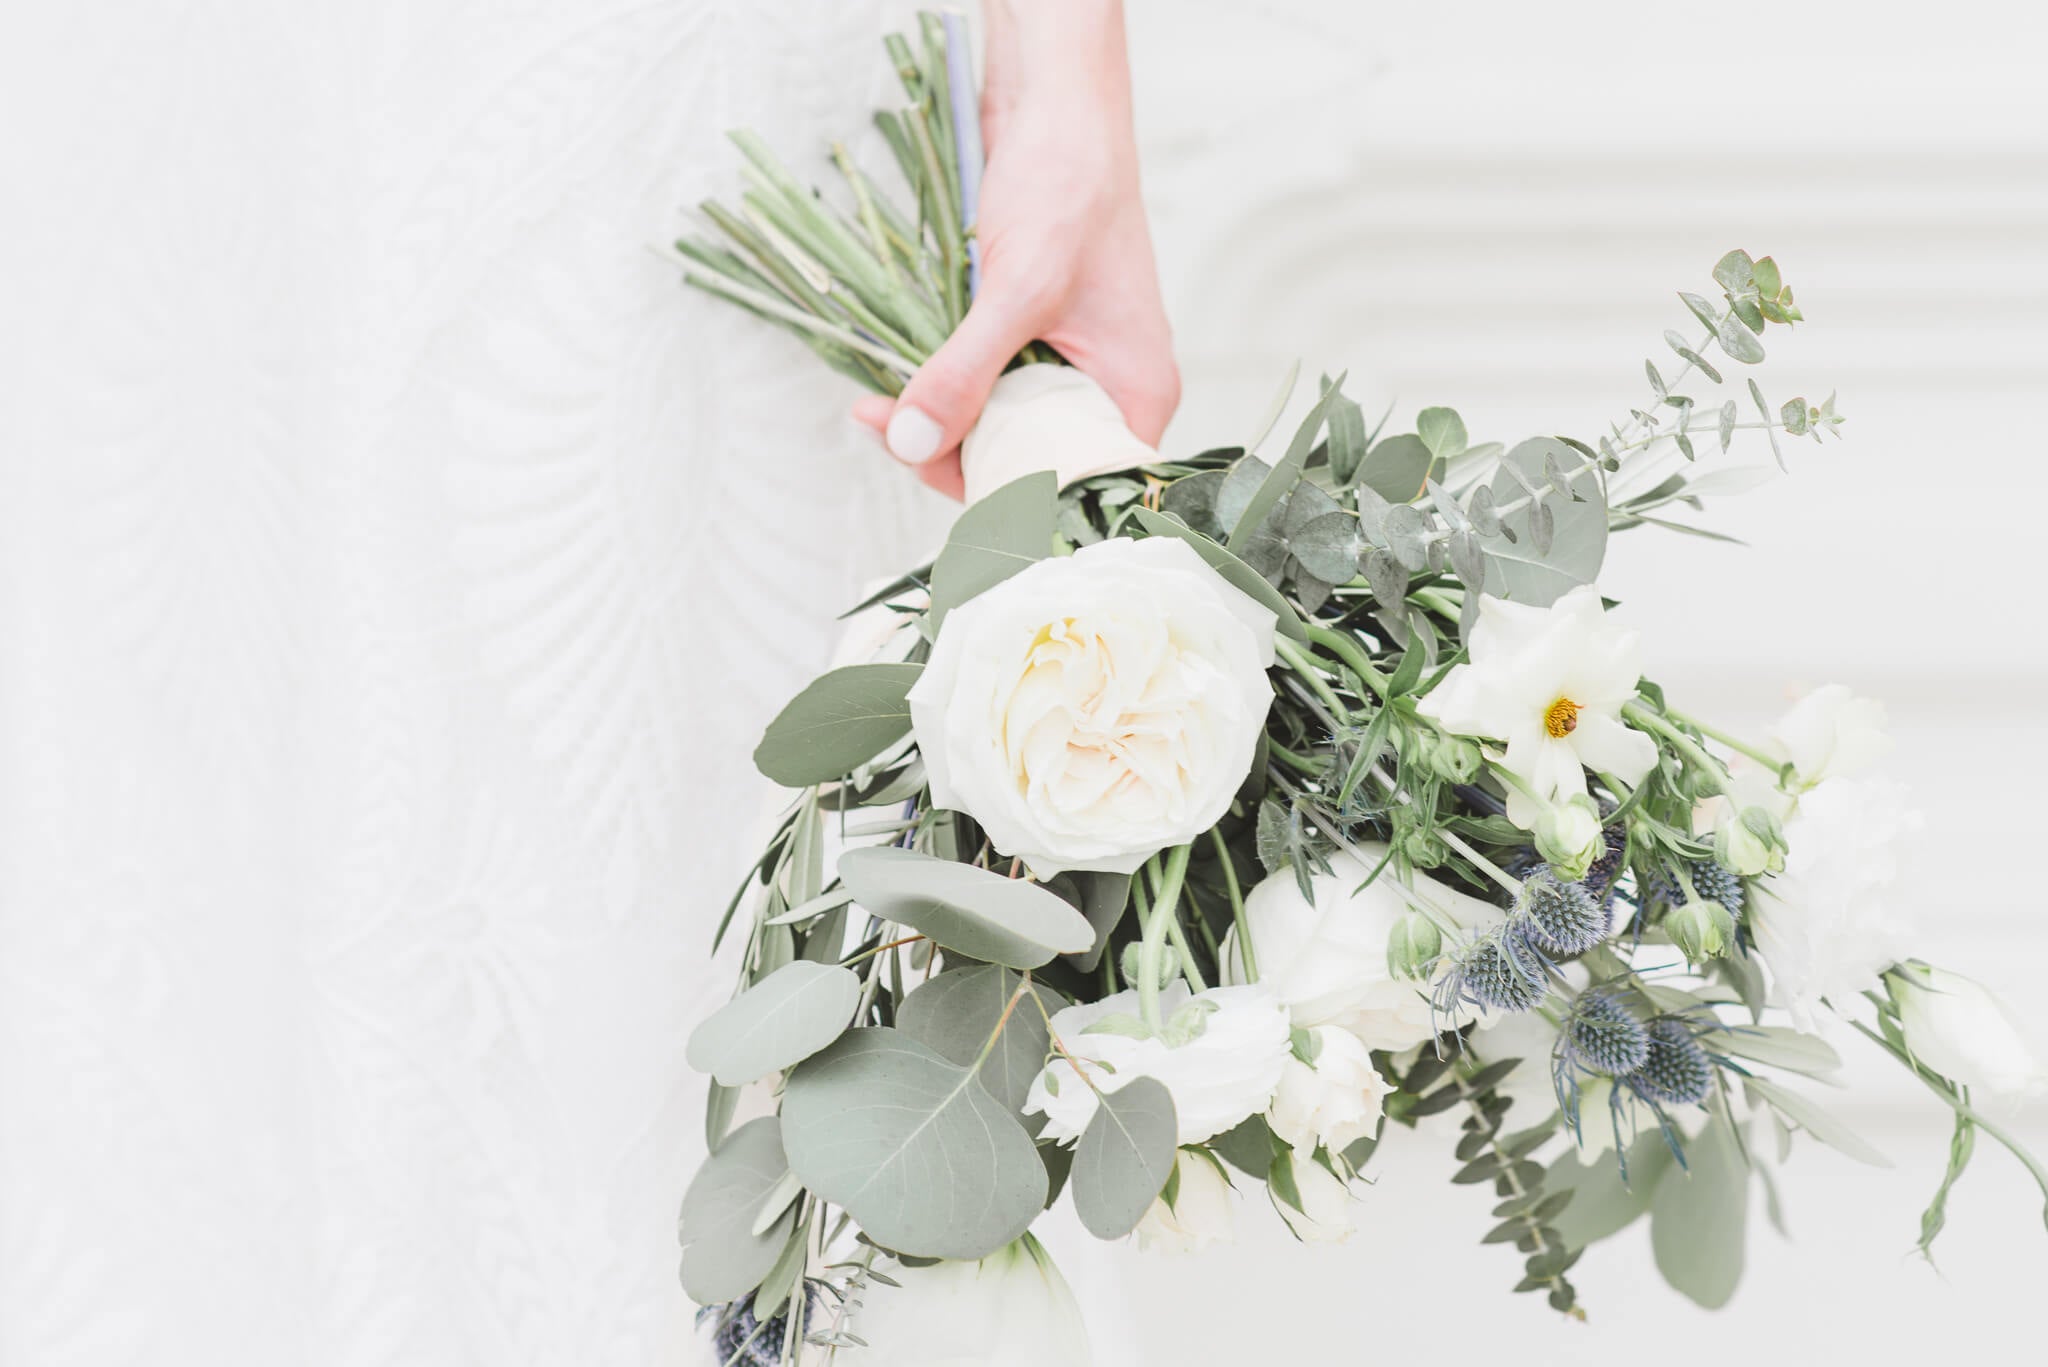
You can also find and use the Targeted Adjustment Tool in the HSL/Color panel. This is perfect if you want to increase or decrease the hue, saturation or luminance in a specific area of your photo. For this image, I used the Targeted Adjustment Tool to increase the saturation of the bluish flowers and some of the brighter greens.
To do this, just follow the same steps I described above: "click and drag" UP on the area of your photo where you want to increase the saturation and "click and drag" DOWN on the area of your photo where you want to decrease the saturation.
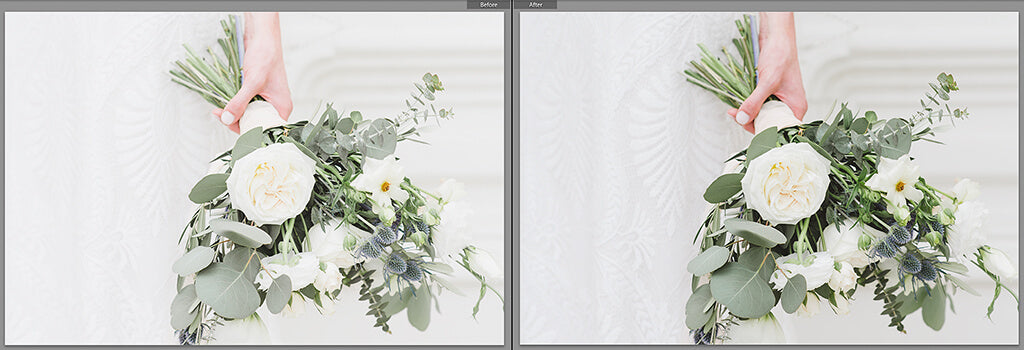
Here is the before and after of my example photo with just a couple of quick adjustments using the Targeted Adjustment Tool! A nice improvement, don't you think?
Keep in mind, if you aren't happy with your initial results, just reset the sliders and start again.
It really is as easy as that!!! Doesn't it feel great to know one of Lightroom's BEST KEPT SECRETS?
Do you have any questions or comments about Lightroom's Targeted Adjustment Tool. Leave us a comment below - we would LOVE to hear from you! And PLEASE SHARE this post using the social sharing buttons (we really appreciate it)!


Comments